STEM & Discovery
Build a Sponge Boat: A Simple Floating STEM Activity for Kids
 Facebook
 Pinterest
 X
X LinkedIn
 Reddit
 WhatsApp
 Telegram
 Bluesky
 Email
Email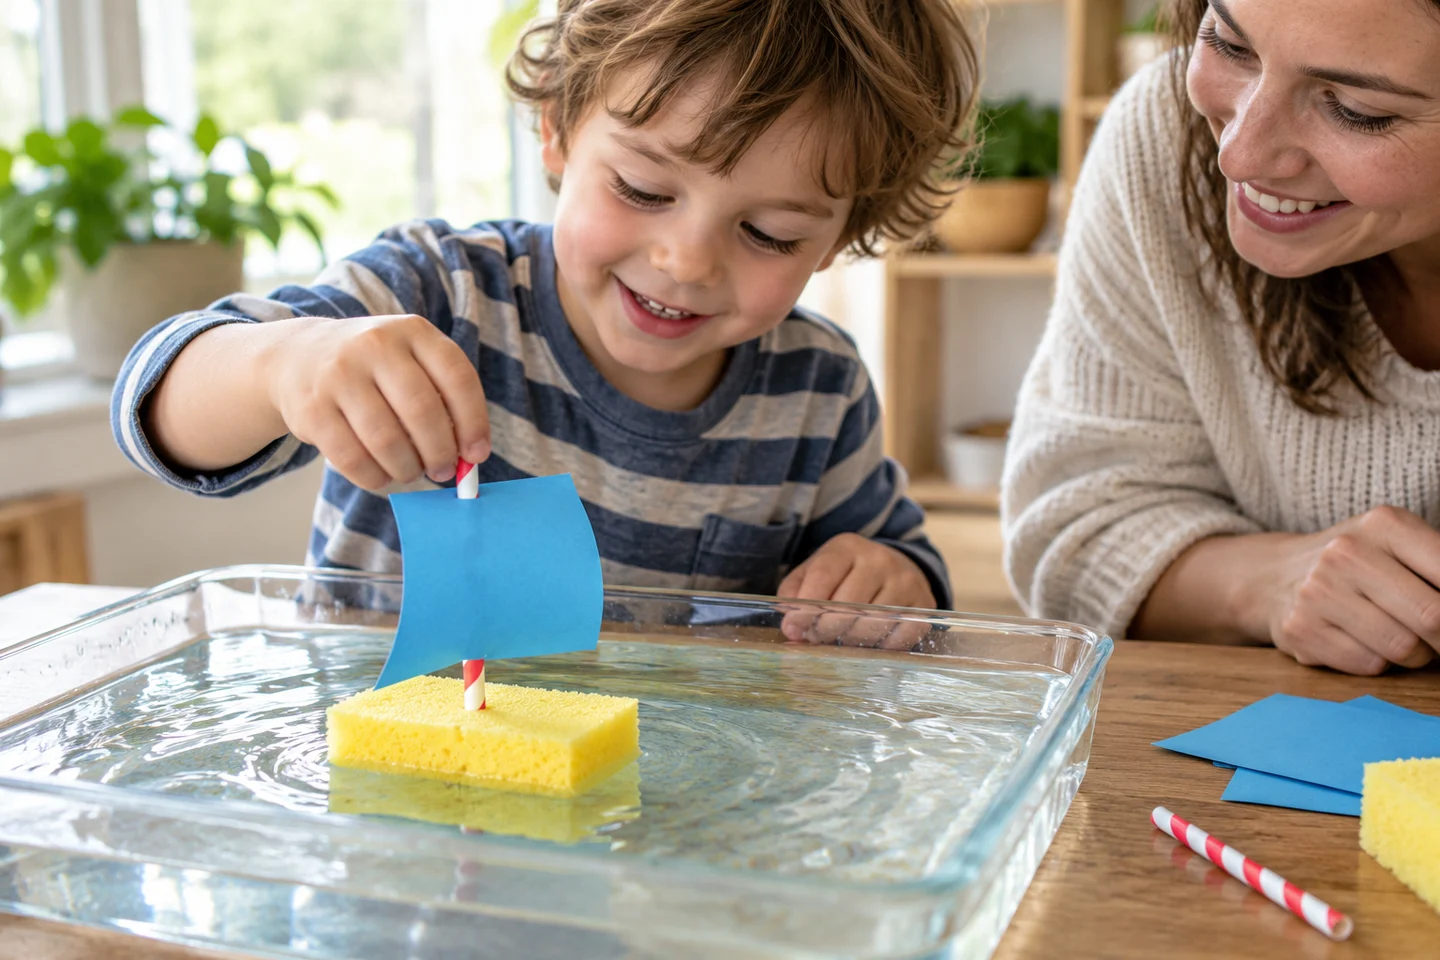
A clean sponge, a paper sail, and a blunt straw can become a tiny boat experiment. Will it stay upright? What changes as the sponge gets wet? Children can build, launch, and try an adjustment in a shallow, supervised water tray.
Different sponges behave differently. Testing the bare sponge first helps you choose a workable base and gives children a useful discovery before the sail even appears.
At a glance
| Detail | Plan |
|---|---|
| Suggested ages | 5–9 |
| Preparation | About 10 minutes |
| Activity time | 25–35 minutes |
| Group size | One child or pairs at supervised stations |
| Mess level | Moderate; plan for water spills |
What you need
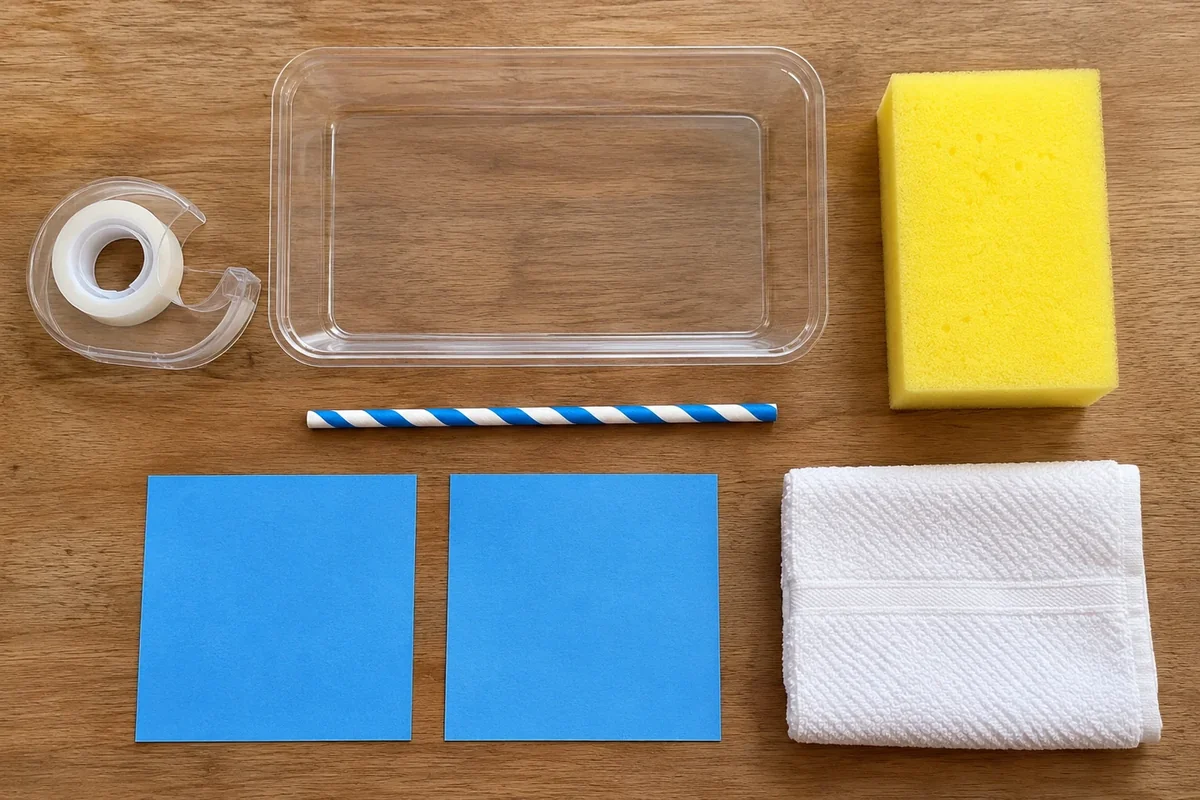
- A clean sponge about 3 × 4 inches and an optional spare.
- One blunt paper straw about four inches long.
- A lightweight 3 × 3-inch paper sail and a smaller spare.
- A few pieces of tape.
- A shallow water tray, towel, and recording paper.
For 24 children in pairs, gather 12 sponge sets and rotate through supervised water stations. Use plain sponges without soap, cleaning chemicals, or scouring layers. Avoid sharp masts and small added weights.
Get ready
An adult sets the tray on a stable surface and adds enough water for the model to float clear of the bottom. Place a bare sponge gently on the water and watch it for about a minute. If it sinks or cannot support a mast, keep that observation and try another clean sponge for the boat.
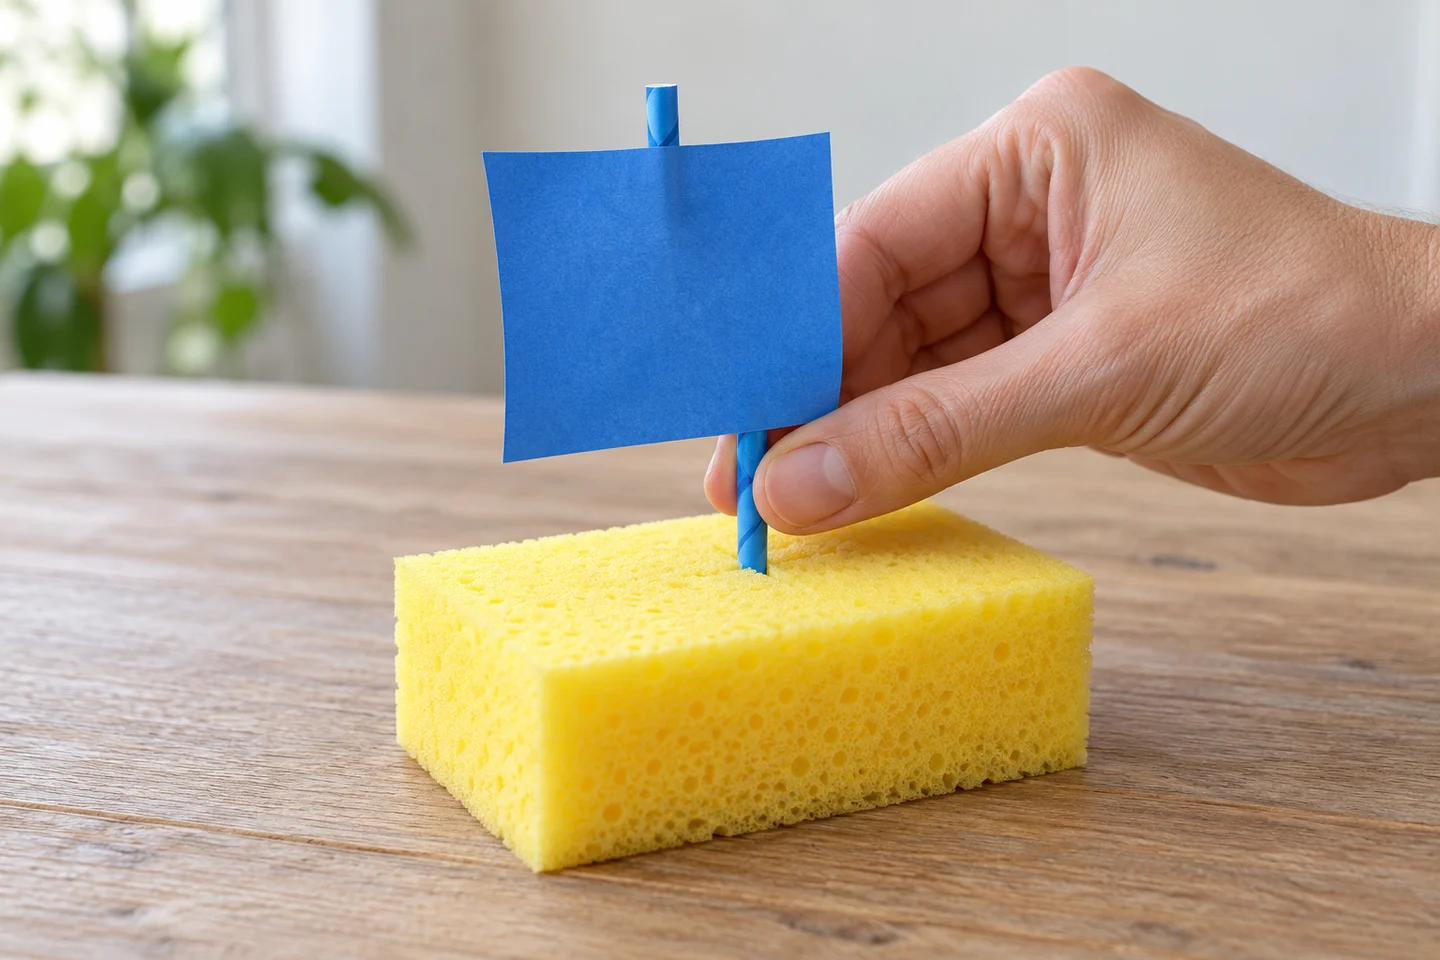
An adult prepares a shallow, narrow slit near the center of the sponge’s top for the straw. Keep the slit from reaching through the bottom. Have towels ready and supervise the water continuously.
Build and launch
1. Make the sail
Decorate the paper square lightly with crayons. Tape one edge along the upper part of the straw, leaving the straw’s lower end free. A lightweight sail gives the base less to support.
2. Add the mast
Place the blunt end in the prepared slit and stand it upright. Begin near the sponge’s center. If the fit is loose, ask an adult to adjust or prepare another base.
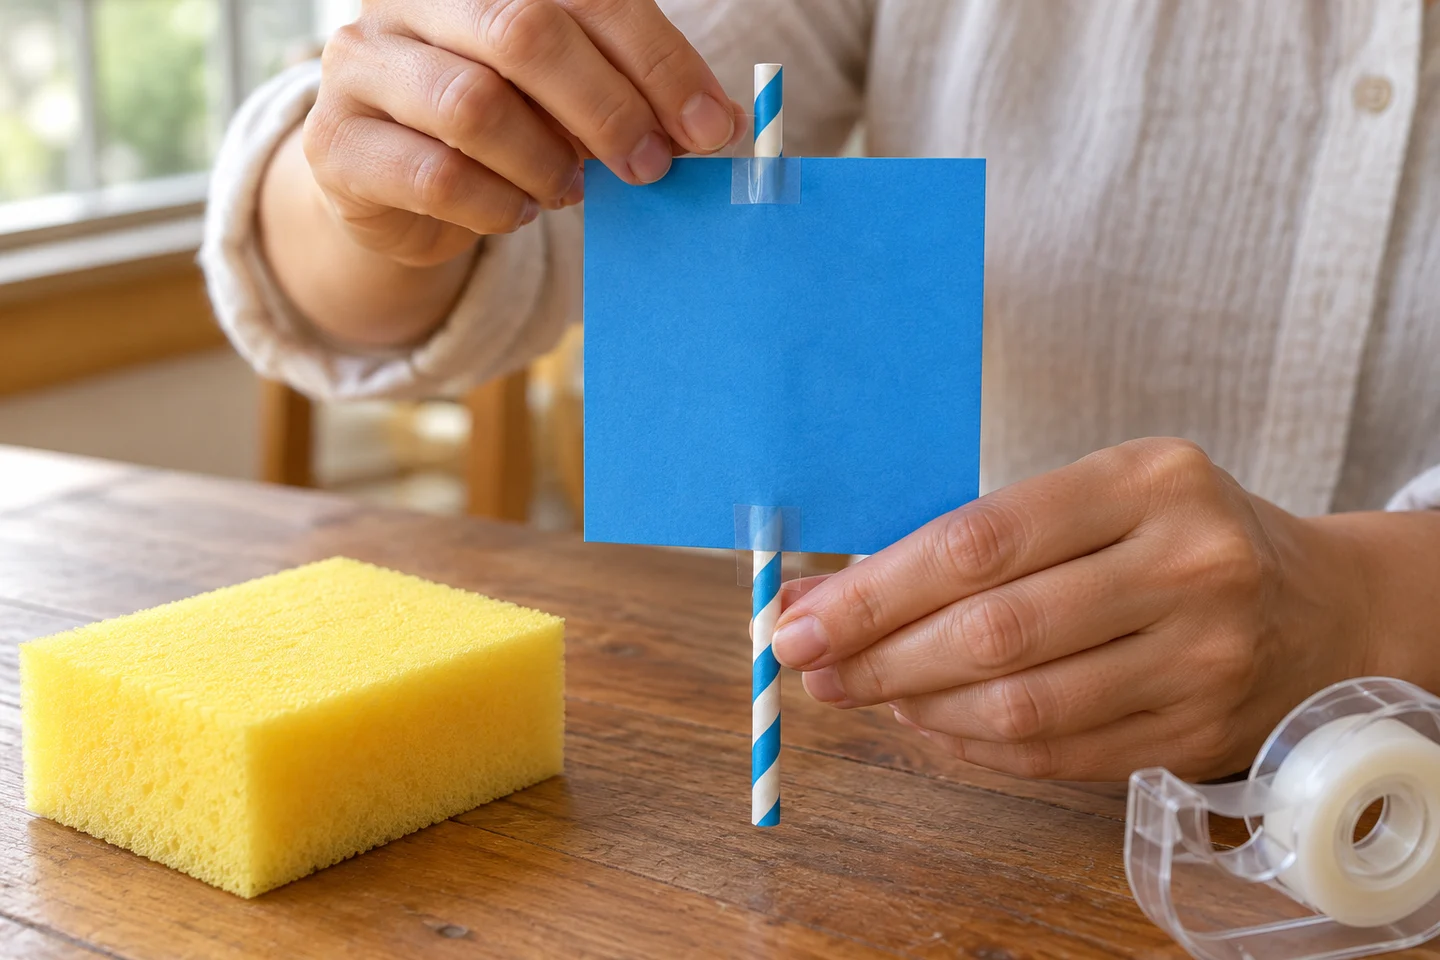
3. Make a prediction
Ask, “Will it stay upright?” or “What might change when it gets wetter?” Save the idea with a drawing or a few spoken words.
4. Launch gently
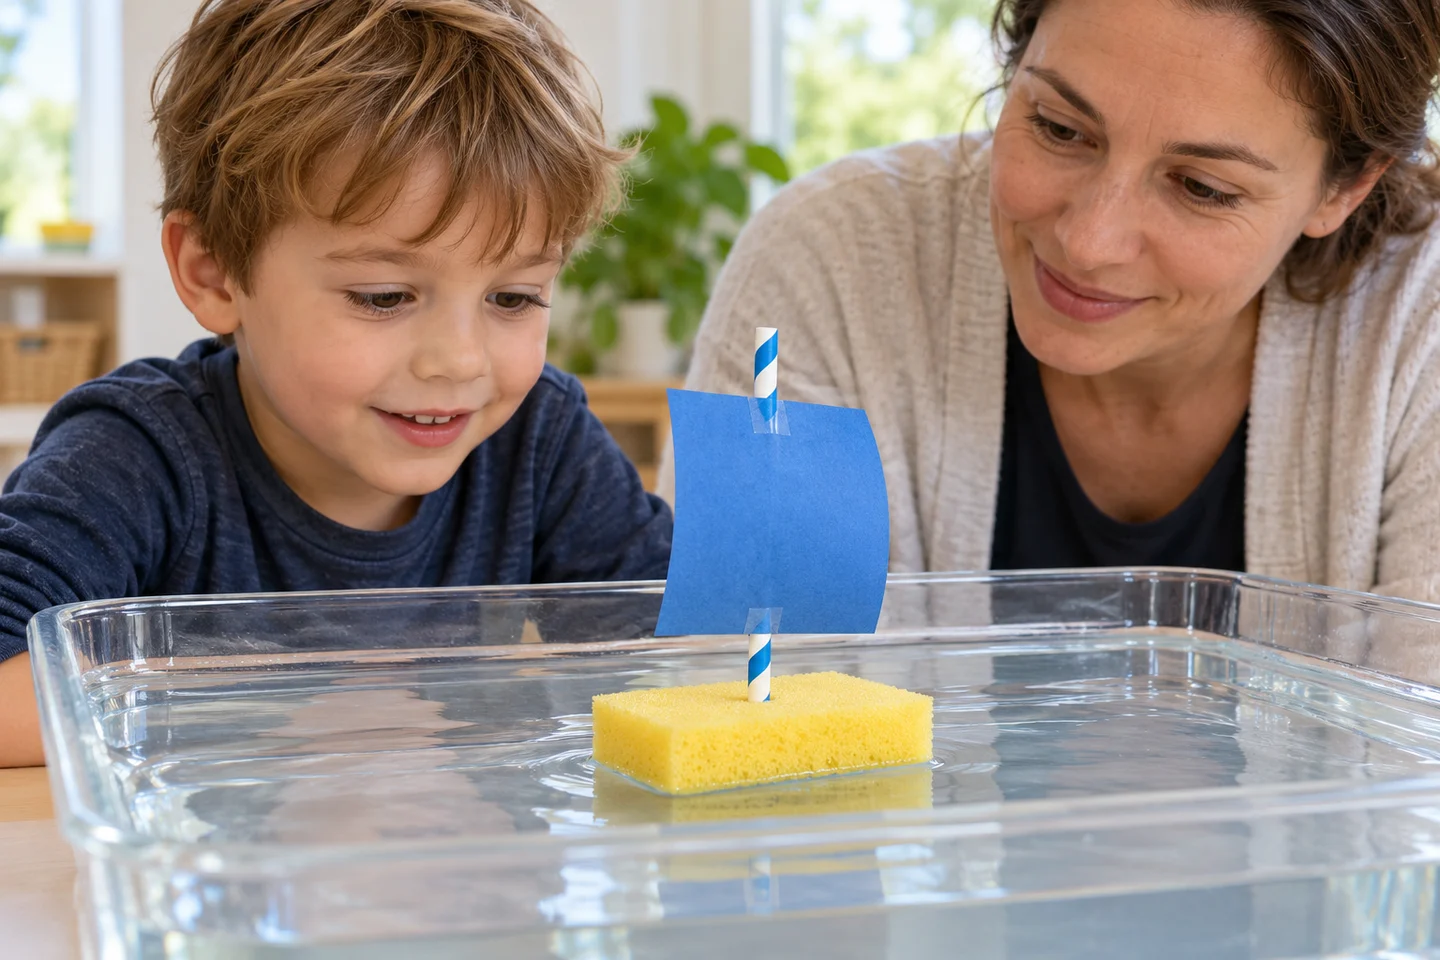
Place the boat on the water and release it. Watch whether the base stays clear of the bottom, the mast leans, or the boat tips. Let the model show its own behavior rather than holding it up.
5. Watch again after a minute
Use the same waiting interval for later tests. Notice whether the sponge absorbs water or the paper sail changes shape. Record those changes beside the first observation.
6. Change one feature
Try a smaller sail with the mast in the same place, or investigate a different mast position while keeping the sail size. Retest and compare. Keep the sponge’s wetness in mind: a soaked base is different from a fresh dry one.
Save your discoveries
Copy this simple layout onto paper and add your own observations. Drawing or dictated notes work just as well as independent writing.
| Design | Prediction | Observation after one minute | Next change |
|---|---|---|---|
| Center mast, larger sail | Child's idea | Describe what happened | Choose one feature |
| Center mast, smaller sail | Child's idea | Describe what happened | Keep, revise, or stop |
What children can explore
The activity introduces balance, material behavior, and floating. Ask, “What changed after the boat got wet?” or “Which part would you make lighter?” The sponge’s material and trapped air can affect how it behaves; no single result applies to every sponge.
At home and in the classroom
At home, an adult and child can build one model together. In class, let pairs prepare sails away from the water and rotate through the launch area. Drawing observations gives waiting groups something connected to do.
Make it work for your group
Provide a prepared mast and sail, offer adult launching, or let children observe and describe. Older children can make a comparison table for two sail sizes, noting starting wetness and the same observation interval.
Helpful fixes and cleanup
Tipping? Try a smaller sail or centered mast. Loose straw? Ask an adult to improve the base. Sinking sponge? Explore that result and select a different material for another model. Adults empty the tray promptly; dry spills and let reusable materials dry before storing.