STEM & Discovery
Build a Ramp and Test a Toy Car: A Simple STEM Investigation
 Facebook
 Pinterest
 X
X LinkedIn
 Reddit
 WhatsApp
 Telegram
 Bluesky
 Email
Email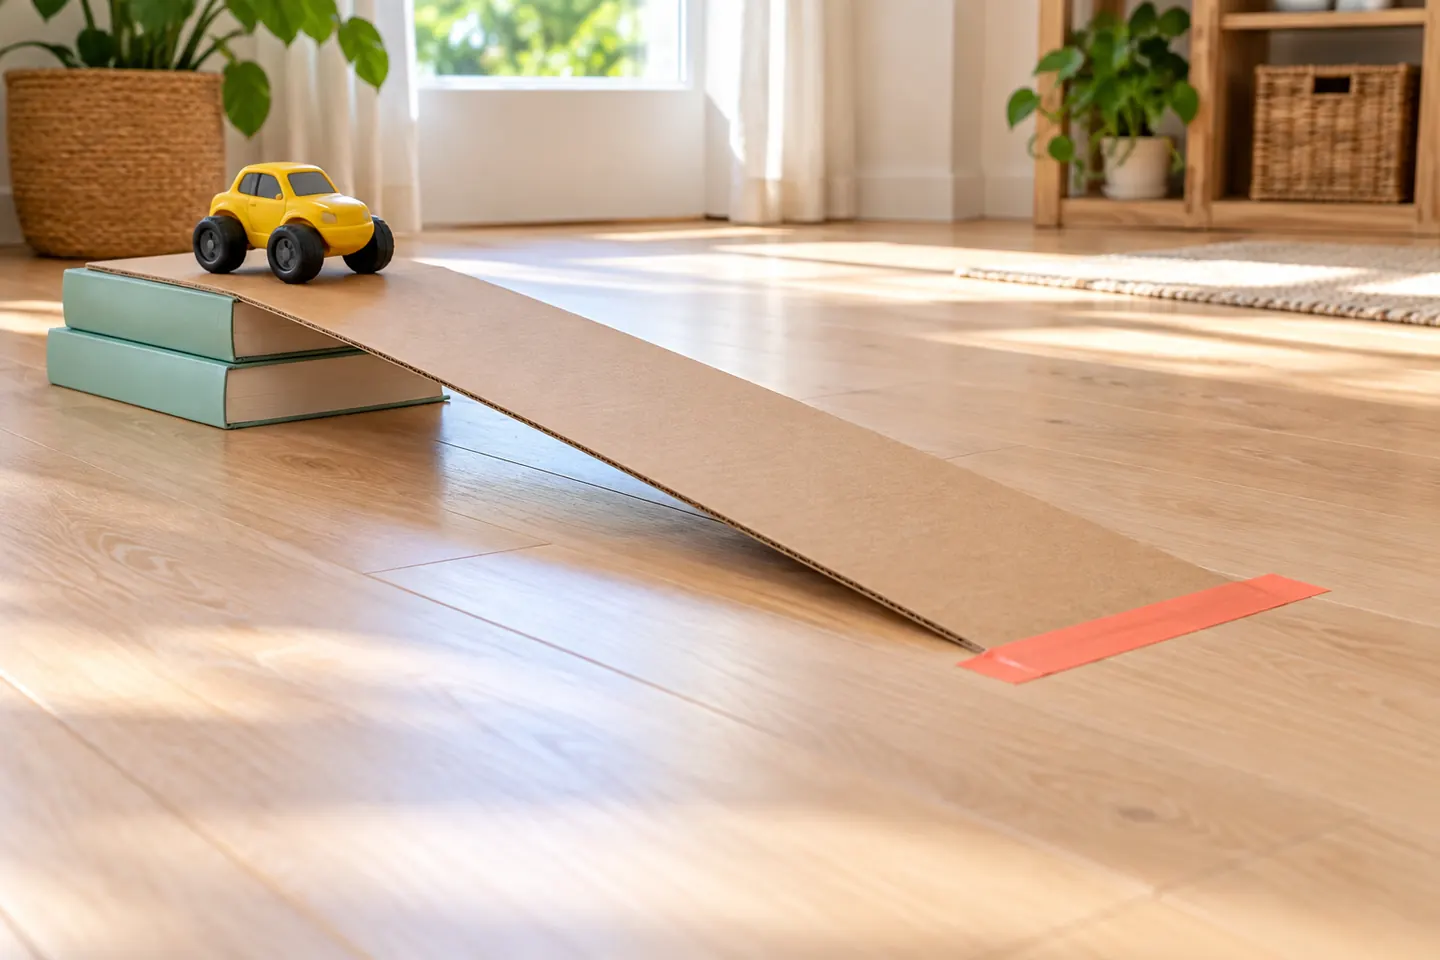
A little ramp can launch a big question: will a toy car travel farther when the top of the ramp is higher? Children make a prediction, release the car, measure where it stops, and compare two low ramp setups.
The result depends on your car, cardboard, and floor. Repeating the run gives children a chance to notice both the pattern and the small differences from one trip to the next.
At a glance
- Suggested ages: 5–10, with adult setup support.
- Preparation: About 15 minutes; allow 25–40 minutes for testing and recording.
- Group size: One child, a pair, or a small supervised group.
What you need
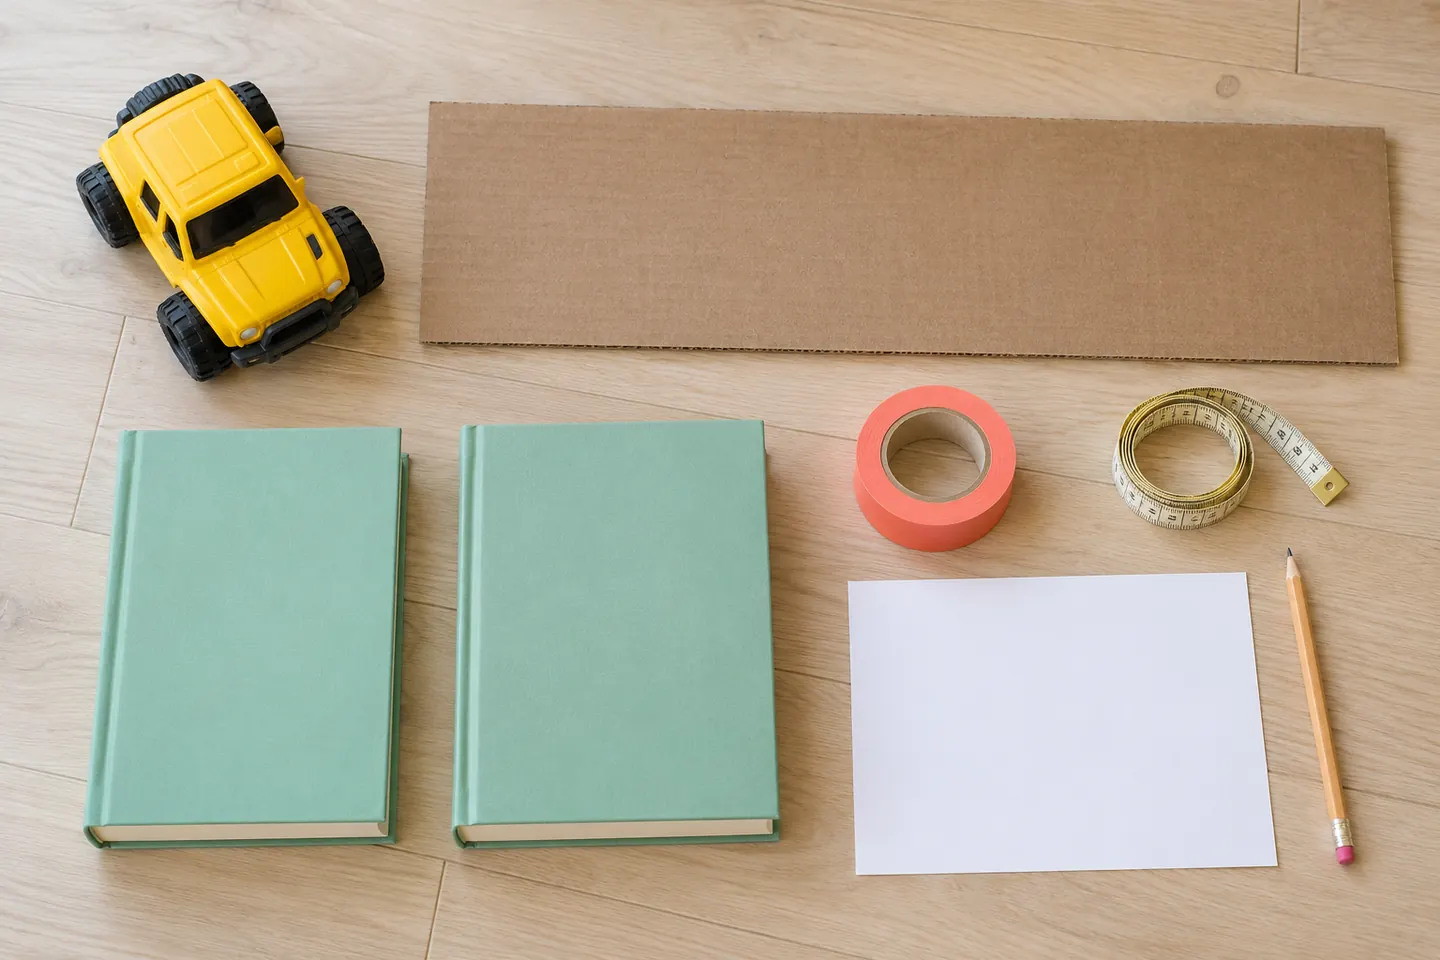
- One freely rolling, unpowered toy car.
- One stiff cardboard ramp about 18–24 inches long.
- Broad, stable supports for two low heights.
- Tape, a ruler or measuring tape, paper, and a pencil.
Support heights of about two and four inches are useful examples when stable with your materials. Adults prepare cuts and check the supports. For 24 children, use six supervised groups of four or rotate through fewer stations. Keep the track low rather than raising it on furniture.
Get ready
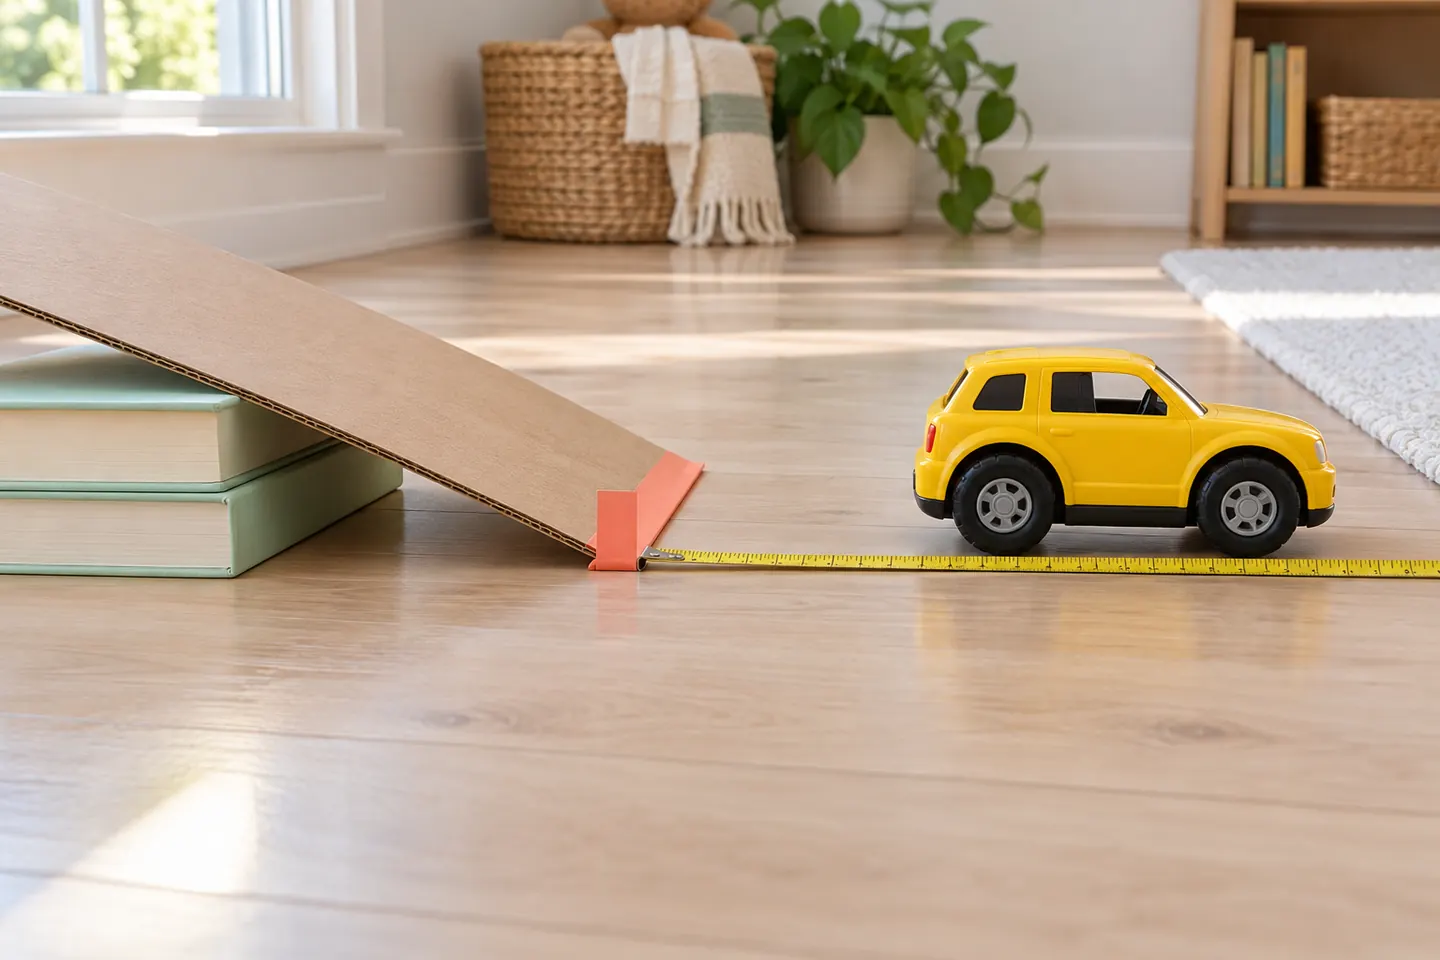
Choose a clear floor lane and tape the ramp so its lower end meets the floor smoothly. Mark a release line near the upper end. Mark zero at the lower end and measure to the front bumper after each run. Keep the same car, ramp, floor, and measuring method for both heights.
Investigate the ramp
1. Try a practice run
Place the car at the release line and lift your hand away. If it catches, check wheels, bends, and the floor join. Fix the setup before collecting results.
2. Make a prediction
Ask what might happen with a higher start and why. Record a drawing or a few words. A prediction gives you something to compare with the actual runs.
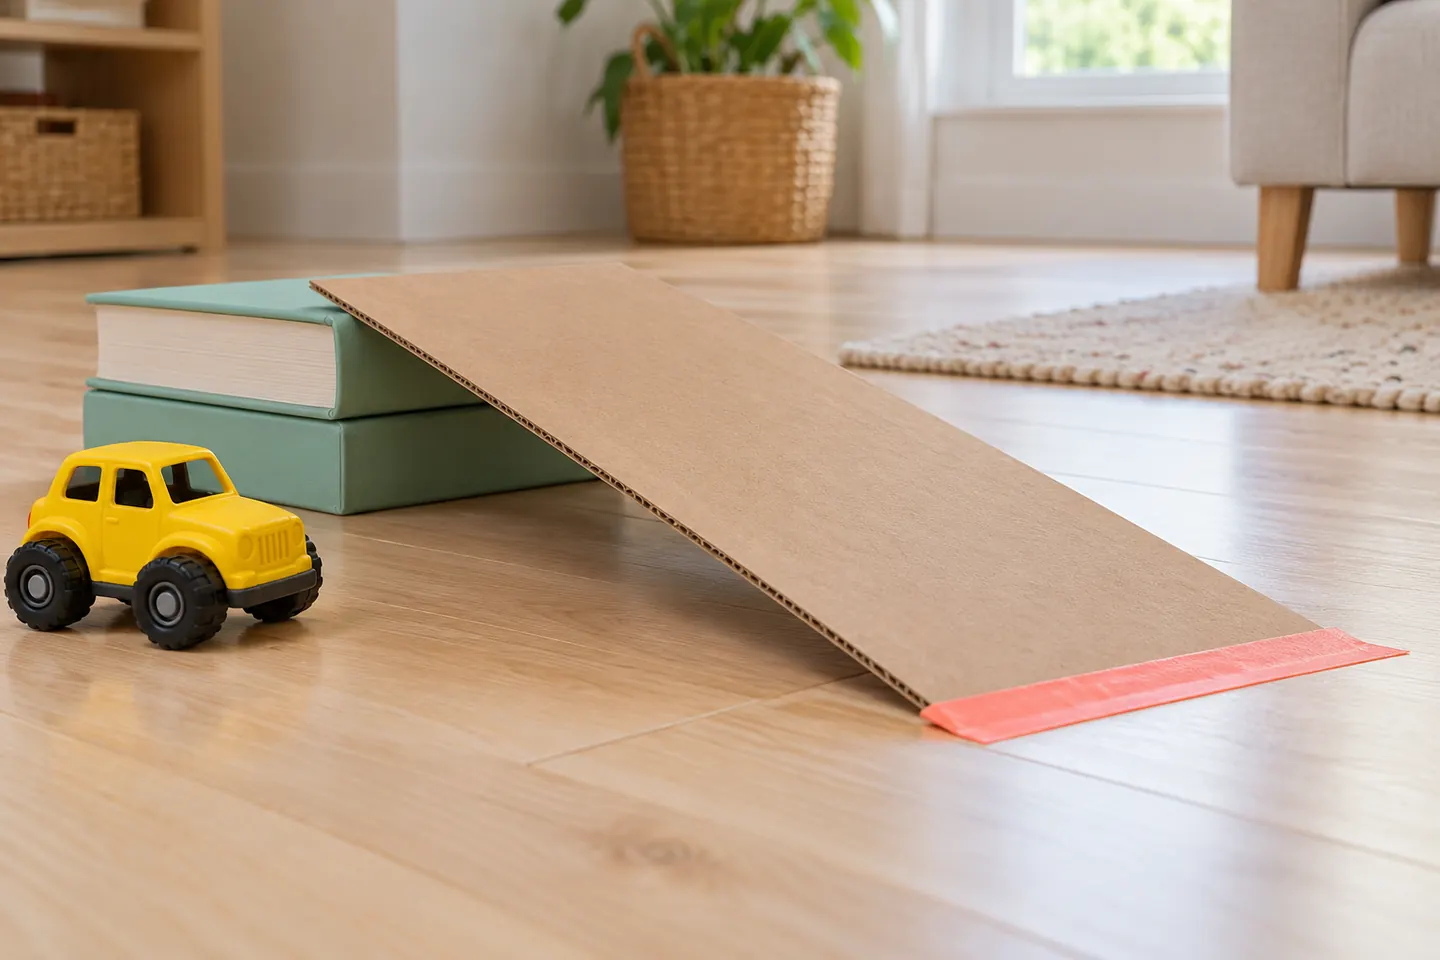
3. Release gently
Line up the same part of the car with the mark each time. Let go without pushing and wait until it stops. Keep hands and feet out of the lane during the run.
4. Measure the distance
Measure from floor zero to the stopped car’s front bumper, using the same unit. Write the result. If the car veers or gets an accidental push, note it and repeat that trial.
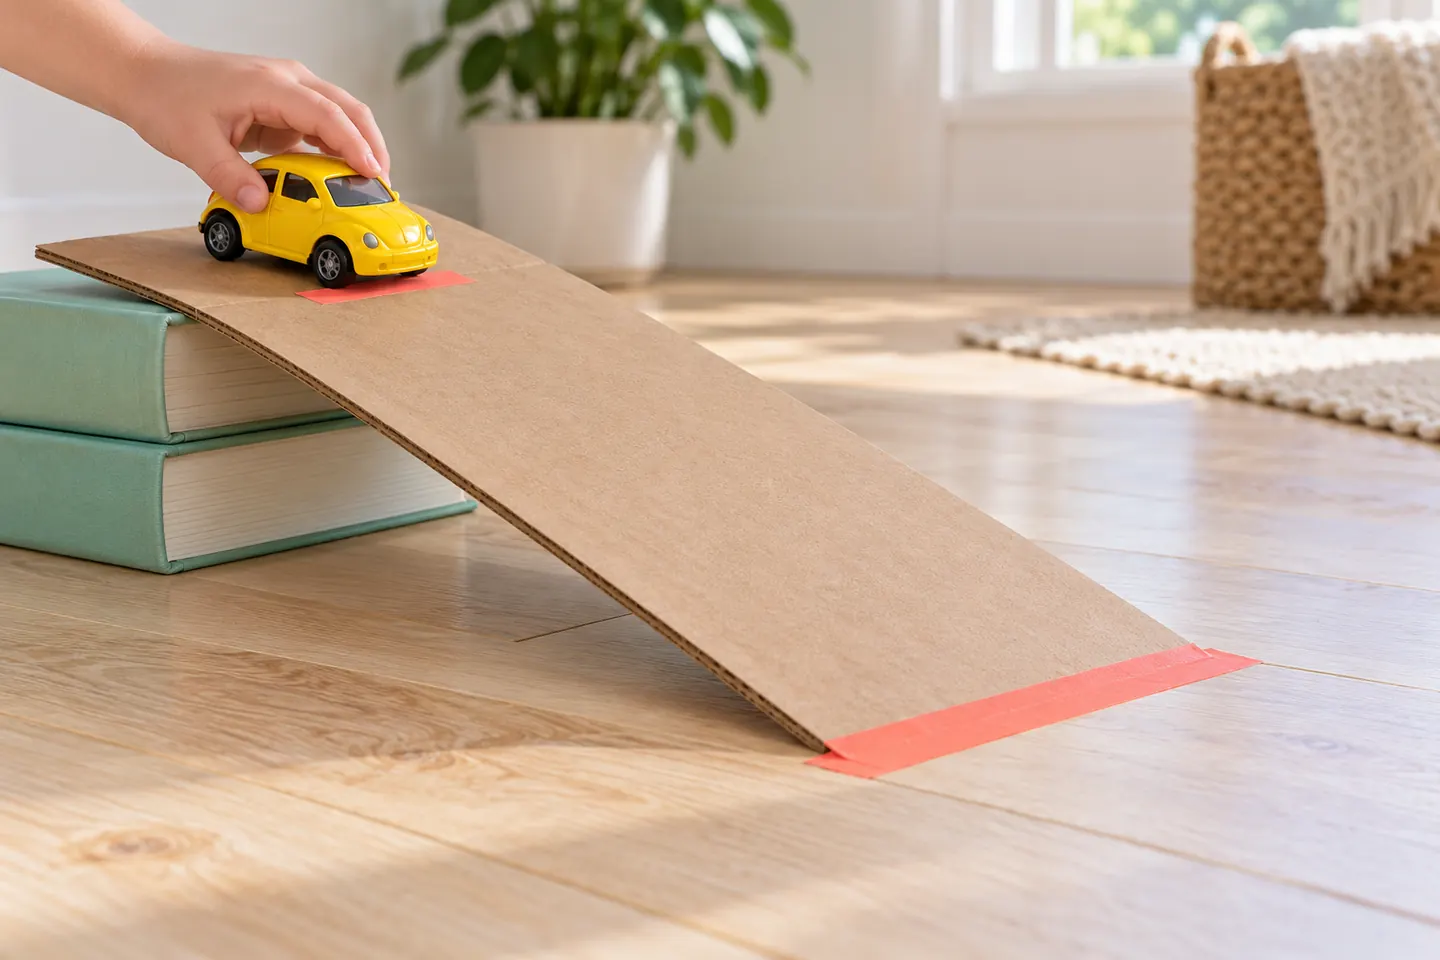
5. Repeat three times
Do three runs at the lower height. Check that the support and tape stay in place. Compare the shortest and longest distances; younger children can do this without calculating an average.
6. Raise and repeat
Change to the second low height while keeping the lower end, release mark, and other materials the same. Do three more runs and record them in another column.
7. Look at the results
Ask which setup usually sent the car farther and whether every run behaved alike. The higher arrangement changes the ramp’s slope and starting height together. Describe what this comparison shows rather than assuming every car would behave the same way.
Save your discoveries
Copy this simple layout onto paper and add your own observations. Drawing or dictated notes work just as well as independent writing.
| Ramp arrangement | Trial 1 | Trial 2 | Trial 3 | Notes |
|---|---|---|---|---|
| Lower support: record height | Measure | Measure | Measure | Observe |
| Higher support: record height | Measure | Measure | Measure | Observe |
What children can explore
Gravity pulls the car downhill; wheels, surfaces, and bumps affect the trip. Ask, “Which part needs to stay the same?” or “What could explain these two different distances?” Recording results makes the discussion concrete.
At home and in the classroom
At home, take turns releasing and measuring. In class, rotate releaser, observer, measurer, and recorder roles. Waiting groups can sketch their predictions or compare recorded runs.
Make it work for your group
Use a broad ramp, adult release, large measuring marks, or a partner recorder. Older children can calculate averages or investigate a new floor surface in a separate comparison.
Helpful fixes and cleanup
Sticking wheels need a freely rolling car. A bumpy floor join needs smoother tape placement. Wandering cars need a clearer lane and a check for ramp twist. Remove floor tape after testing and store the ramp flat with the results sheet.