Hanukkah
Design a Hanukkah Greeting Card
 Facebook
 Pinterest
 X
X LinkedIn
 Reddit
 WhatsApp
 Telegram
 Bluesky
 Email
Email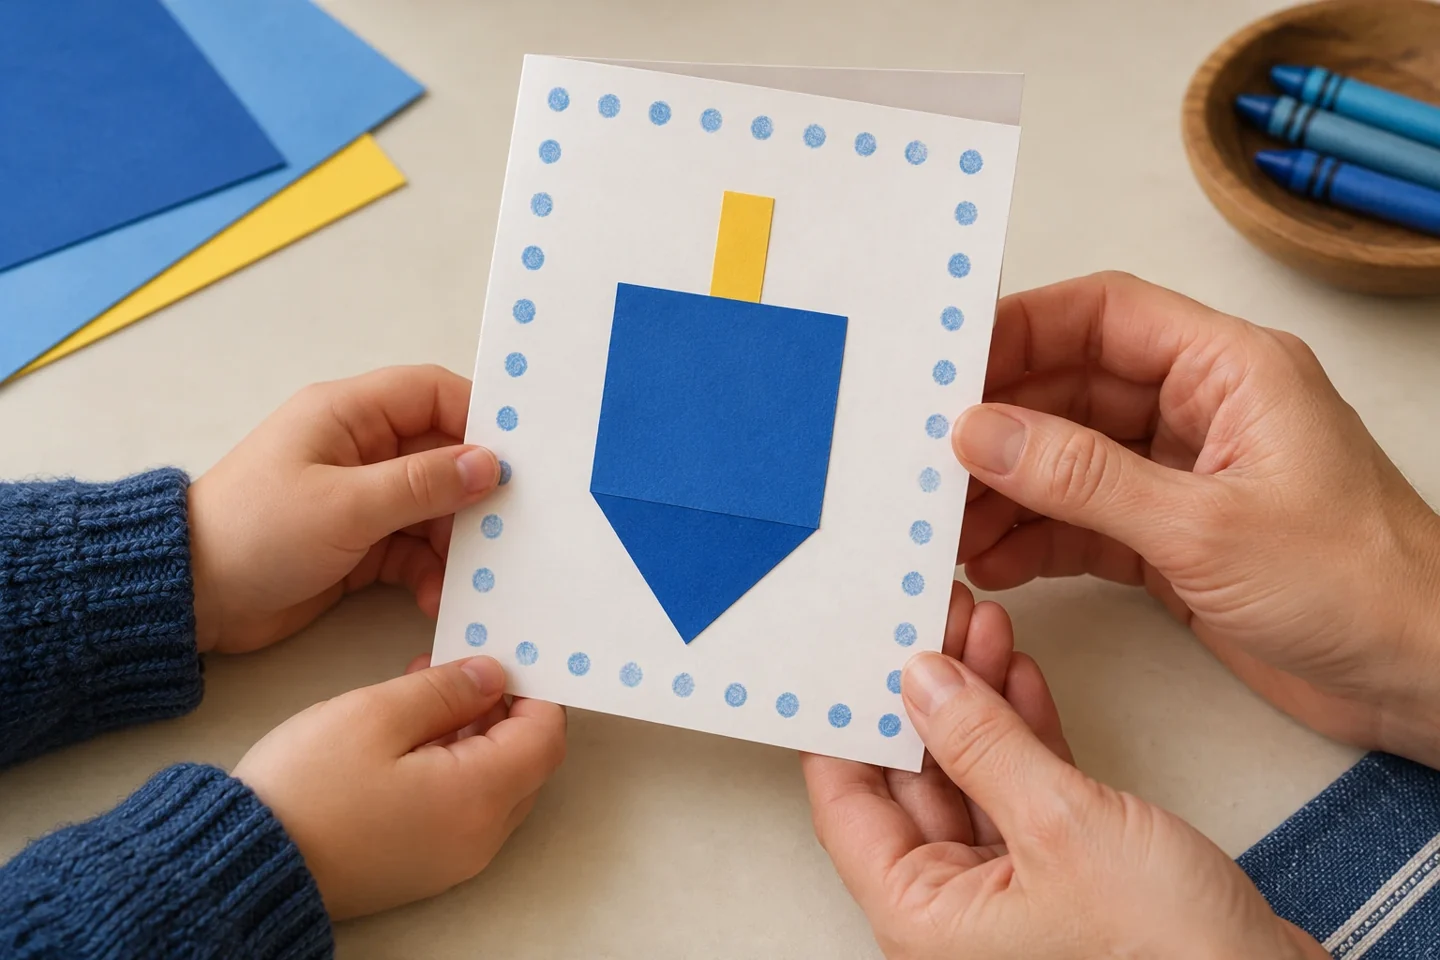
Your activity at a glance
| Suggested ages | 4–10 |
|---|---|
| Activity time | 25–35 minutes |
What you need
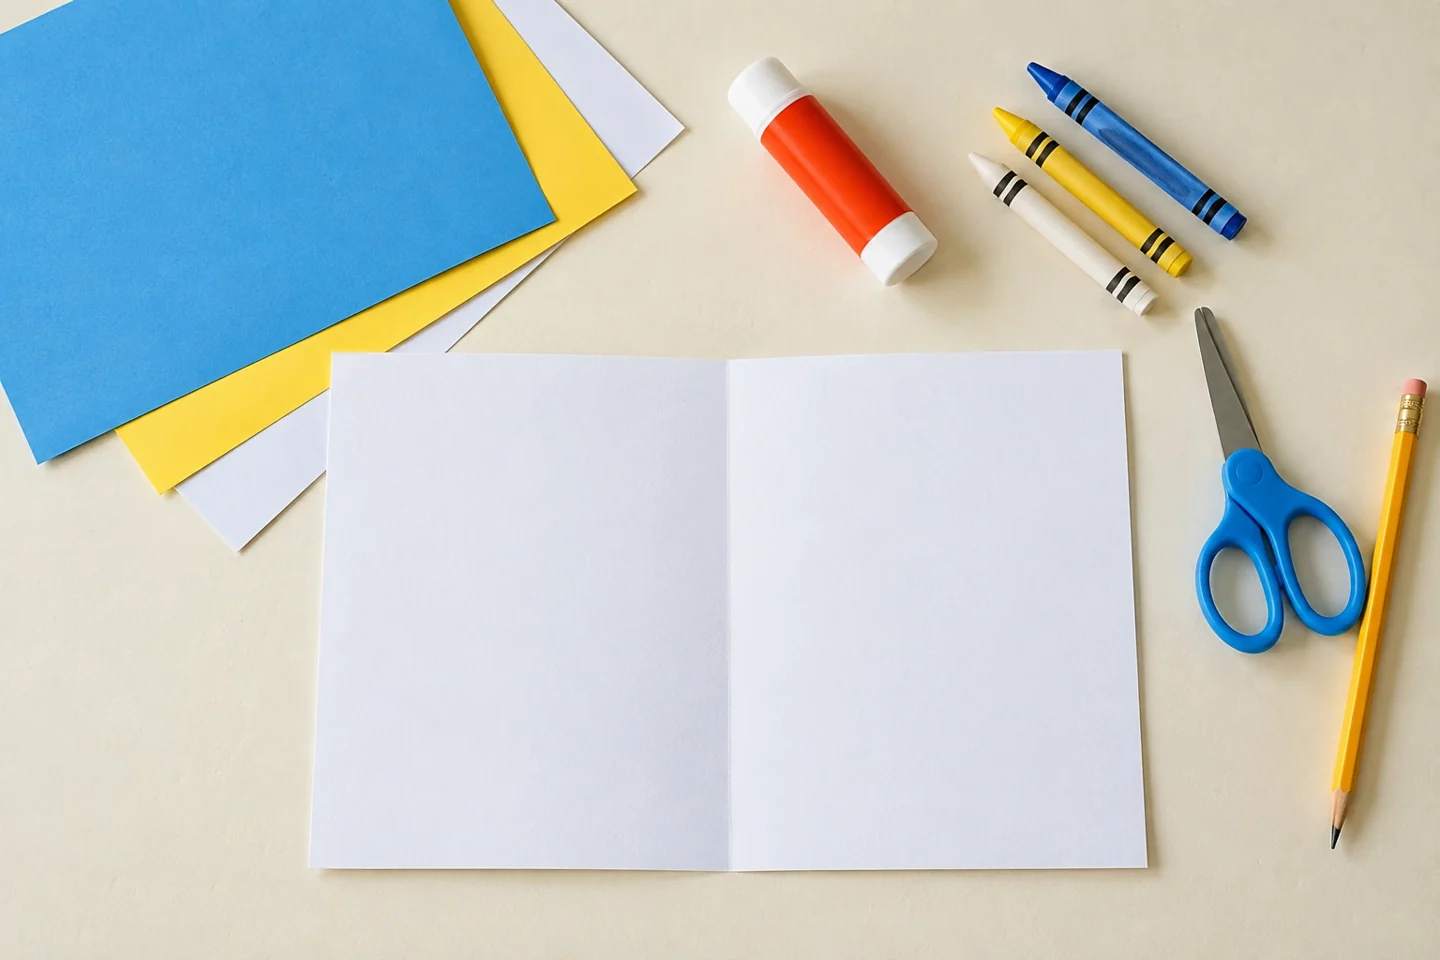
- 1 sheet of cardstock folded into a card
- Blue, white, yellow, or other chosen paper scraps
- Glue stick and crayons
- Child-friendly scissors
- Pencil for a personal greeting
Make a greeting with a clear focal picture
A handmade Hanukkah card combines a clear holiday-inspired picture with a personal message. Children can use a dreidel silhouette, a patterned border, or an accurately drawn nine-light menorah as their main design. The craft is flexible enough for torn-paper shapes or careful drawing. Most importantly, the card gives the child a real audience: someone they would like to greet, thank, or spend time with.
Before you begin
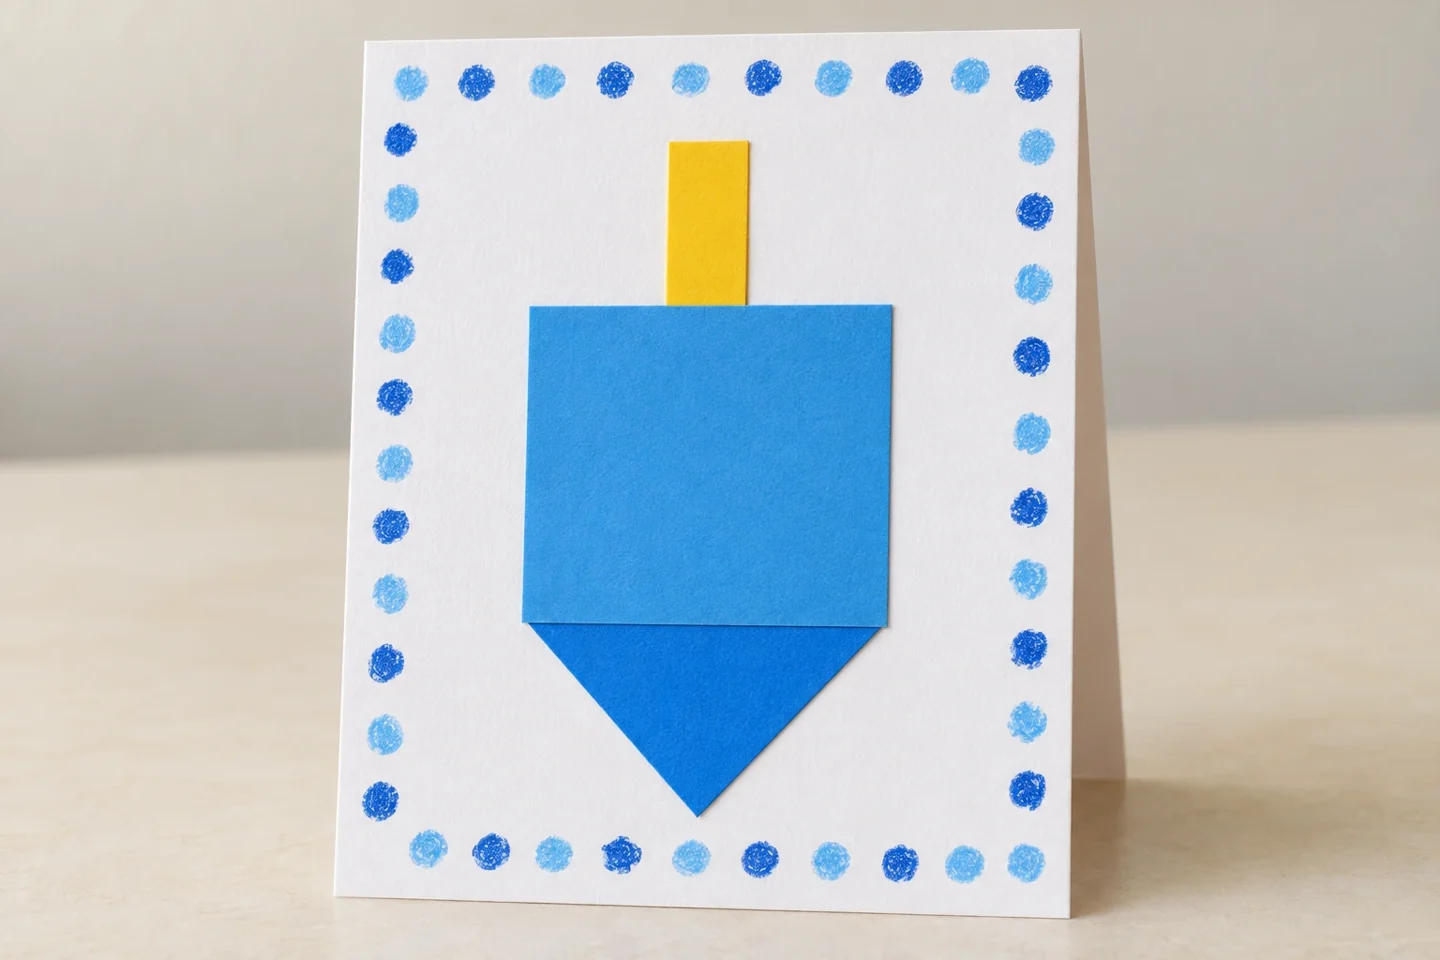
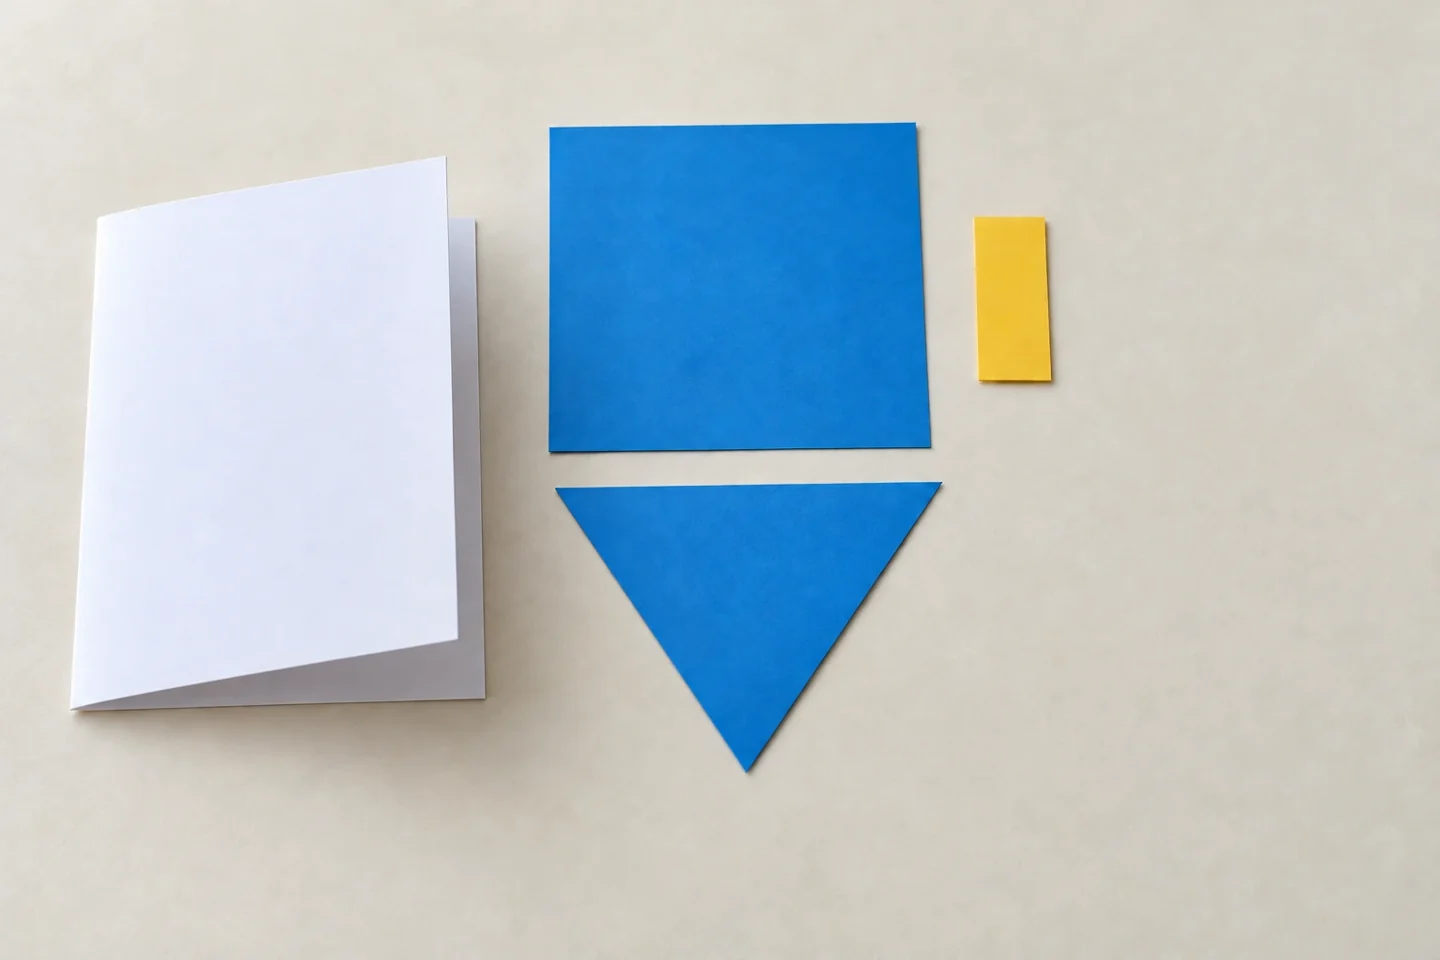
A thoughtful recipient gives the drawing a purpose. Ask whom the card is for, then keep a blank scrap sheet nearby for trying the design. This sample uses one unlettered dreidel made from a square, triangle and short rectangle. Fold the card before decorating so the child can see the front and message space.
Let’s make it, step by step
1. Choose the recipient
Ask who will receive the card and what the child wants to say. A greeting can be simple and personal. If the recipient celebrates Hanukkah, a holiday wish is appropriate; children can also make a general thank-you card with the person’s preferences in mind.
2. Fold the card
Fold cardstock in half and press the crease. Decide whether the card will open sideways or upward. Place a small pencil mark on the inside to help younger children keep the front oriented while they work. Leave the inside mostly clear for the message.
3. Choose one focal picture
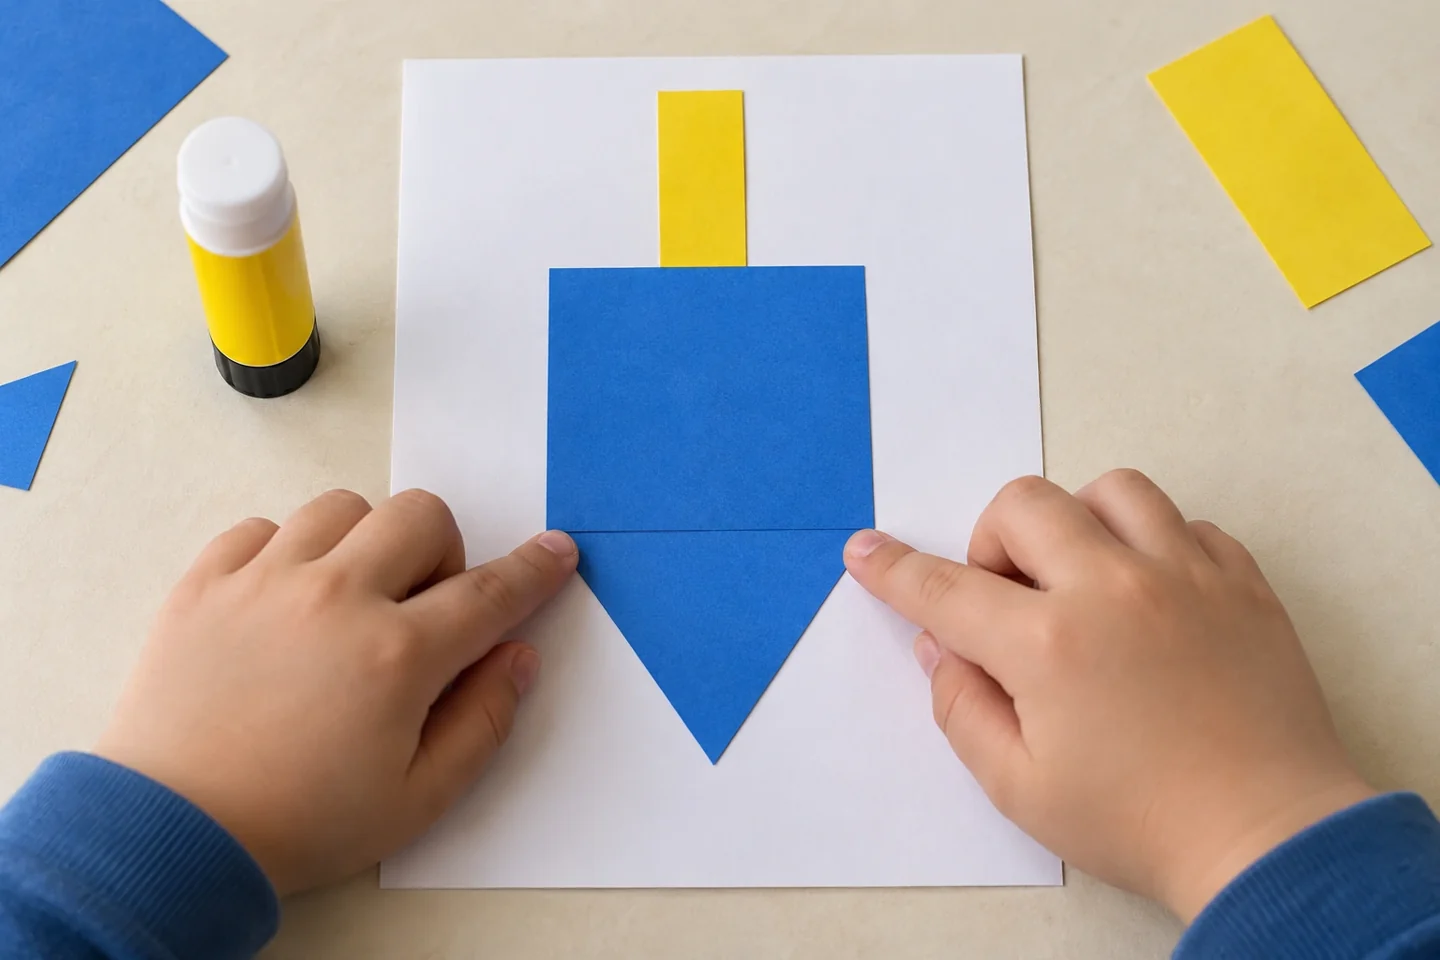
Draw or assemble one main picture rather than crowding the front. A dreidel can be a square body, pointed base, and short handle. If choosing a Hanukkah menorah, show eight equal holiday lights and a distinct shamash so the design is accurate.
4. Arrange paper pieces
Place the main shape and any border pieces before gluing. Move them until there is room around the design. Avoid unverified Hebrew lettering; use a checked reference and adult support if the child specifically wants Hebrew words or dreidel letters.
5. Attach the design
Glue paper pieces from the largest background shape to smaller details. Press the edges gently and keep the fold free from thick glue. Add crayon lines or dots after the main pieces grip. Flat paper keeps the finished card easy to close and deliver.
6. Write the greeting
Open the card and invite the child to dictate or write a message. Read it back together. An adult can help with names and spelling while preserving the child’s meaning. A short genuine sentence is more useful than a long message copied without understanding.
7. Check the finished card
Close and reopen it to make sure nothing catches at the fold. Look for loose corners and add a little glue if needed. Let the front dry flat. Add the child’s name inside or on the back before the card leaves the craft table.
8. Deliver and explain
Give the card in person or place it in an envelope once dry. Encourage the child to explain one design choice if they want. Keep a drawing of the card as a memory, or make a second version with a different arrangement for another recipient.
Talk, notice, and learn together
Ask, “What will the person notice first?” and “How does your picture connect with your message?” Children practice selecting information for an audience and arranging shapes so a design is readable. Dictating a greeting lets early writers participate without their ideas being limited by spelling.
Make it work at home or in a classroom
Younger children can decorate a pre-folded card with large torn-paper shapes. Older children can plan a front-and-inside layout or practice lettering from a verified reference. In a classroom, offer a general greeting-card option alongside the holiday-specific one so the activity remains tied to an actual chosen recipient.
Helpful fixes and cleanup
If the card bends under decorations, use lighter pieces or a firmer cardstock base. If writing space is crowded, glue a clean paper panel inside. Save scraps by color for later crafts and store finished cards flat until they are ready to deliver.
A useful way to extend the activity
Try viewing the card from an arm’s length away before adding more details. If the main picture is hard to recognize, remove a loose border piece or increase the contrast behind it. Children can make a draft greeting on scrap paper before writing inside. That small rehearsal is especially useful for names, where a spelling mistake can distract from an otherwise thoughtful message.