Sensory & Quiet-Time Activities
Make a Quiet Picture Puzzle From Your Own Drawing
 Facebook
 Pinterest
 X
X LinkedIn
 Reddit
 WhatsApp
 Telegram
 Bluesky
 Email
Email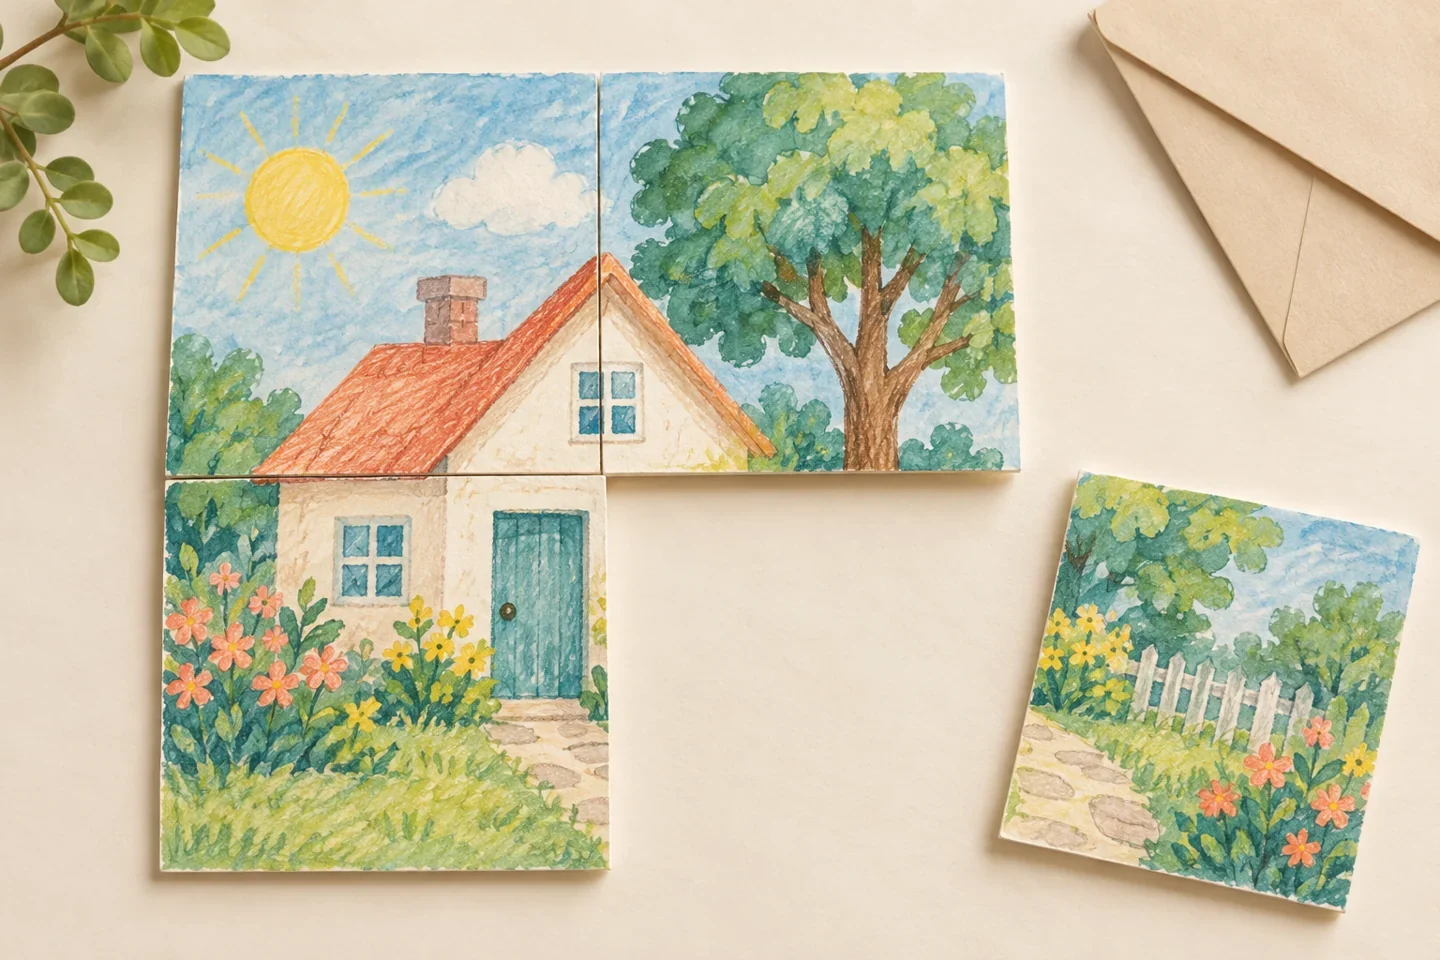
A familiar drawing can become a puzzle without printing a template or buying special supplies. Children make a picture on sturdy paper, then an adult divides it into a few large pieces. The drawing remains the child's own, whether it is a scene, broad marks, or an abstract design. Piece count can stay low, and assembly is not a race.
At a glance
| Suggested ages | 5–9 |
|---|---|
| Activity time | 20–35 minutes |
| Adult setup | 5 minutes plus adult cutting |
| Participation | Individual or small group; watching, pointing, and partner assistance are welcome |
What you need
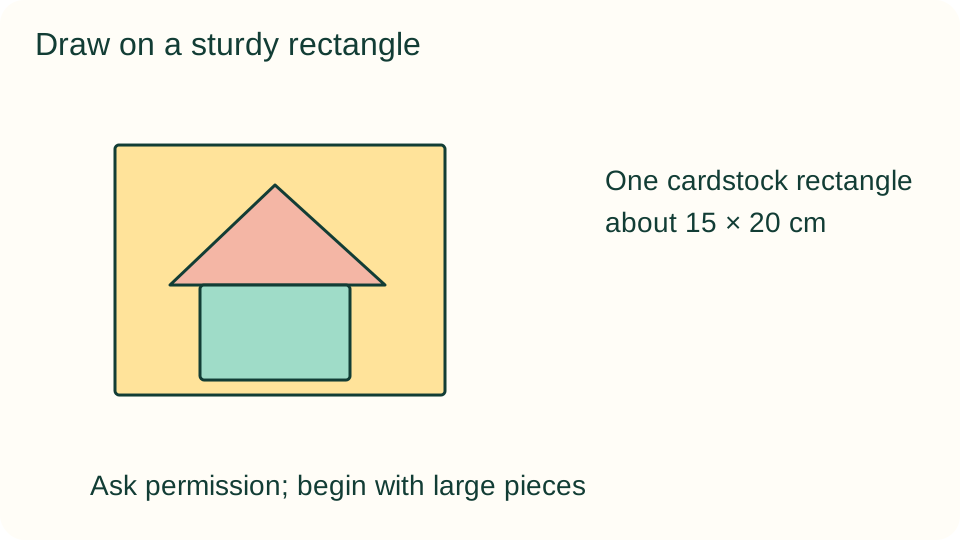
- One cardstock rectangle about 15 × 20 cm
- Crayons or familiar drawing tools
- Adult scissors, a flat working mat, and an envelope or folder
Get ready
Ask before cutting the drawing; a child may prefer to keep it intact. Make a separate picture for the puzzle if needed. An adult manages cutting. Avoid very small pieces or complex interlocking cuts, and prepare a clear tabletop where loose pieces cannot easily fall or become mixed with another puzzle.
Try the activity
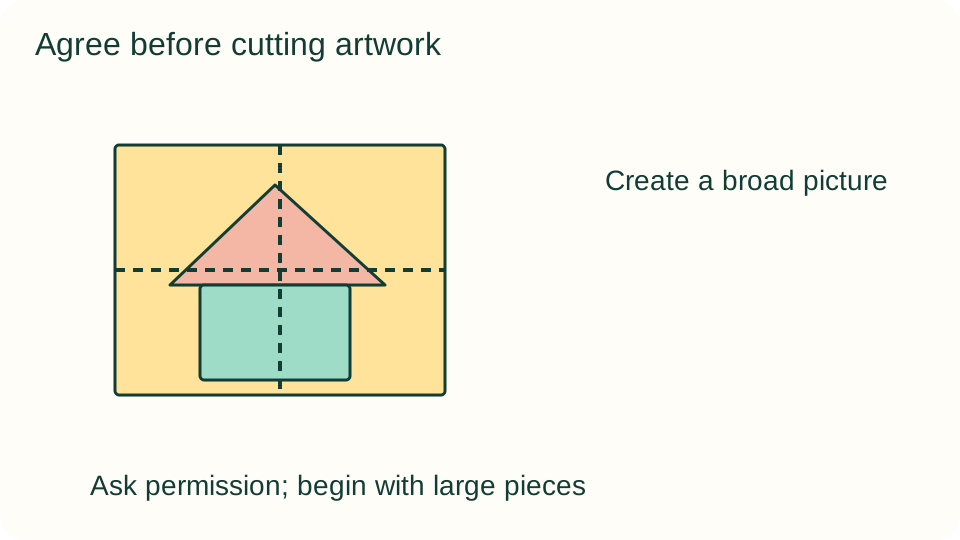
1. Create a broad picture
Invite a drawing with marks spread across the card. Large color areas or a recognizable shape can make the pieces easier to reconnect. Do not require a detailed picture. Leave the card flat while drawing so creases do not interfere with assembly.
2. Choose the difficulty together
Agree on two, four, or six large pieces. Start with fewer pieces if the child is unsure. A child may decide where some dividing lines go, but the adult checks that each resulting piece is large enough to handle and does not have a fragile narrow tip.
3. Save a reference if wanted
An adult may take a reference photograph on a household device, or simply show the whole picture again before cutting. A reference is optional, not a downloadable file supplied by this guide. Do not post the child's name or image publicly to make the activity work.
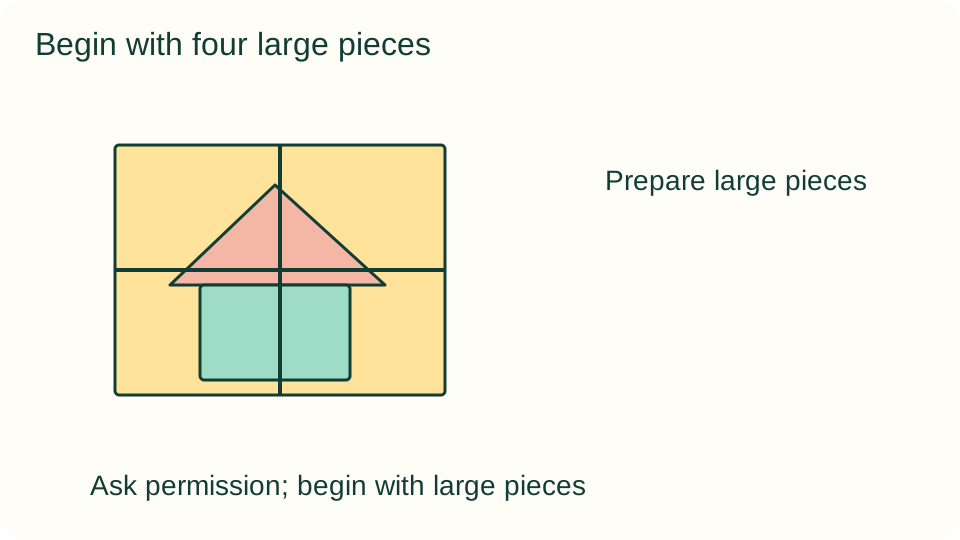
4. Prepare large pieces
For four pieces, cut once across the center and once from top to bottom, producing four large rectangles. Slightly uneven dividing lines are acceptable. Keep all pieces from one picture together and put scissors away before the child begins arranging.
5. Rebuild on a flat surface
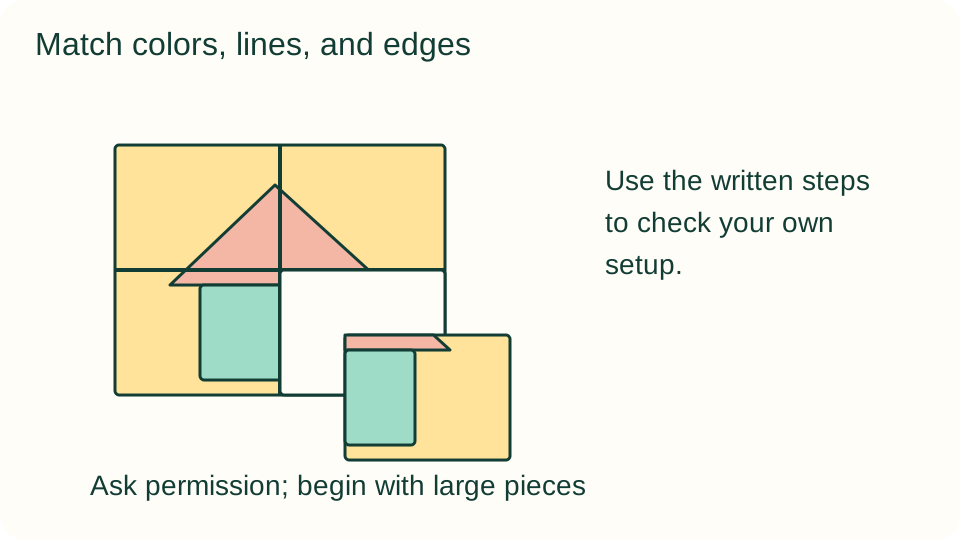
Place pieces picture-side up on the mat. Look for matching colors, continuing lines, and outside edges. Offer one joined pair as a starting point if wanted, or ask which pieces might connect. Avoid moving every piece into place while describing the activity as independent.
6. Reset or store
After assembly, the child can mix the pieces and try again, leave the picture built, or store it. Put a simple drawing symbol on the envelope to identify the puzzle. Increase piece count on a new picture later rather than cutting this one smaller without permission.
What children can explore
The activity invites looking for continuity, turning pieces, and comparing positions. Familiar artwork can offer helpful clues, but it does not make every puzzle easy. Ask what clue led to a connection and accept an arrangement that is still in progress. Completing the picture is an option rather than a condition for ending.
Make it work for your group
Use two large halves for beginners or make a thick marker outline before cutting. Older children may choose six broad pieces or assemble without looking at a reference. A partner can turn or position pieces at the child's direction when handling them is difficult.
At home and in the classroom
At home, keep one puzzle on the table at a time. In a classroom, use separate mats and envelopes, with a discreet identifying symbol to prevent mixed sets. Invite children to ask before borrowing another person's drawing puzzle, and provide a non-cut drawing choice beside the station.
Return to it another day
If the child wants to return, save usable materials and unfinished work together. Ask which part they would like to try again rather than increasing the difficulty automatically. Watching, using a tool, choosing another material, or stopping are valid options; this guide does not promise a particular emotional response.
Helpful fixes and cleanup
If pieces curl, flatten them inside a folder; avoid pressing with heavy objects where children can disturb them. If assembly is frustrating, offer the reference or join one pair, then allow a pause. Count pieces into the envelope together and check the floor before putting the puzzle away.