Sensory & Quiet-Time Activities
Create a Reusable Quiet-Time Drawing Tray
 Facebook
 Pinterest
 X
X LinkedIn
 Reddit
 WhatsApp
 Telegram
 Bluesky
 Email
Email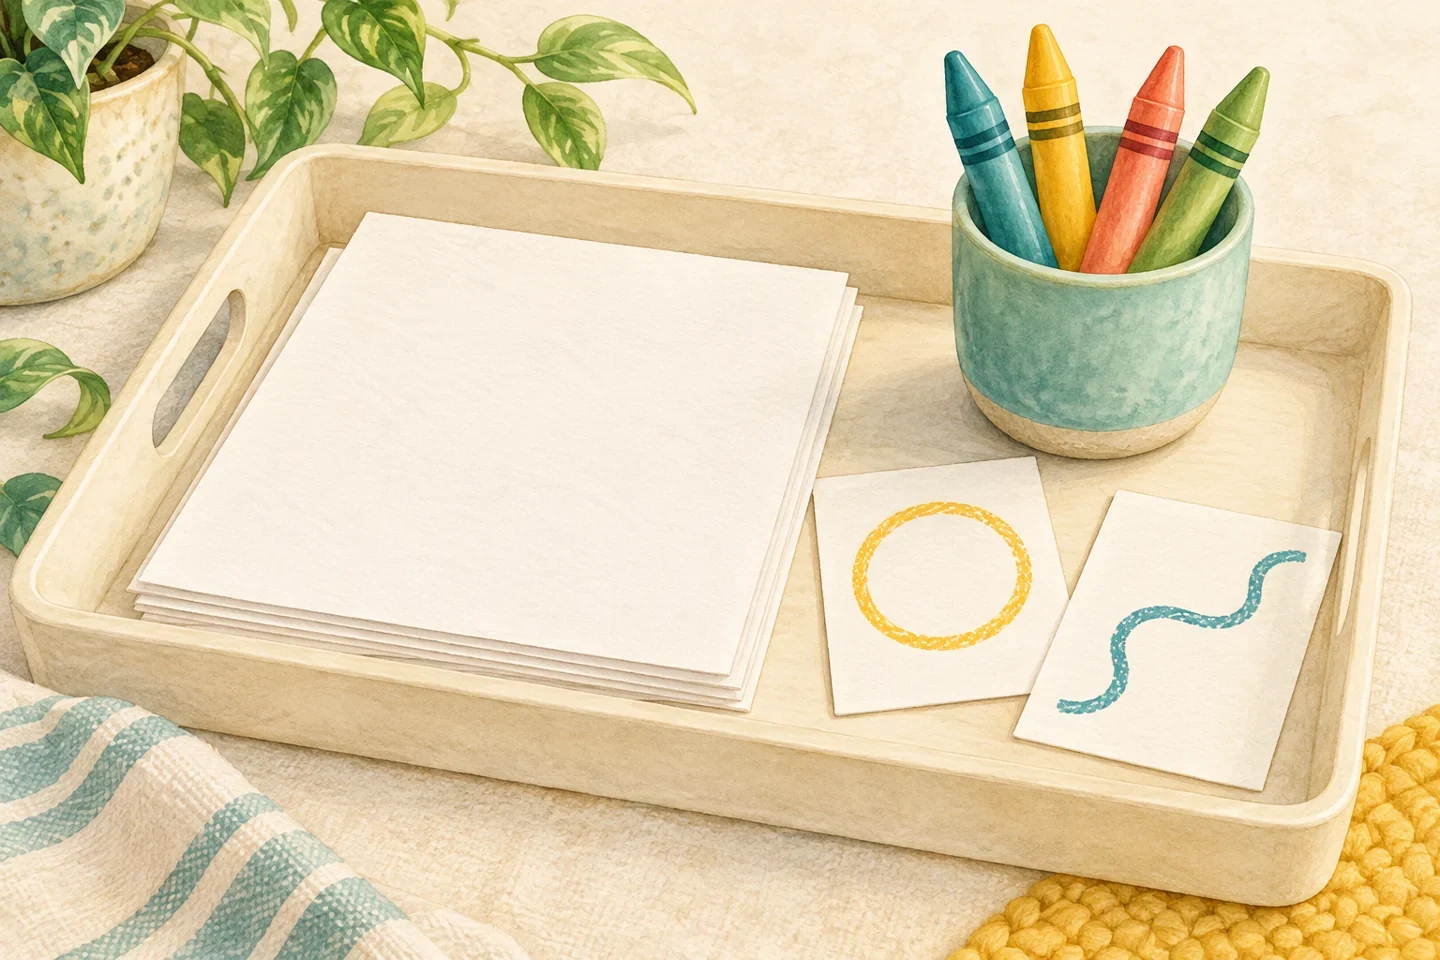
A drawing tray brings a few familiar materials together so they are ready when a child wants a small creative session. This guide is about arranging and maintaining the station, not making another choices board. Start with a modest selection. The child can draw freely, try an optional invitation, or leave the materials until another time.
At a glance
| Suggested ages | 4–9 |
|---|---|
| Activity time | 15–30 minutes |
| Adult setup | 5–10 minutes |
| Participation | Individual or small group; watching, pointing, and partner assistance are welcome |
What you need
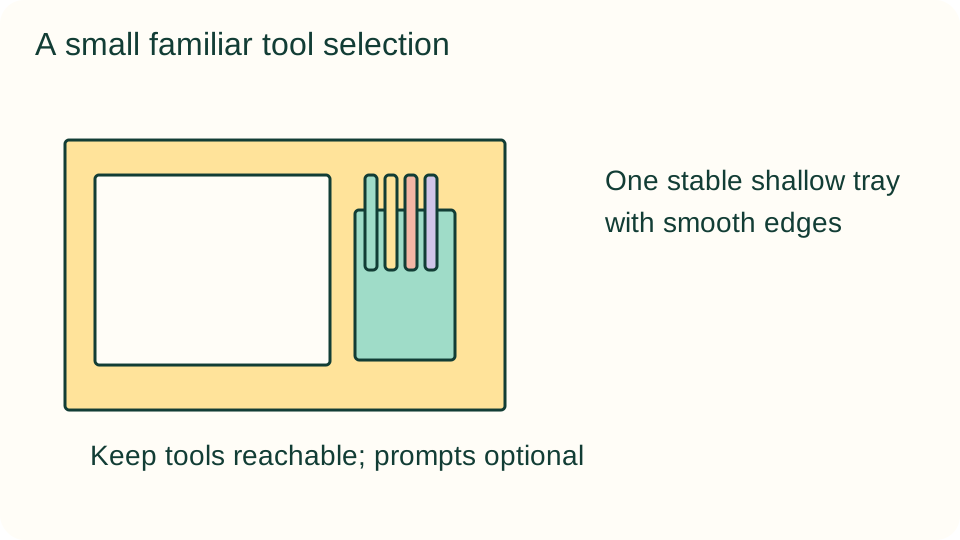
- One stable shallow tray with smooth edges
- Six sheets of drawing paper and four to six familiar crayons
- A small open crayon container, pencil, and two optional picture-prompt cards
Get ready
Choose age-appropriate drawing tools and check for damaged pieces. Arrange the tray on a table or other stable reachable surface; it need not balance on a lap. Avoid overfilling containers. An adult decides where completed work and used paper will go before introducing the station.
Try the activity
1. Choose a manageable set
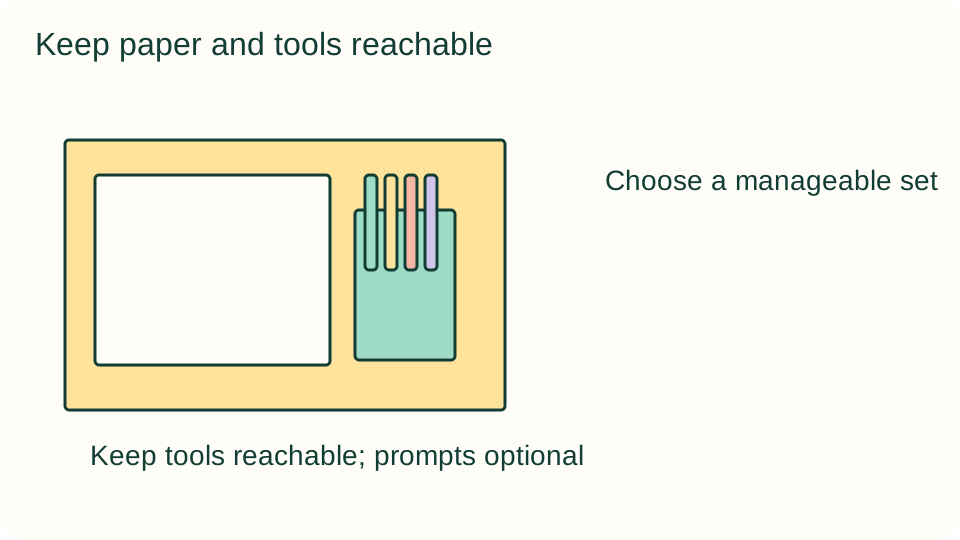
Select a few crayons that the child already uses comfortably. Put the remaining colors elsewhere for later rotation. Place enough paper for several drawings without creating a slippery tall stack. A smaller set can be easier to find and return than a crowded supply box.
2. Arrange reachable zones
Lay paper flat on one side and put tools in a low container on the other. Test whether the child can reach both without tipping the tray. Leave a clear drawing space; the tray stores materials but does not have to become the drawing surface.
3. Add optional invitations
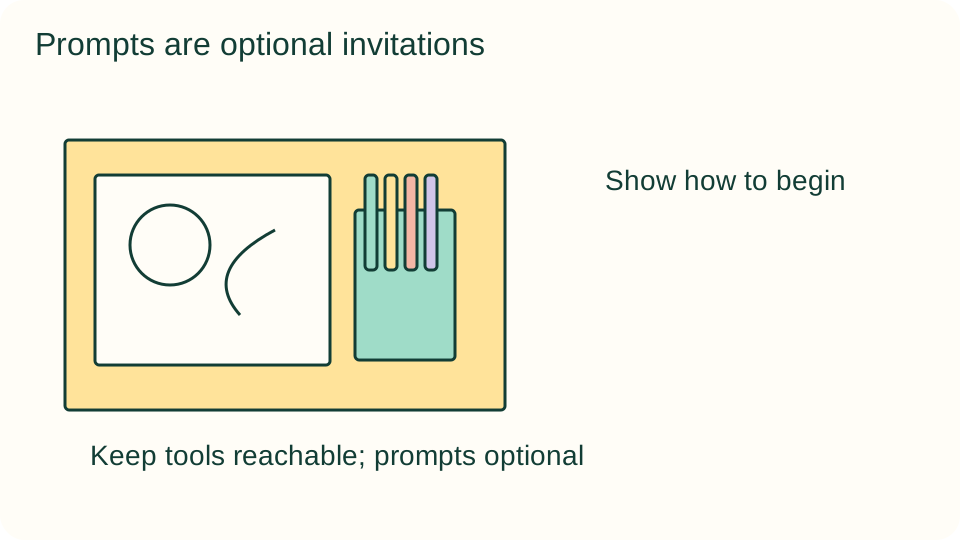
Draw a large circle on one prompt card and a winding line on the other. A child might turn either into a picture, trace it, or ignore it. Do not label these as assignments or require a completed example before the child can draw independently.
4. Show how to begin
Take one sheet and choose a tool, then return the tool when finished. Demonstrate this briefly without making an elaborate picture for comparison. Ask whether the tray placement works for the child, and adjust its position before adding more materials.
5. Make room for ongoing work
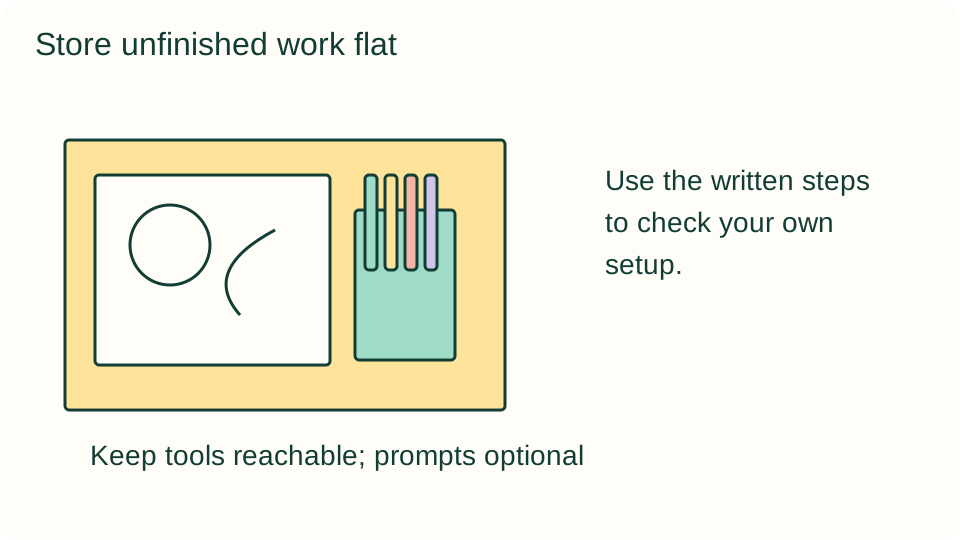
Provide a flat folder or a designated part of the table for a drawing in progress. The child can pause without losing the picture. If several children share the station, use separate paper folders so one person's unfinished work does not become another person's scrap.
6. Review and refresh
After a few sessions, notice which supplies get used and which create clutter. Replace worn paper and damaged tools. Rotate one optional prompt or color only when useful, keeping familiar materials available. The station should remain recognizable rather than changing completely every day.
What children can explore
Children can explore choosing tools, making marks, and organizing a small workspace. The station does not guarantee quiet behavior or independent use for a fixed duration. Ask which placement or material makes the activity easier to start. A child's preference for one repeated drawing is a valid choice.
Make it work for your group
Offer large paper and thicker tools for easier handling. Remove prompt cards for a child who prefers an open page, or supply a simple large shape if a starting point helps. Older children may add a notebook, but do not make writing a condition of using the tray.
At home and in the classroom
At home, keep the tray in an accessible agreed location, with adult supervision appropriate to the child. In a classroom, provide clearly separated personal work folders and a small occupancy limit. Avoid treating the station as a reward that can be earned only through perfect behavior.
Return to it another day
If the child wants to return, save usable materials and unfinished work together. Ask which part they would like to try again rather than increasing the difficulty automatically. Watching, using a tool, choosing another material, or stopping are valid options; this guide does not promise a particular emotional response.
Helpful fixes and cleanup
Return tools to the container and separate fresh paper from scraps. Wipe the tray with a method suitable for its material. If it feels crowded, remove supplies instead of adding larger bins. Check sharp or damaged tools before storage, and replenish only what the next session needs.