Sensory & Quiet-Time Activities
Make a Folded-Paper Drawing Book: A Quiet-Time Activity for Kids
 Facebook
 Pinterest
 X
X LinkedIn
 Reddit
 WhatsApp
 Telegram
 Bluesky
 Email
Email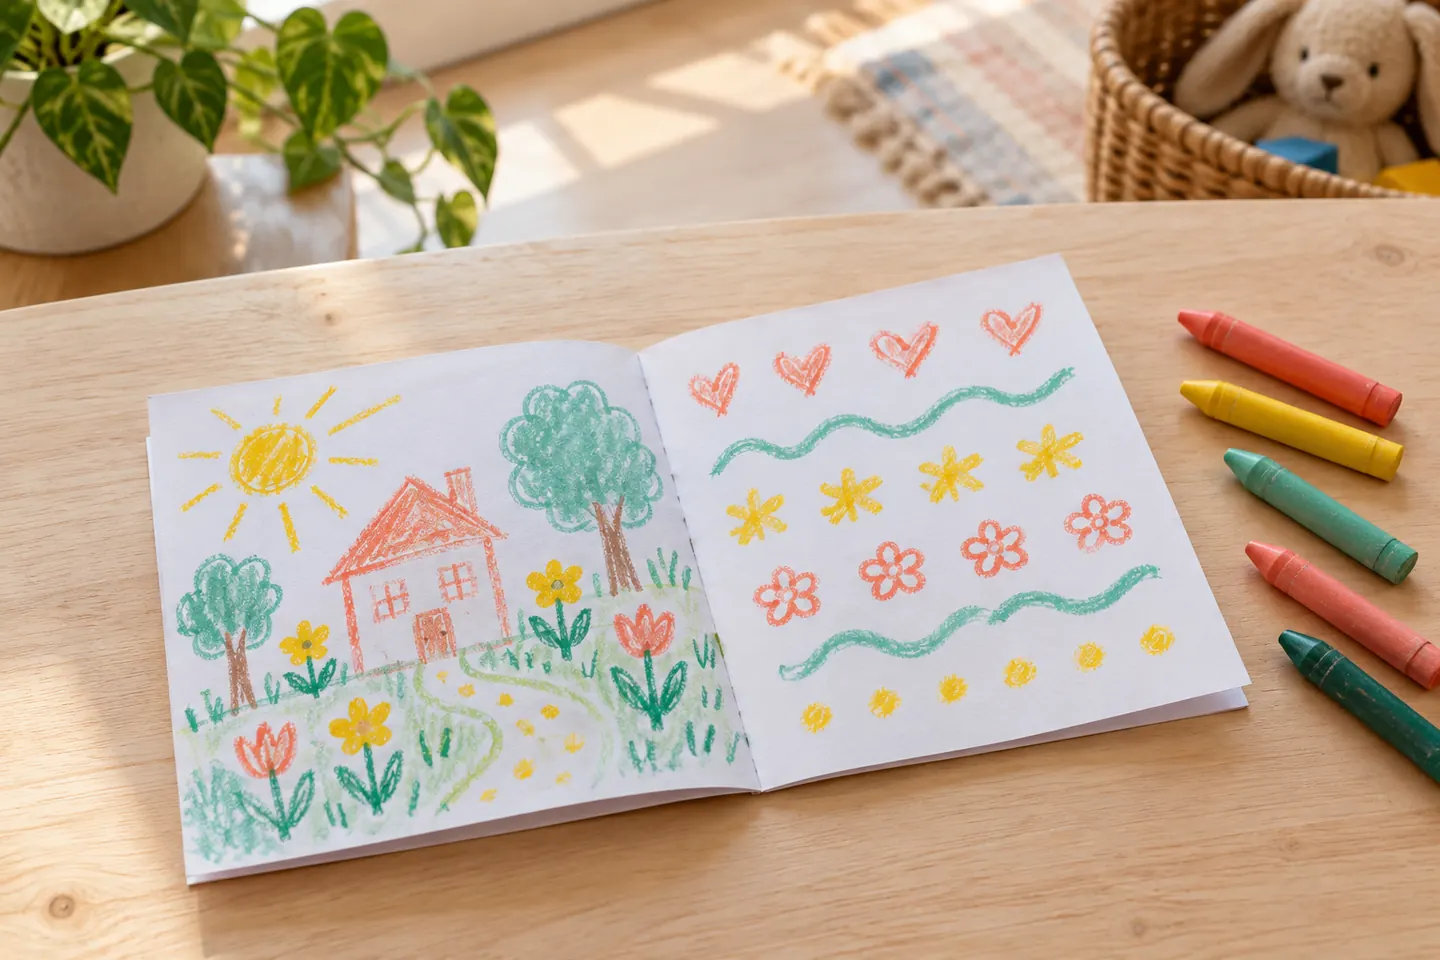
Two sheets of paper can become a little book full of a child’s own drawings. Fold, nest, and choose a cover, then fill a page with an idea—or save it for another day.
This staple-free version is easy to make for quiet time at home or a classroom drawing session. The book can tell a story, collect patterns, or hold a mixture of things its maker enjoys.
At a glance
- Suggested ages: 4–10.
- Preparation: About 5–10 minutes; draw for 15–30 minutes or return to the book later.
- Group size: One child or a classroom working individually.
What you need
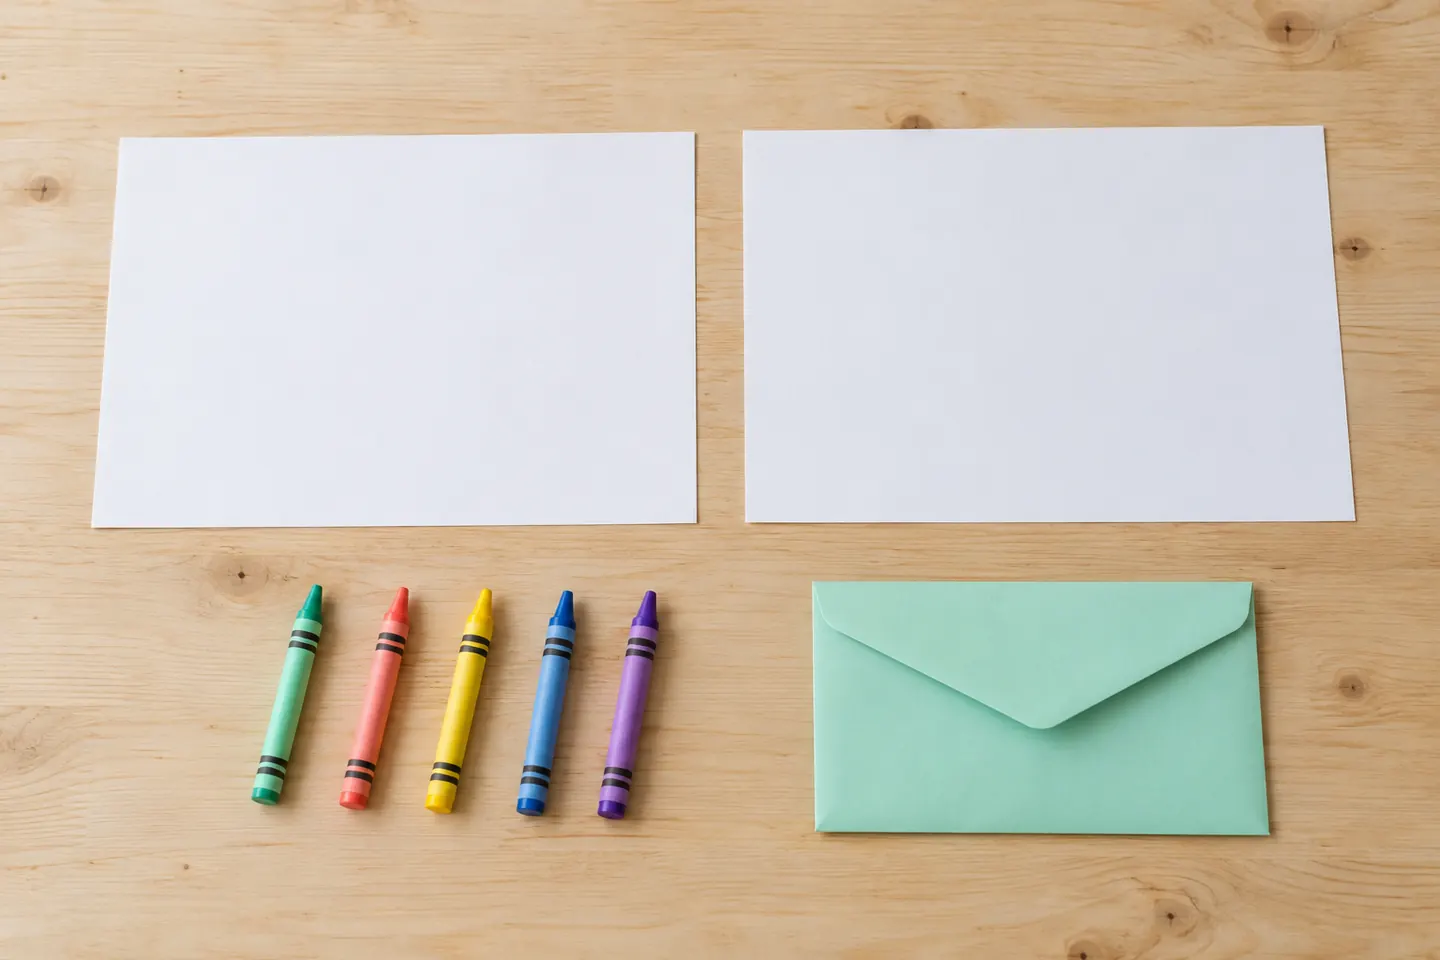
- Two plain sheets of the same size.
- Crayons or colored pencils.
- An envelope or folder for storing the loose book.
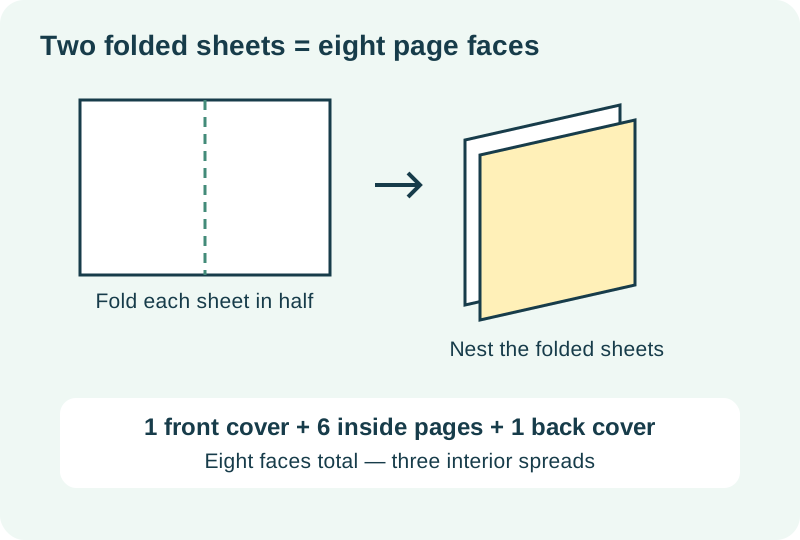
For 24 children, prepare 48 sheets plus spares and shared drawing supplies. Two folded sheets make eight page faces including the front and back covers: six inside pages. An extra folded sheet makes twelve faces including covers.
Set out a simple invitation
Clear a small drawing space and keep a few colors within reach. Try two or three prompts, such as “Draw a tiny place,” “Make a page of lines,” or “Draw something you noticed today.” Children can choose one, invent another, or begin without a prompt.
Make the little book
1. Fold one sheet
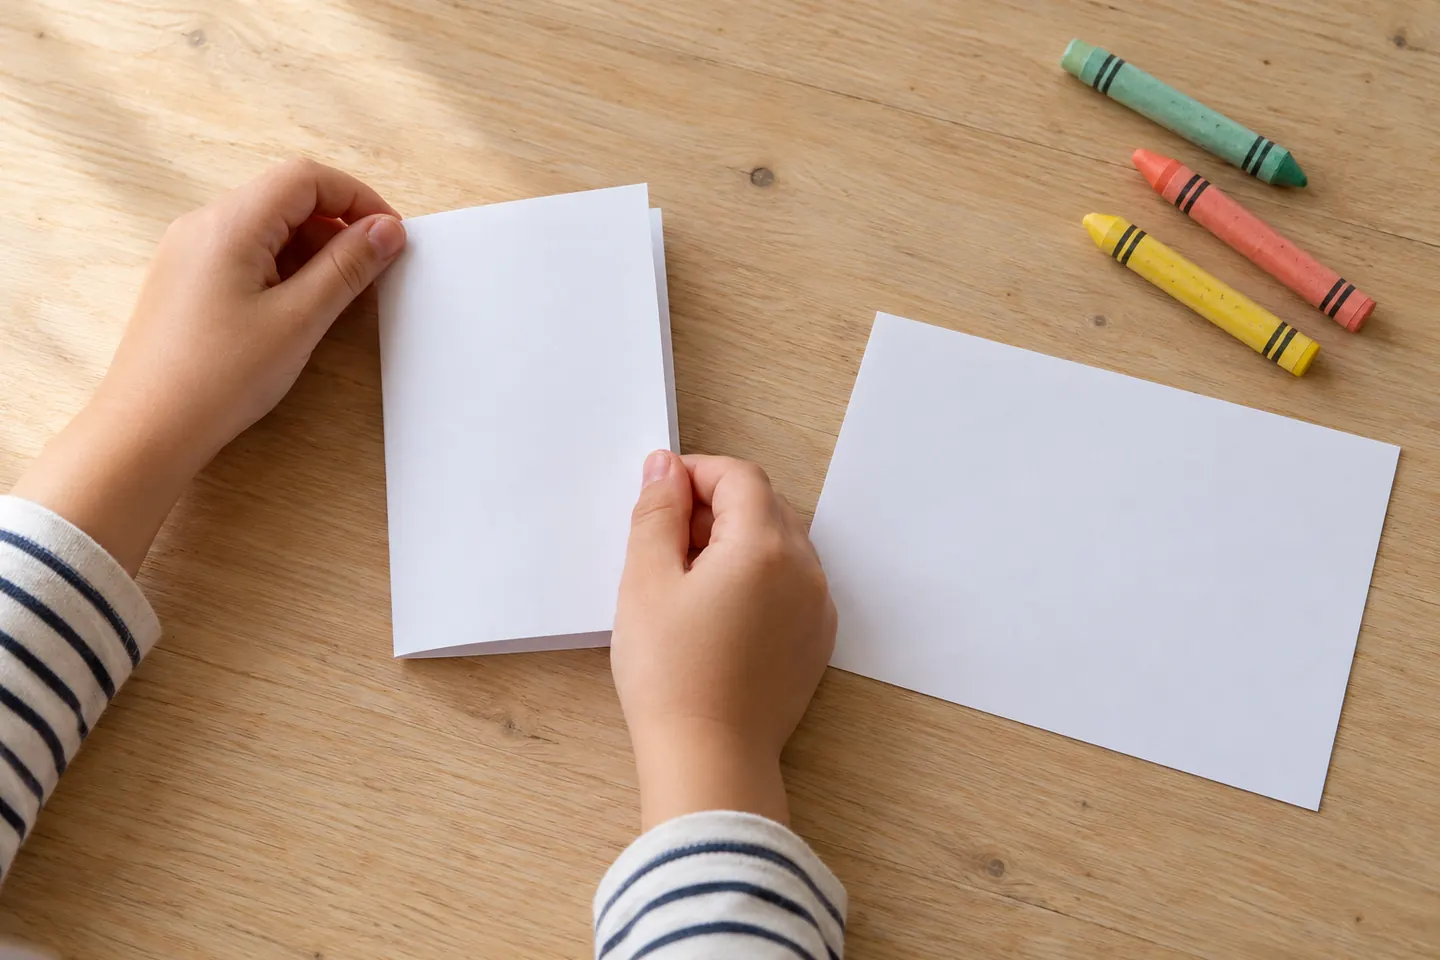
Place the sheet landscape and bring its short edges together. Match the corners and smooth the fold with fingertips. An adult can steady the paper or offer a prefolded sheet.
2. Fold the second
Repeat in the same direction. Check that the folded sheets are similar in size. Slightly uneven edges are fine; trimming is optional.
3. Nest the pages
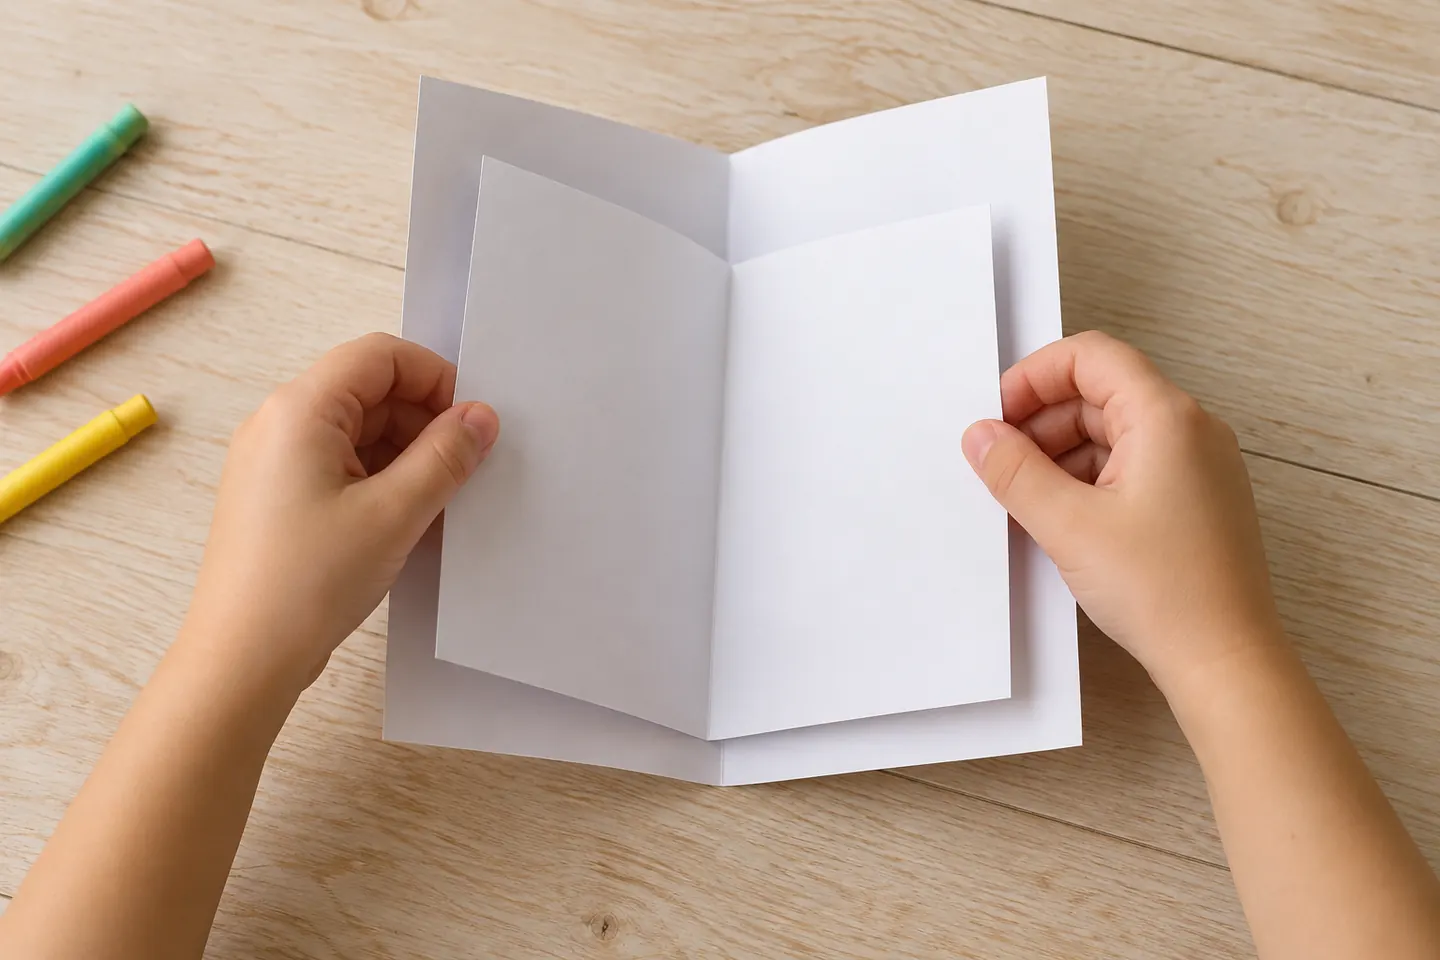
Open the first sheet partway and place the second inside it with the folds aligned. Close them together and turn the faces slowly, holding near the fold.
4. Choose the cover
Decide which outside face is the front. Add a title, picture, symbol, or pattern. A name or identifying detail is unnecessary if the book will be displayed publicly.
5. Explore the inside
Count the eight faces including both covers if your child is interested. Choose one inside page or spread to begin. “My Tiny Things Book” might start with one small drawing and grow over several sessions.
6. Add words if wanted
Write a label, a short sentence, or words dictated to an adult. Ask where the writing should go before adding it to the drawing. A wordless book or one using a home language works beautifully too.
7. Save it for later
Place the nested sheets in the folder so they stay together. The next blank page is ready whenever the child wants another turn. Finishing every page is optional.
What children can explore
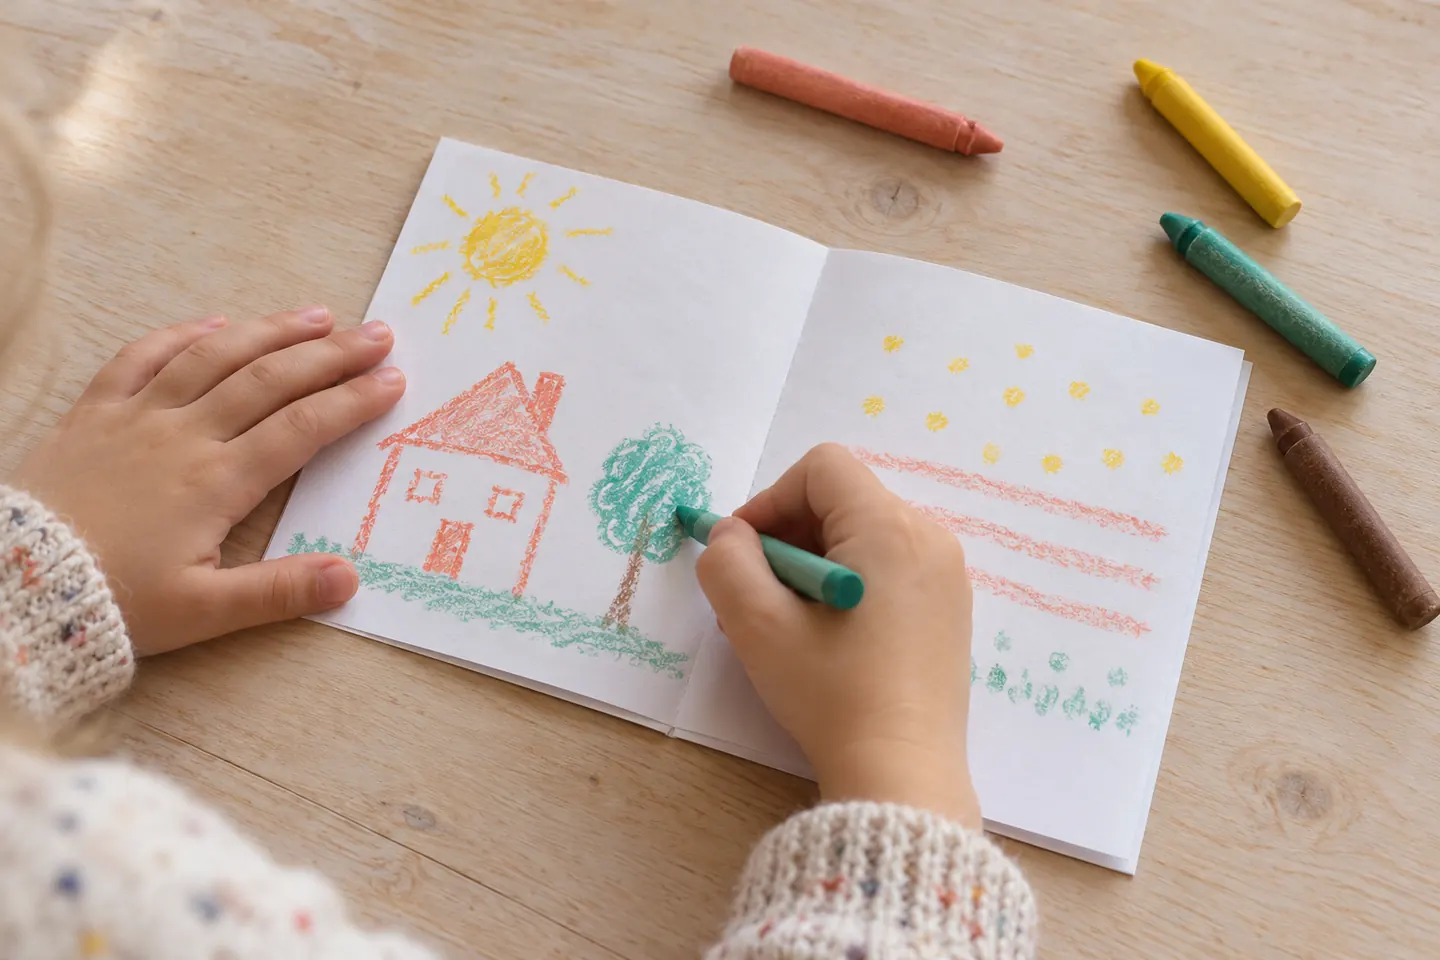
Folding and nesting introduce how pages become a book. Drawing, choosing a sequence, and adding labels offer different ways to share ideas. Ask, “Which page would you like someone to see first?” or “Would a title help describe your collection?”
At home and in the classroom
At home, make a book beside your child and share a page only if they want to. In class, begin with a short folding demonstration, then let children choose their subject. Folders make it easy to continue across several quiet-time sessions.
Make it work for your group
Use one sheet for a four-face book, provide prepared folds, or let an adult steady the pages. Older children can number the faces or plan a connected story. Adult binding is optional; the loose version needs no fasteners.
Helpful fixes and cleanup
Pages slipping? Align the folds and hold near the spine. Too much blank space? Start with one spread. Drawing idea missing? Offer two simple prompts. Collect pencils and store the book in its folder, ready for its next page.