STEM & Discovery
Paper Bridge Challenge: How Much Can Your Bridge Hold?
 Facebook
 Pinterest
 X
X LinkedIn
 Reddit
 WhatsApp
 Telegram
 Bluesky
 Email
Email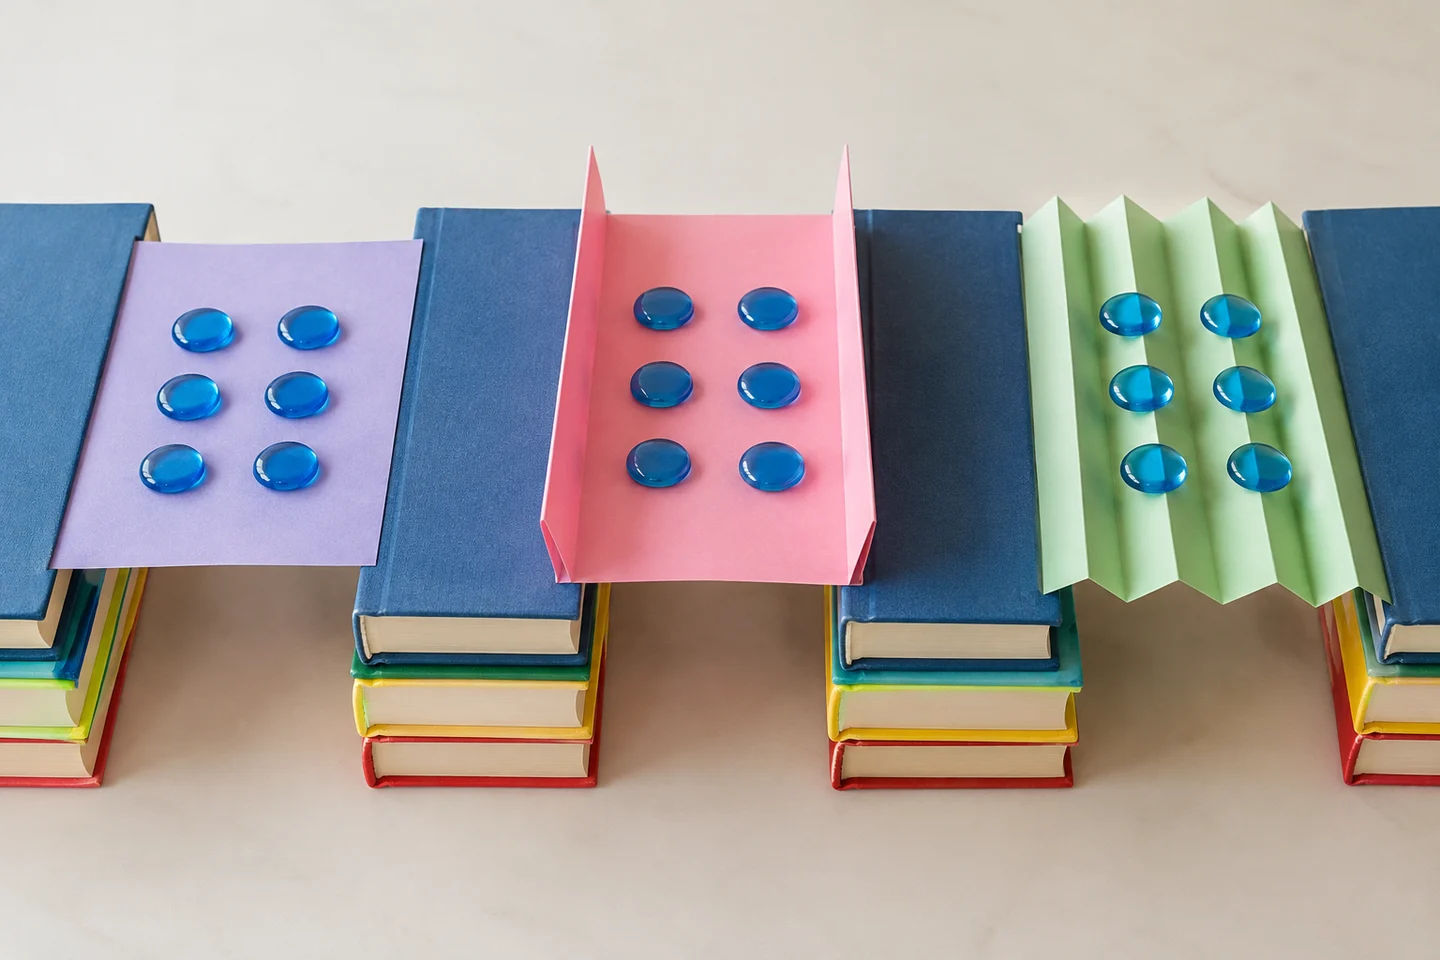
Can a folded sheet of paper hold more than a flat one? In this paper bridge challenge, children build three designs, load them with matching objects, and discover how a change of shape affects the result.
There is plenty to talk about even when a bridge bends quickly. Each test gives builders an idea to try next, making this a practical introduction to design and comparison.
At a glance
| Detail | Plan |
|---|---|
| Suggested ages | 6–10, with supervised testing |
| Preparation | About 10 minutes at home; 20 minutes for a class |
| Activity time | 35–45 minutes |
| Group size | One child with an adult, or pairs |
| Mess level | Low |
What you need
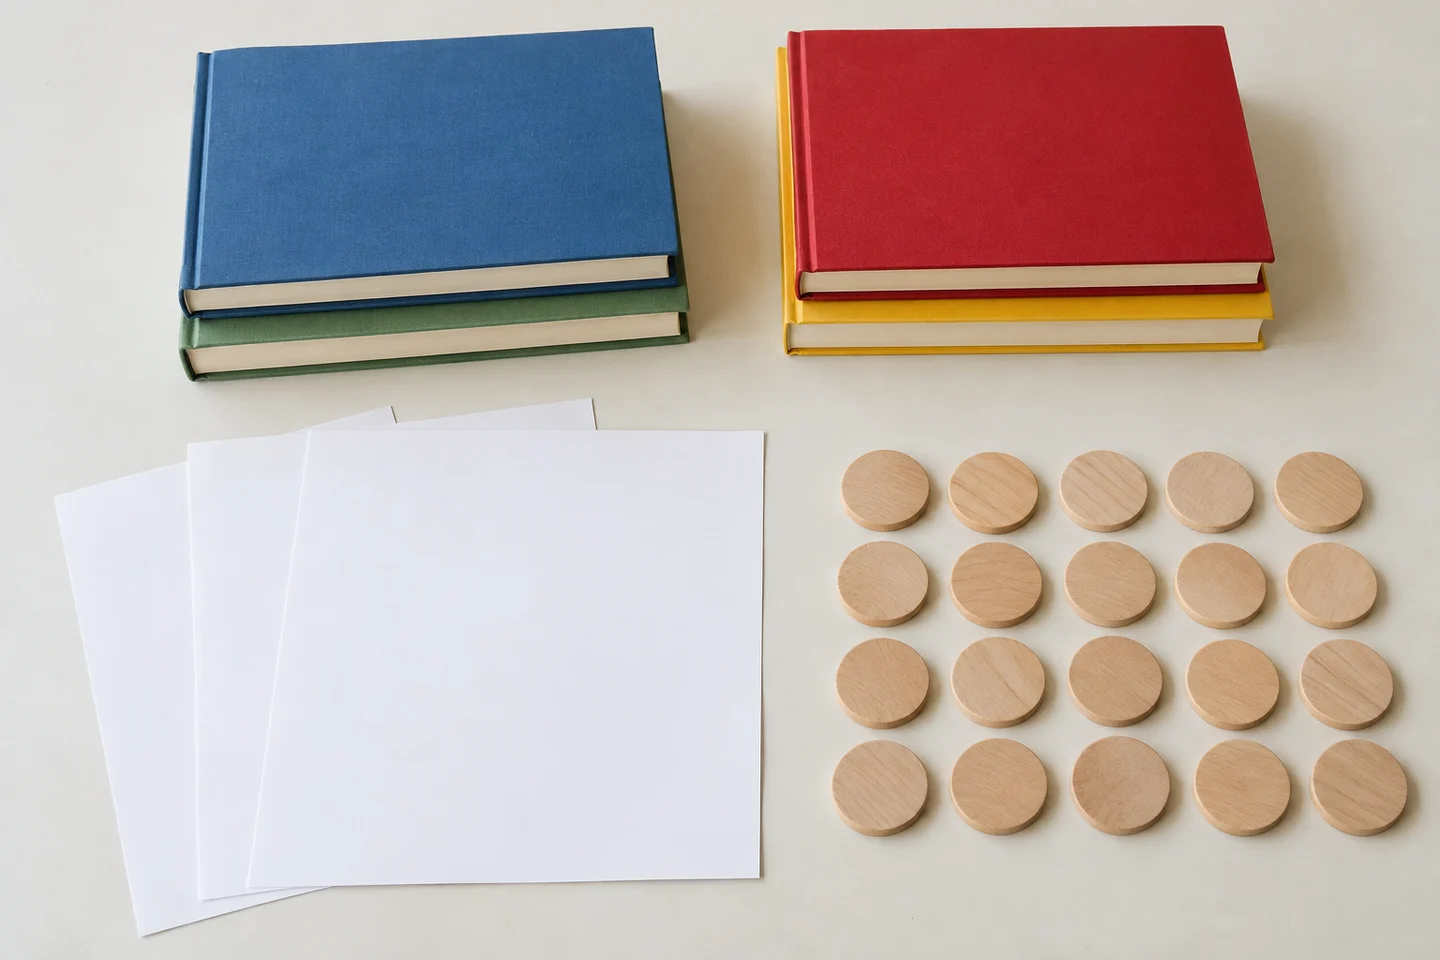
- Six sheets of the same letter-size or A4 paper per pair.
- Two broad, equal-height books or low book stacks.
- About 20 identical flat test objects.
- A ruler, pencil, and recording paper.
For 24 children in 12 pairs, prepare 72 paper sheets, 24 supports, and recording supplies. Use shared testing stations if you have fewer objects. Pennies are an option for supervised older children; keep small test items away from anyone who mouths objects.
Get ready
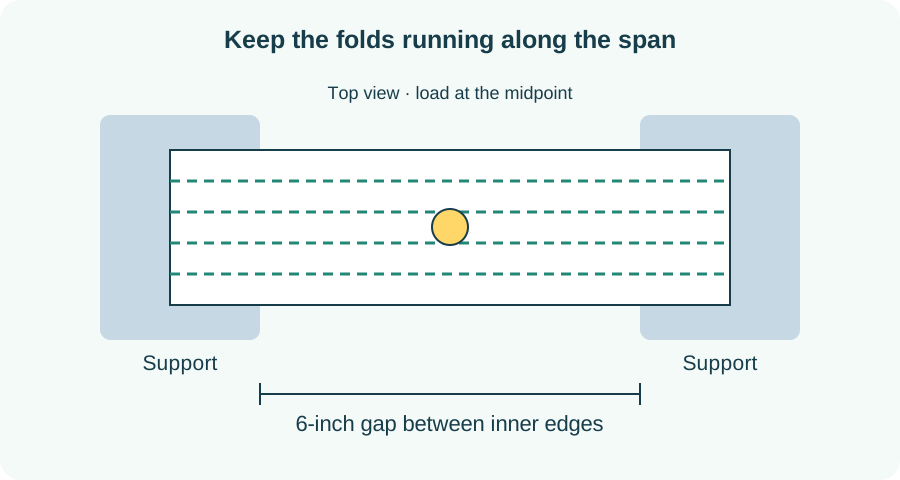
Set the supports on a low table with a 6-inch gap between their inner edges. The paper’s long dimension will cross that gap. Keep the paper, support positions, objects, and loading point the same when comparing designs. Draw a results table with columns for design, objects held, and notes.
Build and test three bridges
1. Try a flat sheet
Lay one sheet across the gap with both ends resting on the books. Notice whether it stays level or sags before adding anything. If it slips off immediately, record that and move to the next design.
2. Make side walls
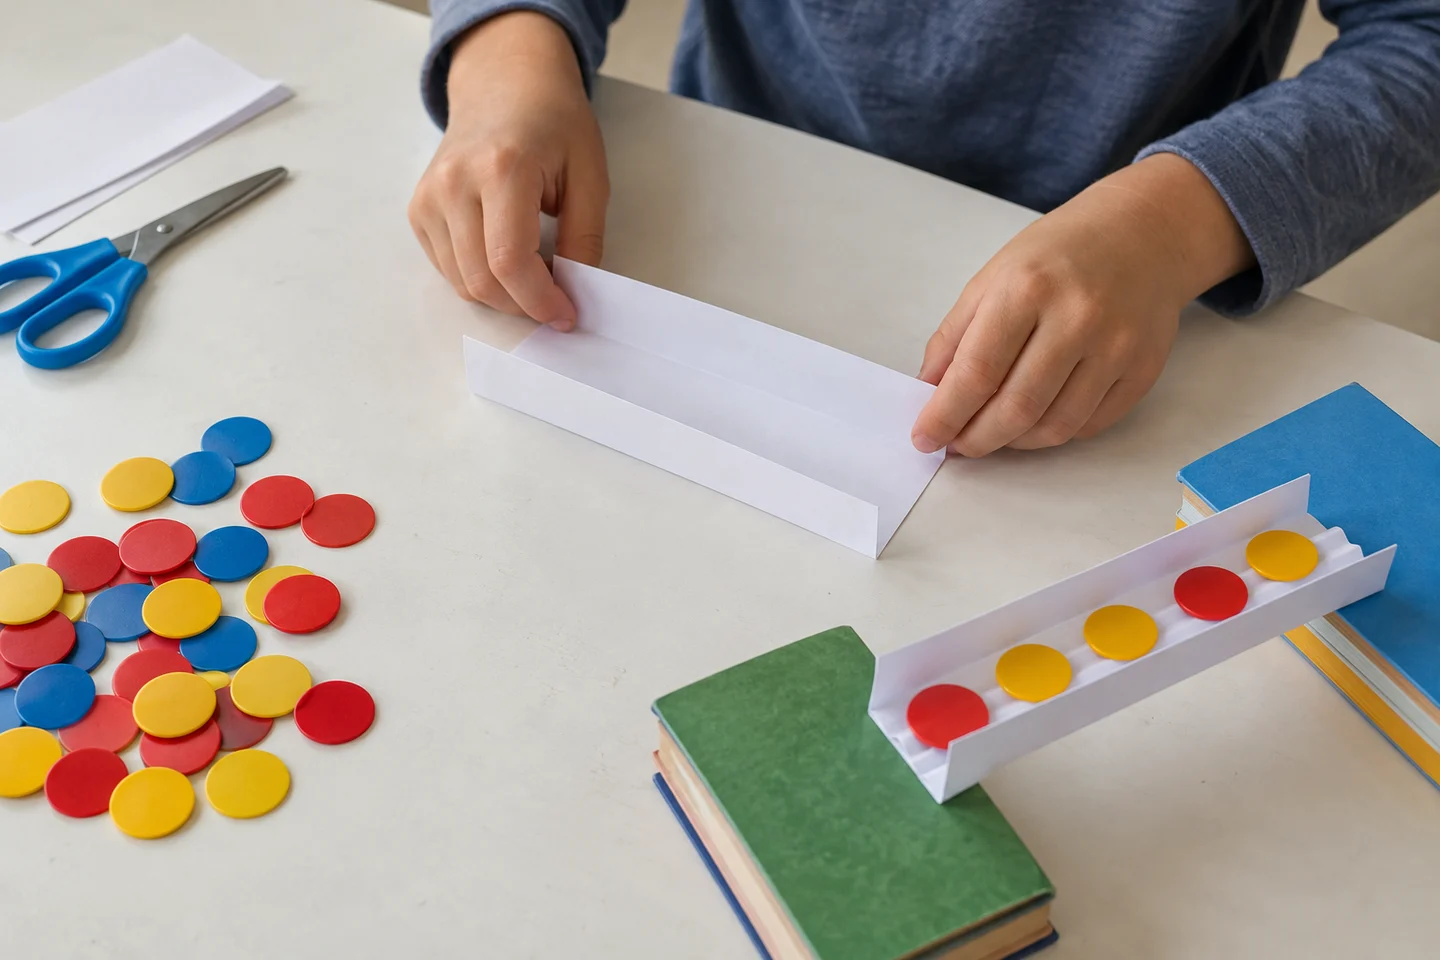
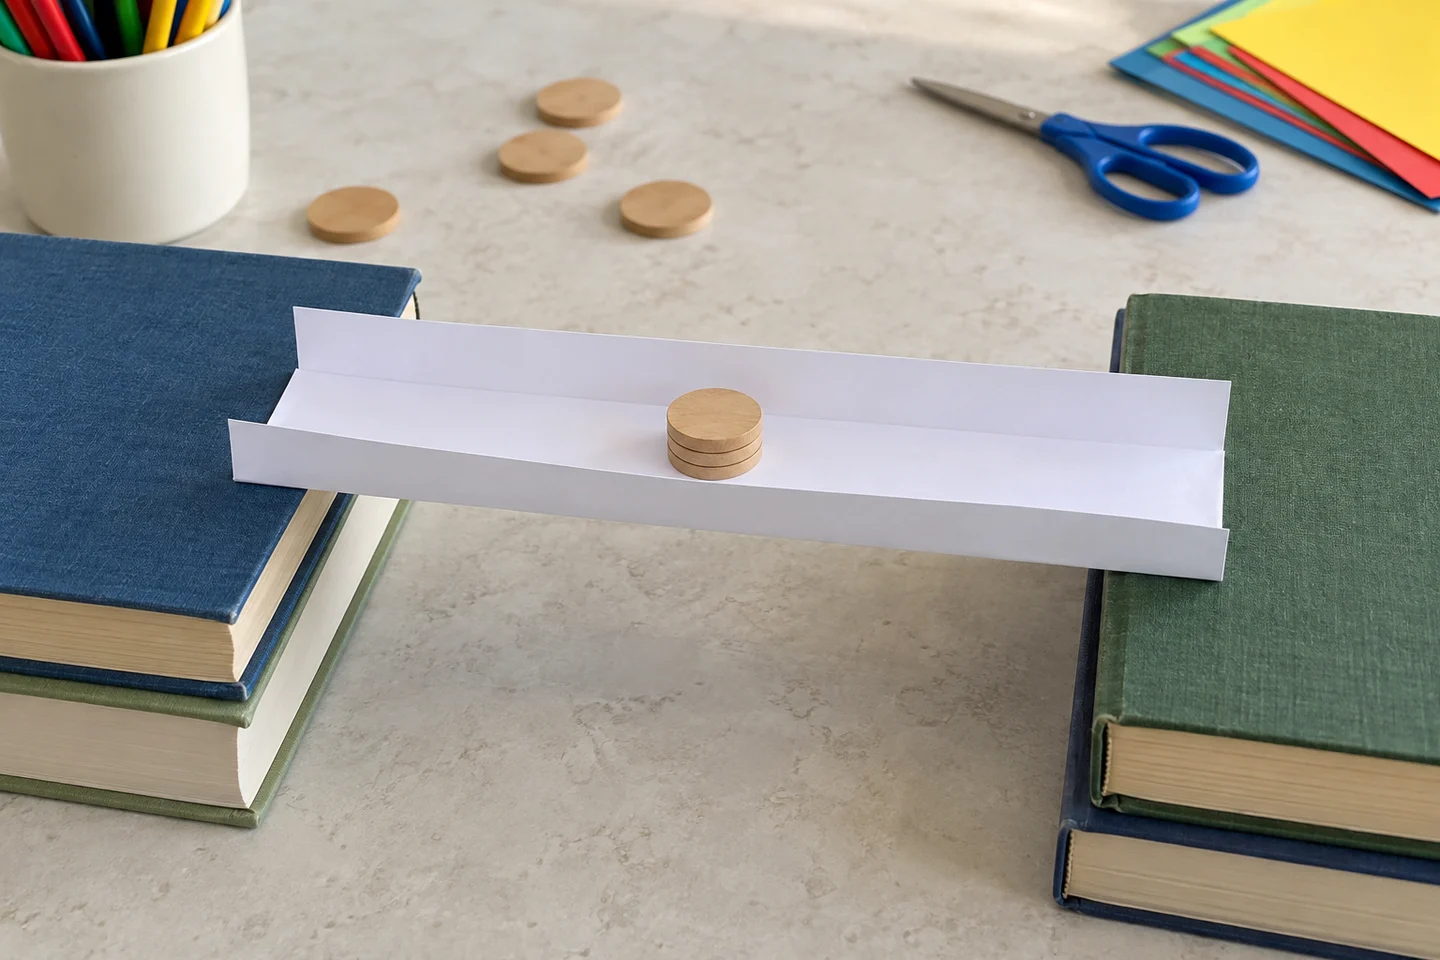
On a fresh sheet, fold a one-inch strip upward along each long edge. This creates a shallow channel. Place it across the same gap with those upright sides running from one support toward the other.
3. Make an accordion
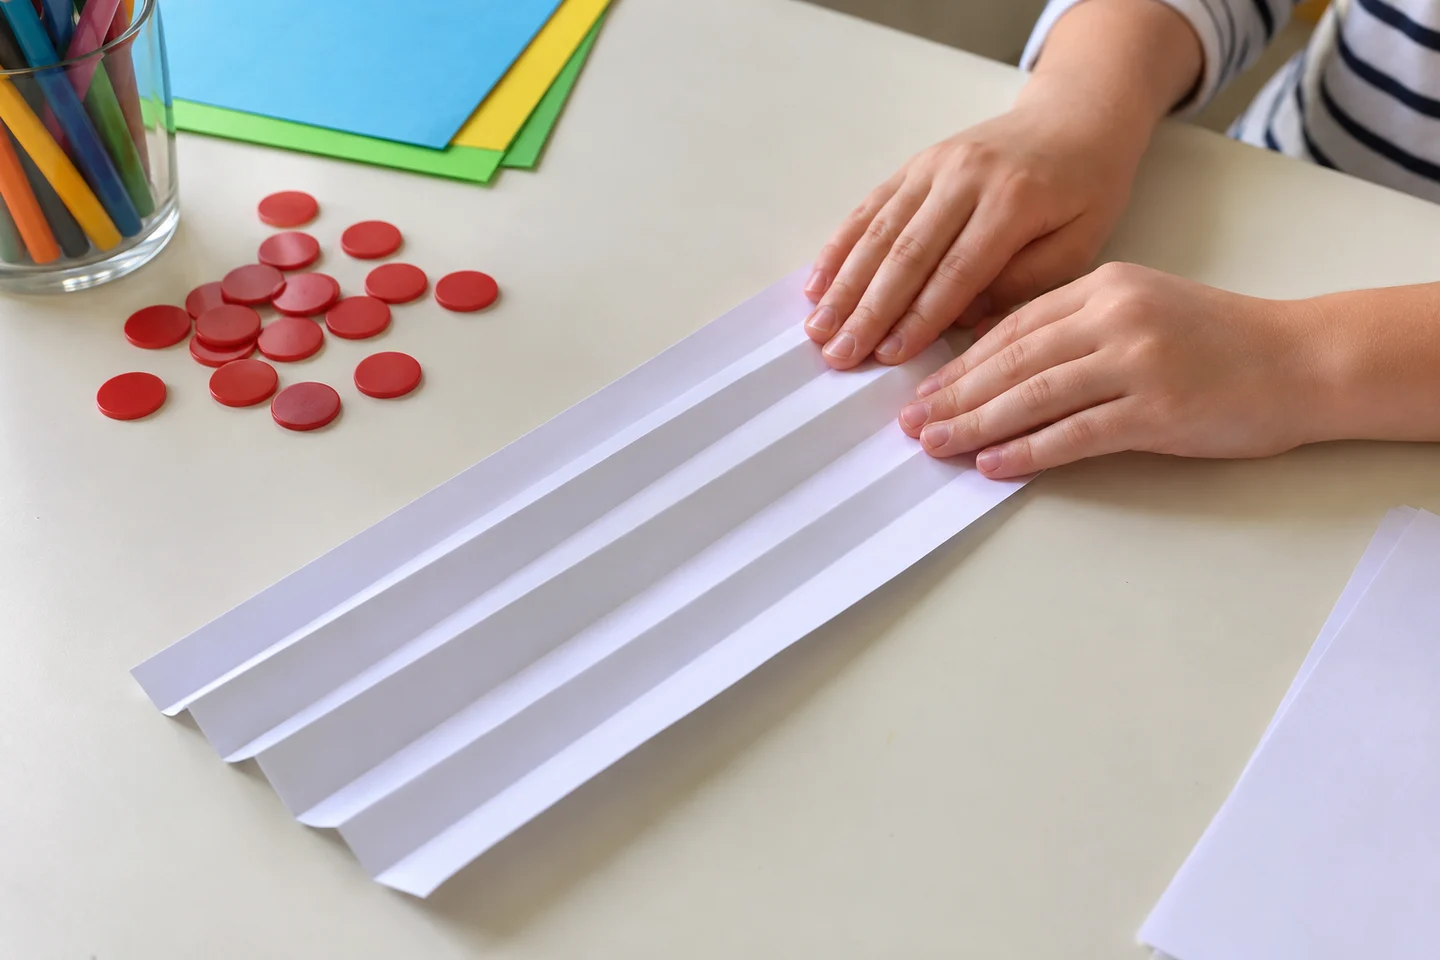
Fold another sheet back and forth at roughly one-inch intervals, with the folds parallel to its long edges. Open the folds enough to hold your test objects. The fold lines run along the bridge’s length, not across the gap.
4. Predict and load
Ask which design might hold the most. Add identical objects one at a time at the midpoint. Keep hands clear of the bridge while it carries the load. Count the last number supported before it bends, falls, or loses the objects.
5. Record and repeat
Write what each design held and a note about how it changed. If a bridge holds all 20, record “20 or more.” Use three fresh sheets for a second round and compare the results; previously bent paper is a different starting material.
6. Design another version
Invite children to change a fold or try another shape using the same paper allowance. Predict what could happen, then test with the same gap and objects. Let the results guide the next idea.
What children can explore
Folding changes a sheet’s shape and how it carries a load. Results depend on the paper, folds, span, and placement of the objects. Ask, “Where did the bridge bend first?” or “Which part would you change?” Counting and recording make the comparison easier to discuss.
At home and in the classroom
At home, an adult can help add objects while the child counts. In class, pairs can alternate building and testing. Compare designs after testing rather than making the activity a speed contest.
Make it work for your group
Prepare fold guides or offer a shorter gap to begin. Older children can investigate a new span after completing the first comparison. Change one feature at a time so it is easier to connect a result with a design decision.
Helpful fixes and cleanup
Slipping ends need more paper resting on the supports. Uneven loading needs a clear midpoint. A narrow accordion may need opening slightly before objects can rest on it. Collect every test object afterward and recycle the used paper.