STEM & Discovery
Paper Airplane Investigation: Which Fold Flies Farther?
 Facebook
 Pinterest
 X
X LinkedIn
 Reddit
 WhatsApp
 Telegram
 Bluesky
 Email
Email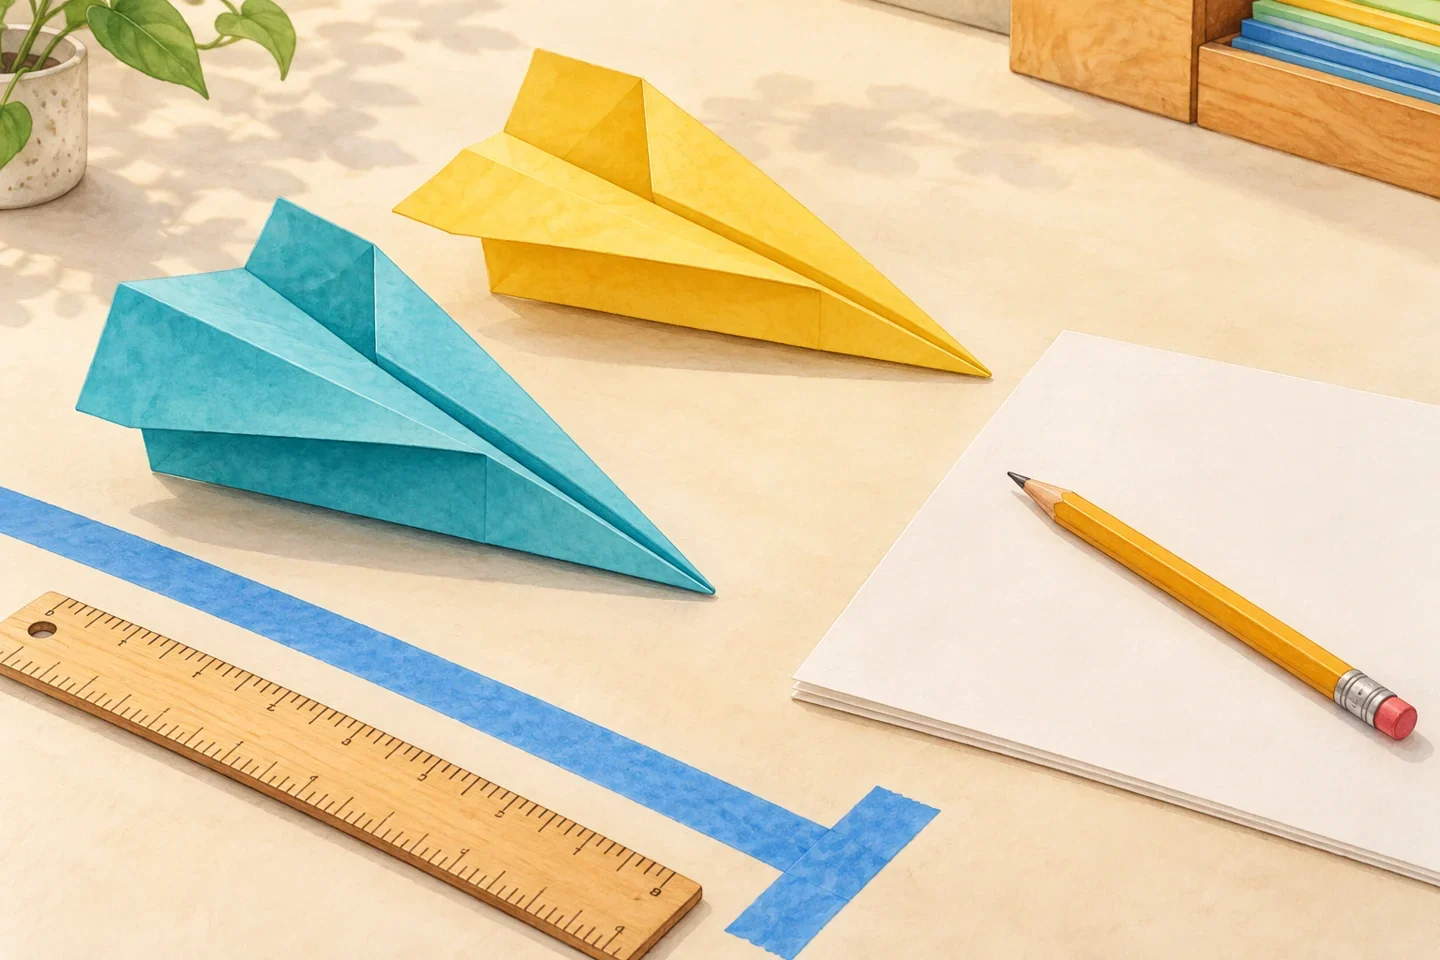
Two airplanes can start with the same paper and fly differently. In this investigation, children make a narrow dart and a wider-winged version, then compare several gentle launches. The useful result is a set of observations, not a winning plane. Uneven throws and bent wings are part of the investigation, and a new test can help explain them.
At a glance
| Suggested ages | 6–10 |
|---|---|
| Activity time | 30–45 minutes |
| Adult setup | 10 minutes |
| Participation | Individual or small group; watching, pointing, and partner assistance are welcome |
What you need
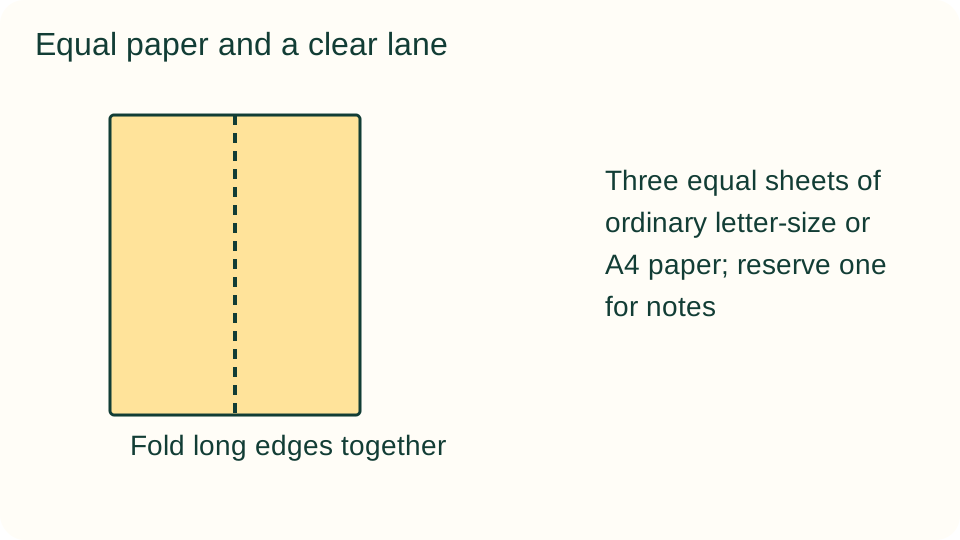
- Three equal sheets of ordinary letter-size or A4 paper; reserve one for notes
- Pencil, ruler or tape measure, and removable floor tape
- A clear indoor flight lane with no people, pets, fragile objects, or stairs
Get ready
An adult clears the lane and marks a launch line. Choose one launcher and one observer, keeping everyone behind the line until a plane lands. Do not add sharp tips or weights. Check that the tape is suitable for the floor.
Try the activity
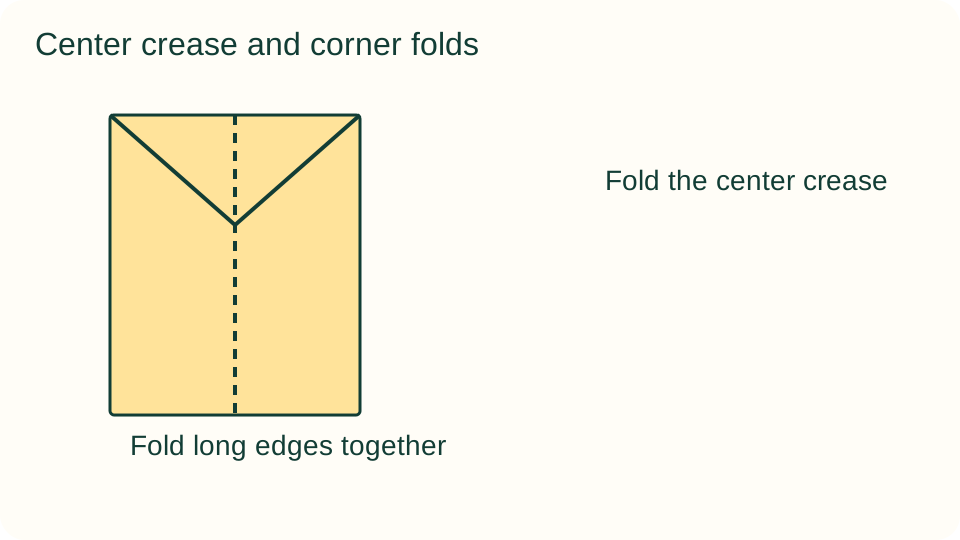
1. Fold the center crease
Place a sheet portrait-style. Fold the long edges together, crease, and reopen. Bring both top corners to the center crease to make a pointed roof. Match the edges carefully; an adult can model each fold beside the child rather than taking over.
2. Make the dart
Fold each new sloping top edge toward the center crease again. Fold the whole sheet closed along its original crease. On each side, fold a wing down so its outer long edge meets the bottom edge of the folded body. Open the wings to approximately level.
3. Make the comparison plane
Repeat with the second sheet, using the same first two corner folds. After closing the body, fold each wing down with the crease about 2 cm above the bottom edge, leaving a deeper body and wider raised wings. Label the planes A and B on their bodies.
4. Agree on a launch
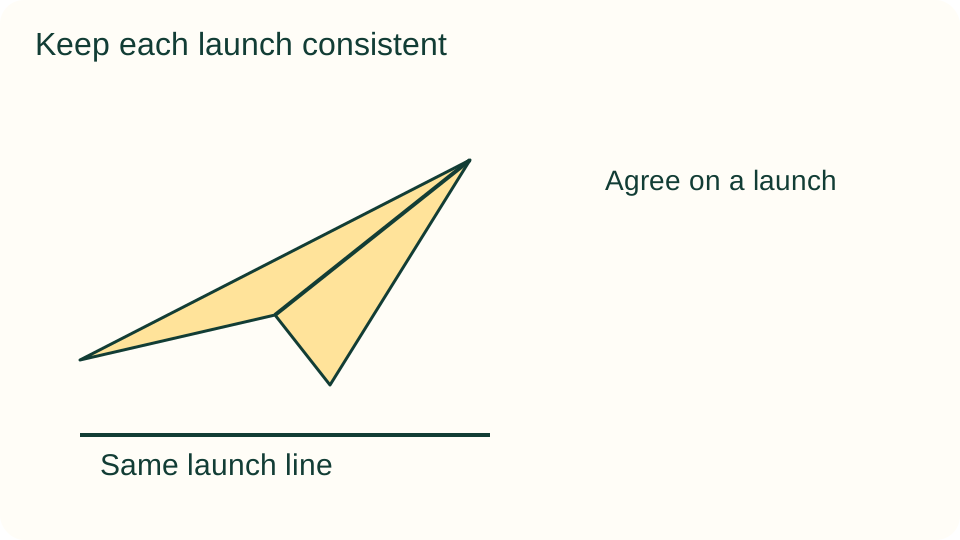
Hold the lower body and make a gentle, level forward throw from the line. Use the same person and approximate release height for both planes. Take one practice flight each; do not count it. If either design folds shut, reset its wings before testing.
5. Repeat and record
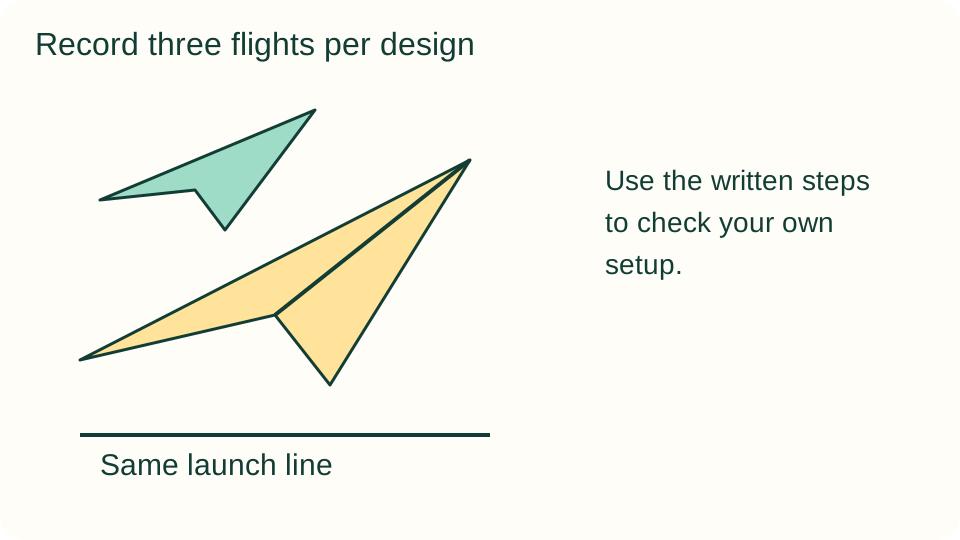
Fly A three times, then B three times. Measure from the launch line to the first landing point, not where a plane slides afterward. Record every distance in the same units. An observer can mark the landing while the launcher waits safely behind the line.
6. Compare the set of flights
Look at all three results for each plane. Was one consistently farther, or did the distances overlap? Discuss a curved or unusually short flight rather than hiding it. Choose one adjustment, such as leveling the wings, and repeat the comparison without changing the launch method.
What children can explore
Paper folding changes the shape of the wings and body. Launch force, air movement, and uneven folds also affect flight, so this small comparison cannot establish a universal best airplane. Ask which change the child wants to investigate next and which parts of the setup should stay the same.
Make it work for your group
For younger participants, supply adult-folded planes and compare landing positions without numbers. Older children can arrange distances from shortest to longest or calculate a mean after recording every trial. Keep the original results beside the revised design so the changes remain visible.
At home and in the classroom
At home, use a hallway only when doors and walking routes can remain clear. In a classroom, establish one launch station with a waiting area and rotate launcher, observer, and recorder. Multiple simultaneous launches make landing points and comparisons difficult to follow.
Save your discoveries
Copy a simple record onto paper: what you changed, what stayed the same, and what happened. Drawings, pointing to a sketch, or notes dictated to an adult work as well as independent writing. Record the actual observations, including trials that did not go as expected.
Helpful fixes and cleanup
Retrieve a plane only after the lane is clear. A plane that dives may need level wings and a gentler throw; one that turns may have uneven wing folds. Remove floor tape, flatten damaged paper for recycling, and store the recording sheet with the two labeled designs.