Arts & Crafts
Shadow Drawing for Kids: Trace, Compare, and Create Outdoor Art
 Facebook
 Pinterest
 X
X LinkedIn
 Reddit
 WhatsApp
 Telegram
 Bluesky
 Email
Email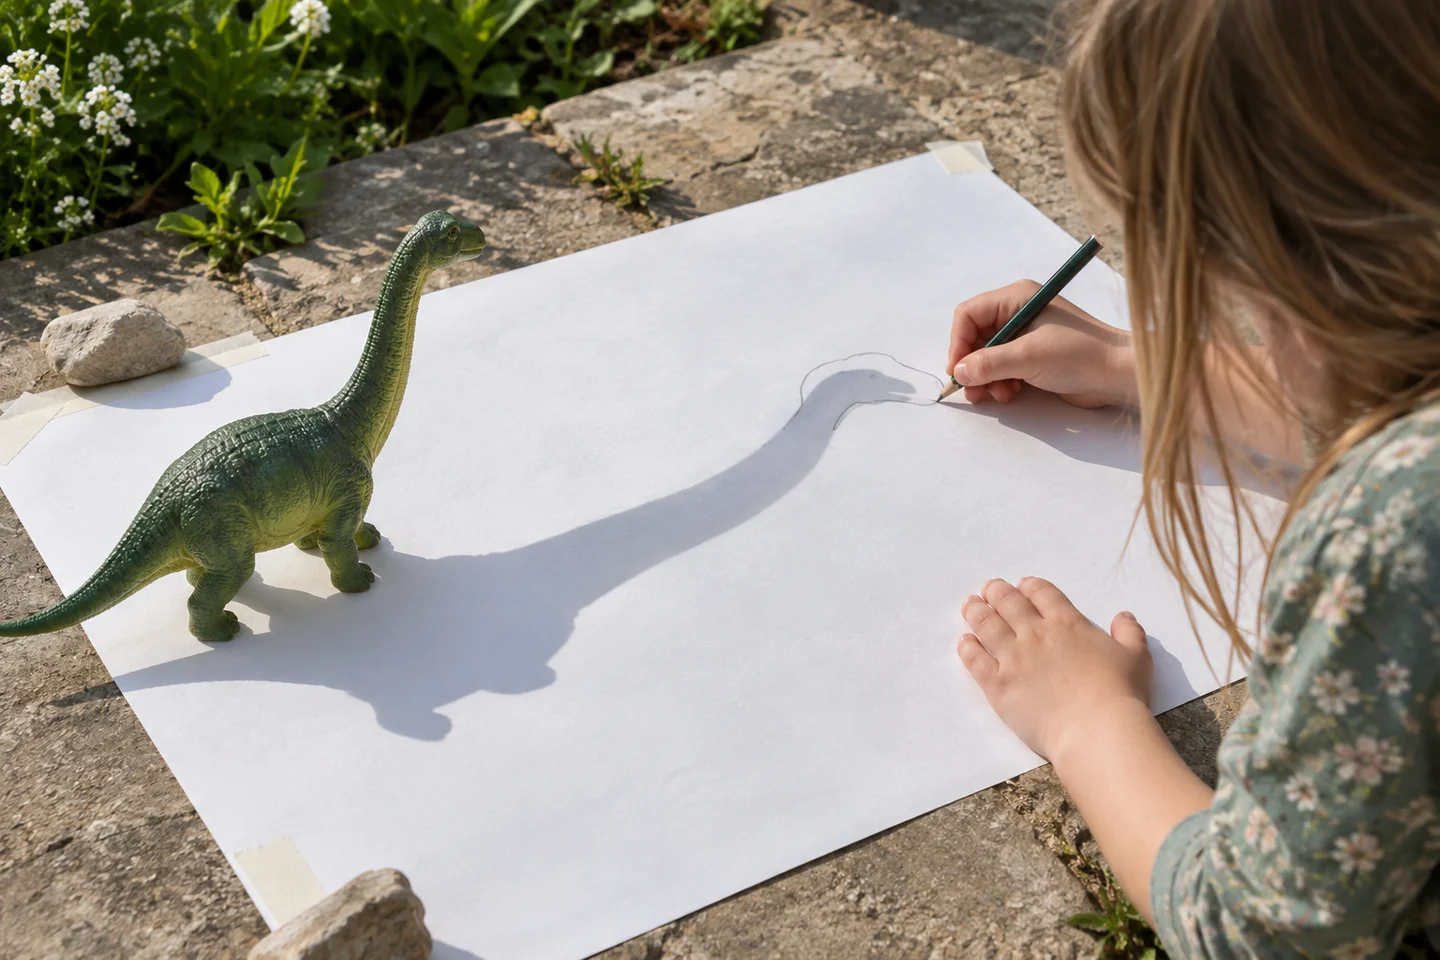
A toy’s shadow can become something entirely new on paper. Trace its outline, move the toy away, and invite your child to turn that shape into a creature, landscape, or invented scene.
This activity combines close looking with creative drawing. You can enjoy a single shadow picture or return later to notice how a shadow changes over time.
At a glance
| Detail | Plan |
|---|---|
| Suggested ages | 4–9, with tracing support as needed |
| Preparation | About 5–10 minutes |
| Activity time | 20–30 minutes; an optional comparison happens later |
| Group size | One child, pairs, or small groups |
| Mess level | Low |
What you need
- Two sheets of drawing paper, about 9 × 12 inches.
- One or two large, stable, opaque toys or block structures.
- Pencils and crayons.
- A clipboard or a few pieces of tape.
- Optional recording paper for a later comparison.
For 24 children in pairs, gather 12 objects, 48 paper sheets, and shared drawing supplies. Choose objects that stand securely and cast a clear outline. A plain block tower is a useful first choice.
Find a comfortable spot
Choose a sunny place with a stable surface, room to work, and appropriate outdoor supervision. Secure the paper so it does not blow away. Position the object between the light and paper so its shadow fits on the sheet. Children look at the shadow, never directly at the sun.
Turn a shadow into art
1. Explore the outline
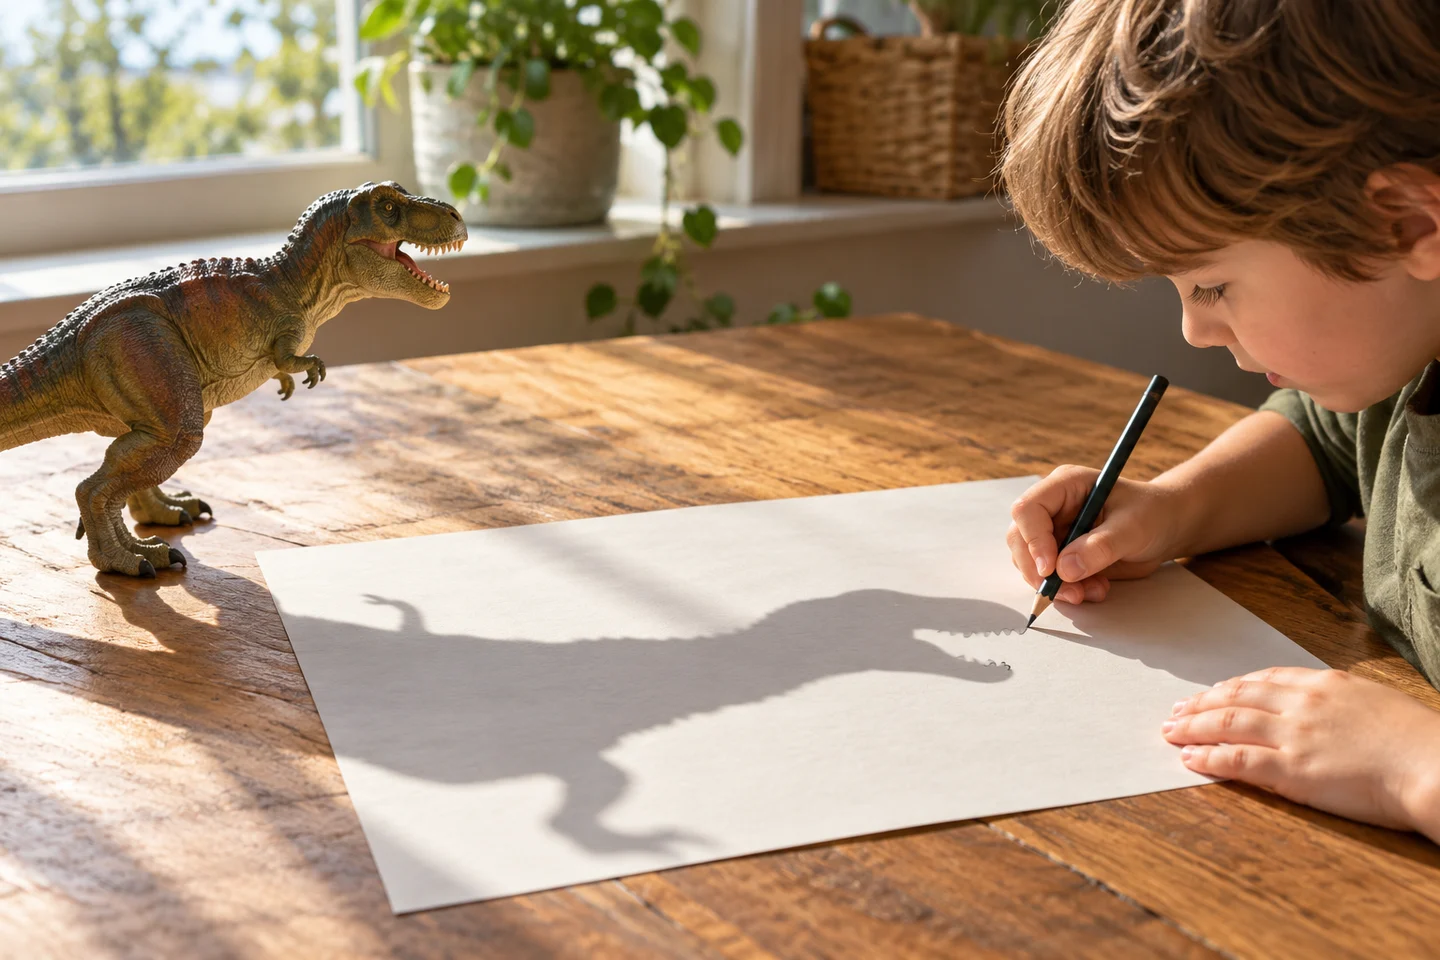
Move or turn the object until you can see a shape worth tracing. Ask which parts look familiar and which look surprising. Its shadow shows where light is blocked, rather than the object’s colors and surface details.
2. Trace the edge
Follow the outer shadow with a pencil while keeping the object still. Move your hand so it blocks as little light as possible. A partner can hold the paper or point out an edge.
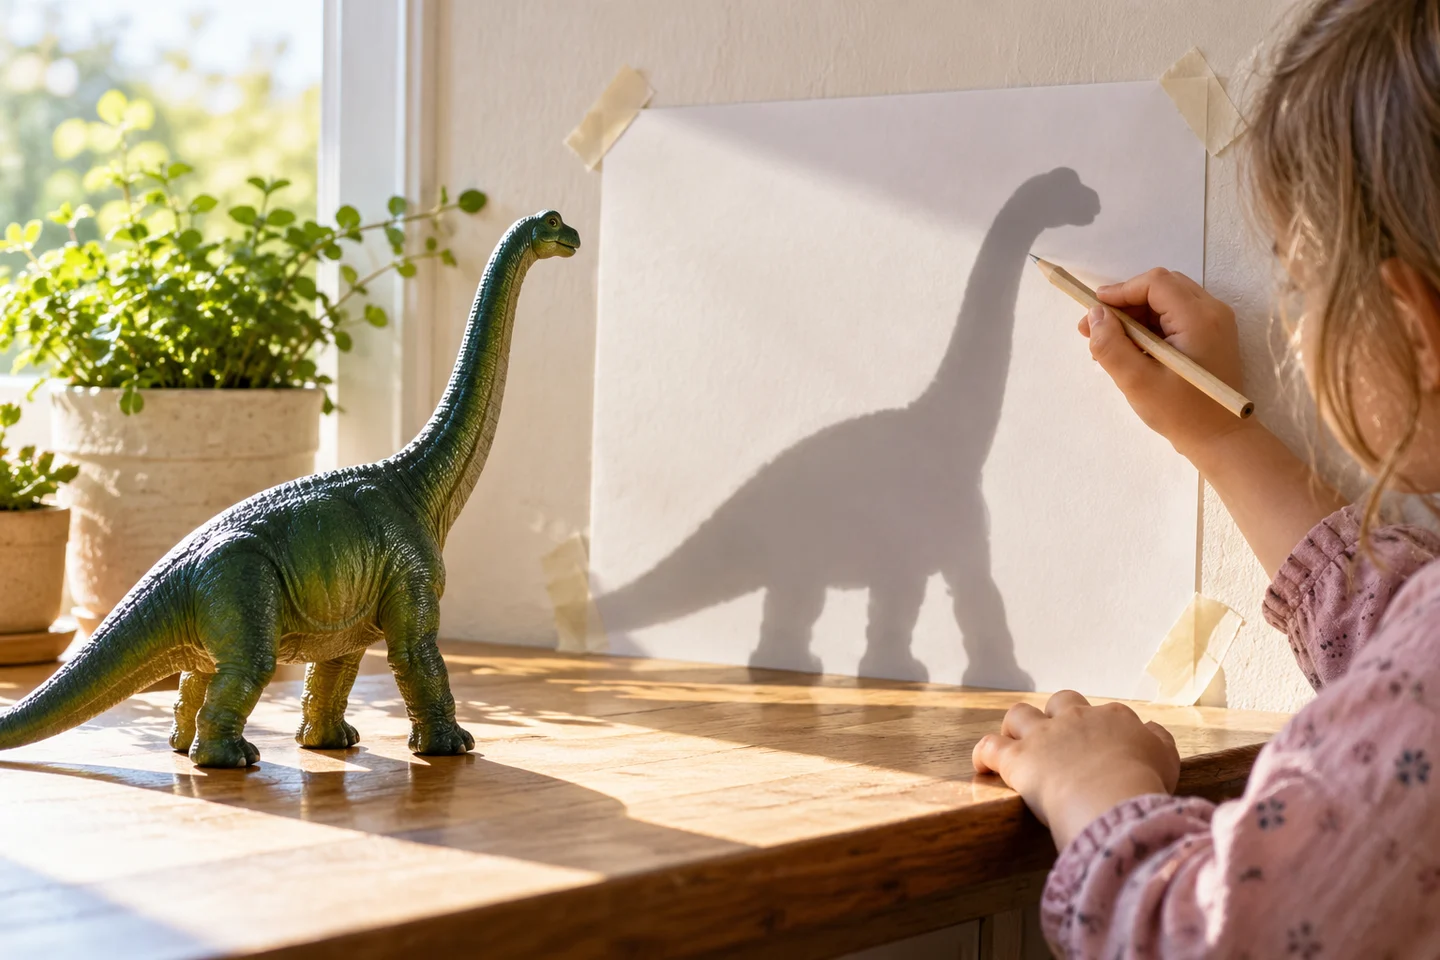
3. Reveal the drawing
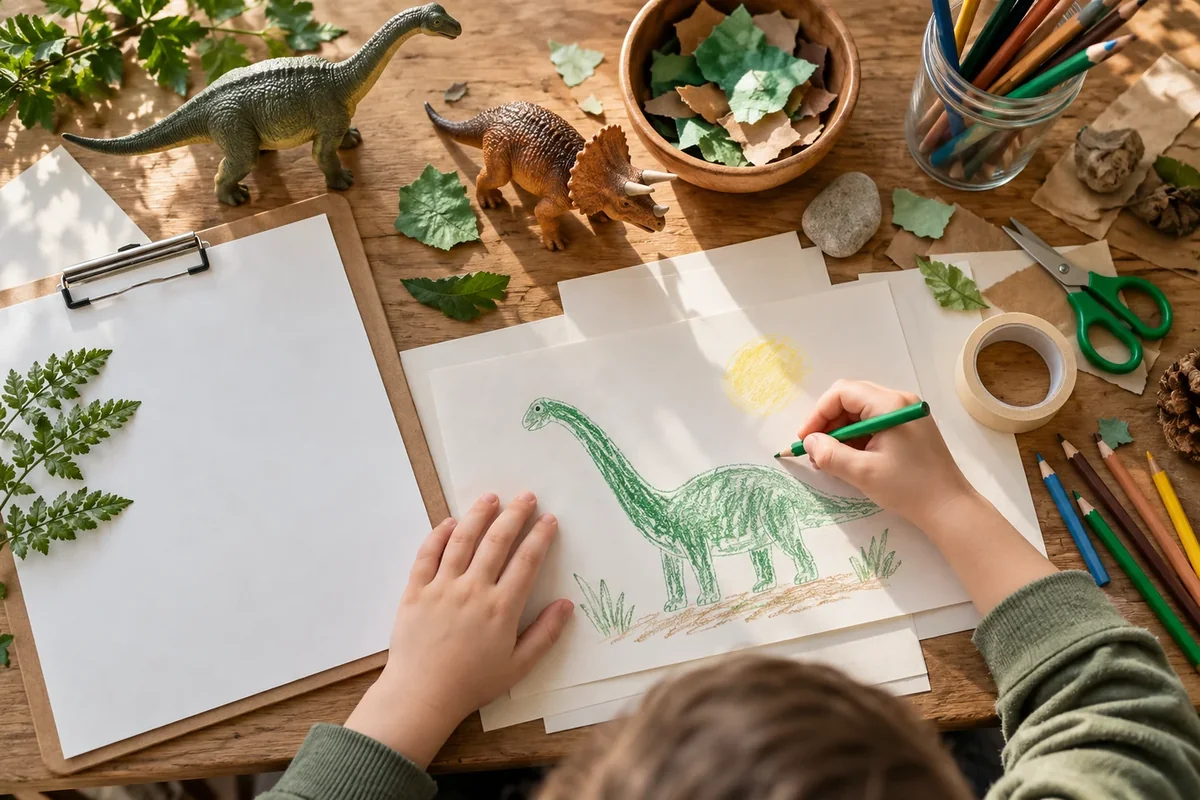
Move the object away and look at the outline by itself. Ask, “What else could this become?” A long shape might turn into a road or a creature’s neck; a row of blocks might become houses.
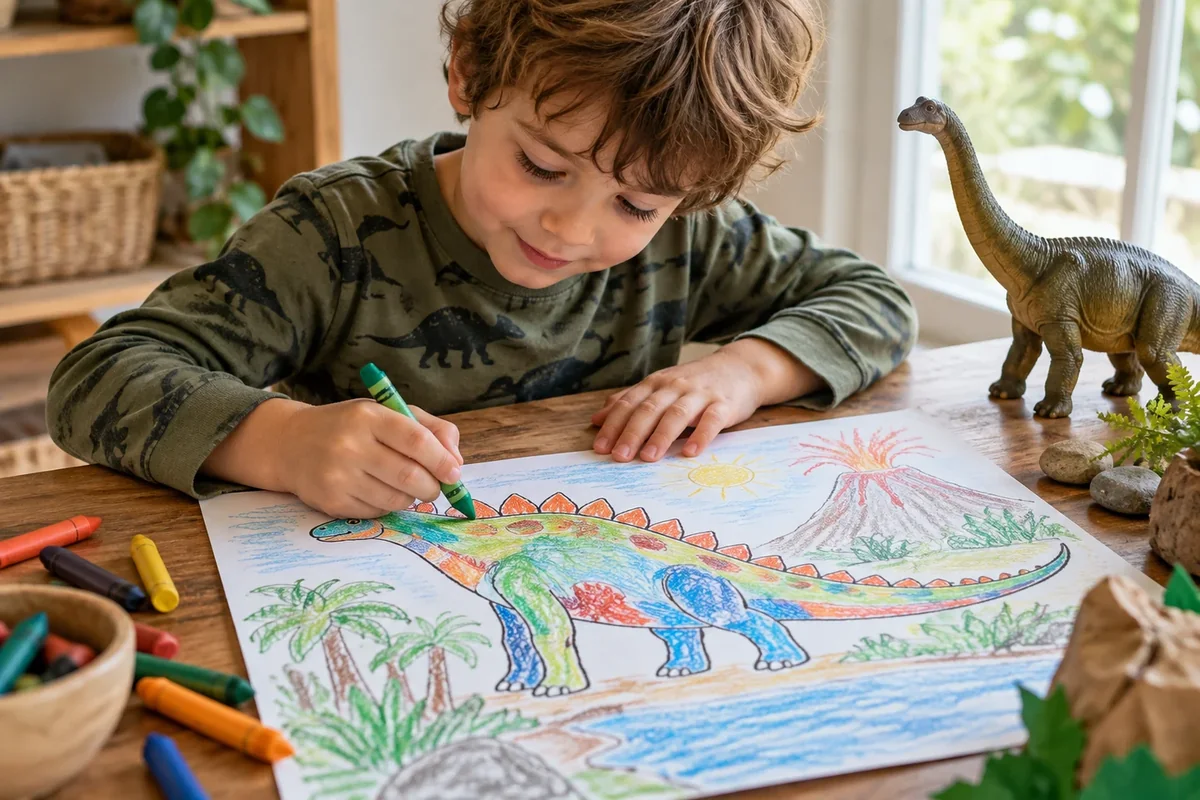
4. Add a new idea
Use crayons to add features, patterns, and a setting. Let the child decide how much to add. A title or dictated sentence can help them share their invention.
5. Try a timed comparison
For a separate investigation, mark the object’s position and keep it fixed. Trace on the same secured sheet or a marked replacement after a chosen interval, such as 15–30 minutes. Label the times and compare the outlines.
6. Talk about the change
Ask what moved or changed in the shadows. Outdoors, the sun’s position in the sky changes through the day. Keeping the object and paper positions fixed helps make that difference easier to notice.
What children can explore
Tracing brings attention to outlines and position; transforming the shape adds storytelling and composition. Ask, “Which part helped you imagine your picture?” For a comparison, try “What stayed the same about the object even though its shadow changed?”
At home and in the classroom
At home, one toy and one drawing may be enough. In class, pairs can swap tracing and steadying roles. If using an indoor lamp, an adult handles its placement and keeps hot bulbs and cords out of reach. An indoor comparison needs a deliberately moved light source; a fixed lamp does not imitate the sun’s changing position.
Make it work for your group
Use simple outlines, thick pencils, a seated work surface, or partner help. Older children can measure shadow length from the same reference point and keep a small time record.
Helpful fixes and cleanup
Faint shadow? Try a clearer light source or a simpler opaque object. Moving paper? Secure it before tracing. Cloud passing? Pause until the outline returns. Collect toys and drawing tools, remove tape, and save the art or comparison sheet for another look.