Summer & Patriotic Days
Create a Sidewalk Chalk Obstacle Course
 Facebook
 Pinterest
 X
X LinkedIn
 Reddit
 WhatsApp
 Telegram
 Bluesky
 Email
Email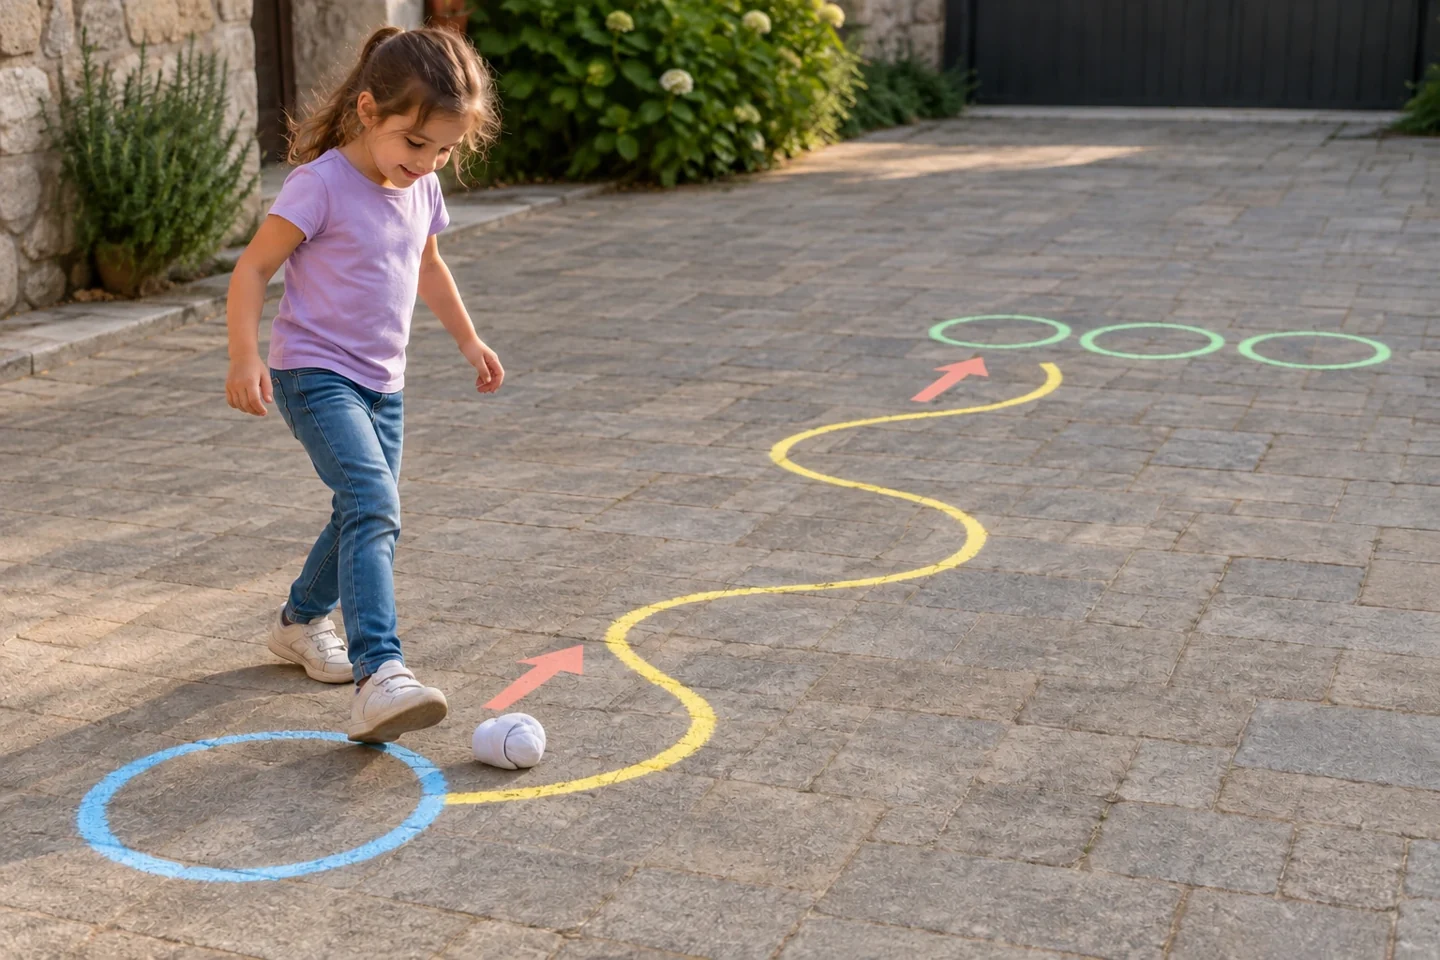
Your activity at a glance
| Suggested ages | 4–10 |
|---|---|
| Activity time | 30–45 minutes |
What you need
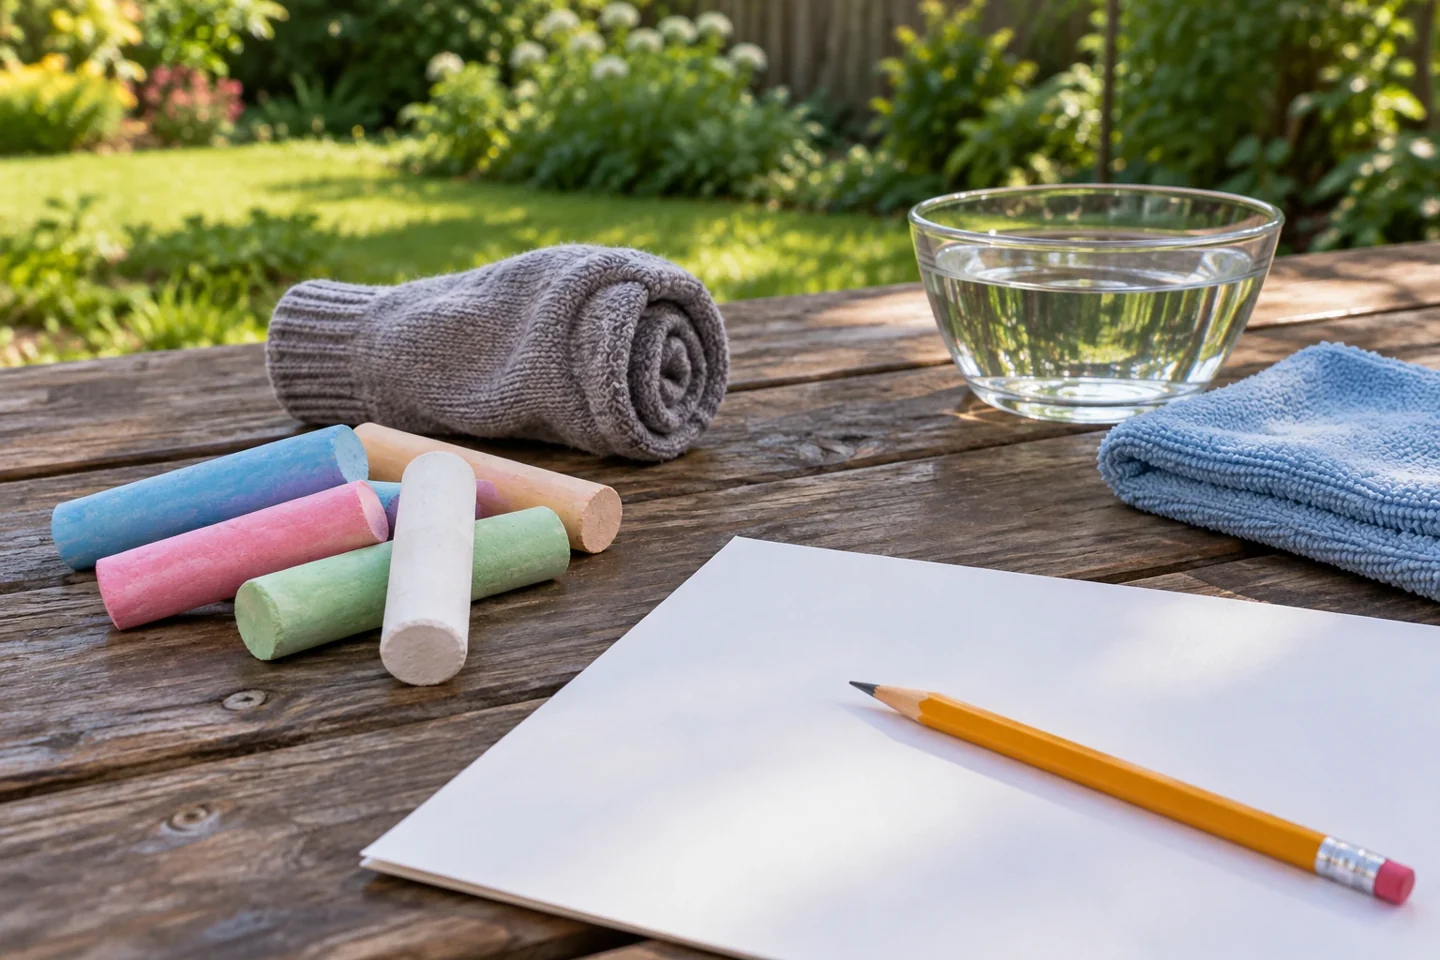
- Sidewalk chalk in several colors
- One soft fabric beanbag or rolled sock
- Paper and pencil for planning
- A flat dry private paved space
- Water and cloth for cleanup if appropriate
A little project with room for your ideas
A chalk course can be as simple as three shapes and a wiggly line. Children help design stations, test the route, and change anything that is awkward or crowded. The aim is enjoyable movement, not a race or a test of strength. Offer stepping, rolling a soft object, or tracing with a finger so the same course can work for different ways of participating.
Before you begin
Choose a flat, dry private paved area with permission to draw. An adult checks for traffic, steps, loose grit and hot or slippery patches before setting out the chalk. Keep the three stations within easy view and leave a clear walking route around the course. The course uses only chalk shapes and one soft sock or beanbag—no raised obstacles are needed. Begin with a short route, and invite children to help decide where the arrows should point.
Make it step by step
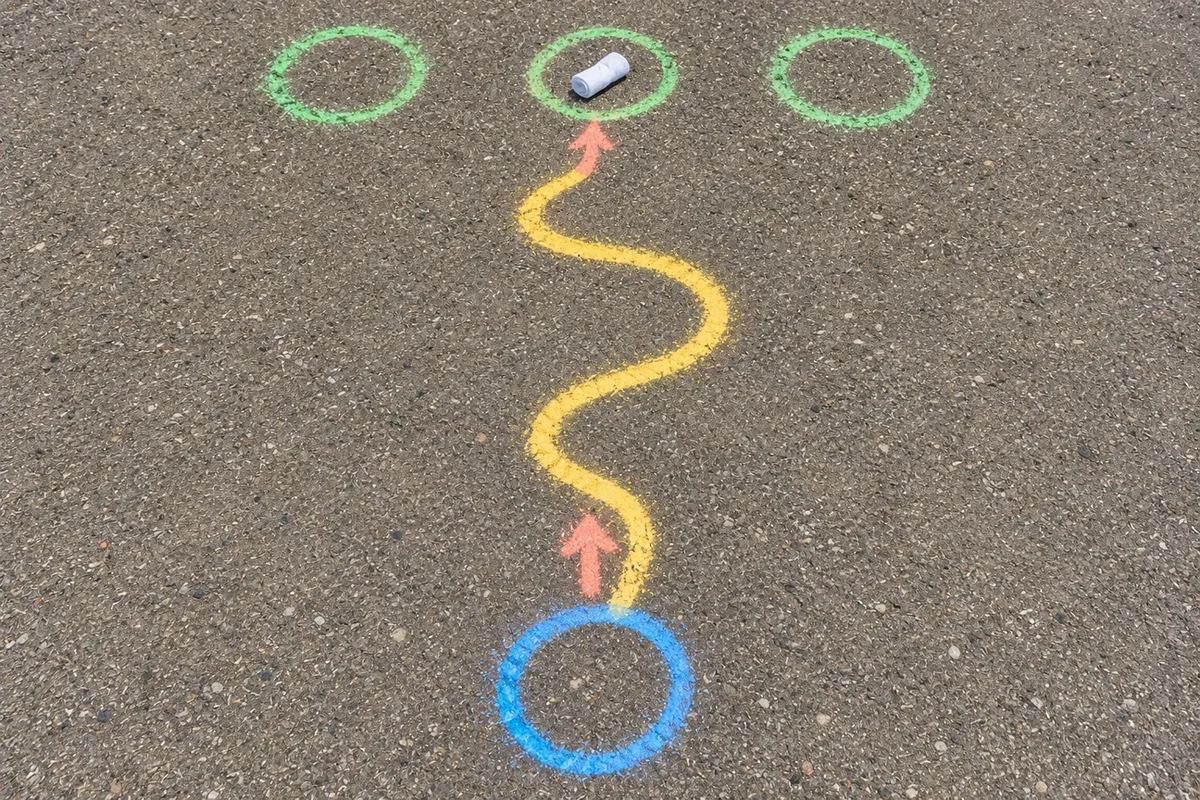
- Sketch three stations. Plan a start circle, a winding path, and a target made of three large circles. Space the stations about a meter apart, adjusting to the available area. Decide how each can be used in more than one way. The winding path might be walked beside, traced with a finger, or followed by rolling a sock. Make the target circles roughly 40–50 cm across. Start the toss or roll about half a meter away, then let the child choose a comfortable distance.
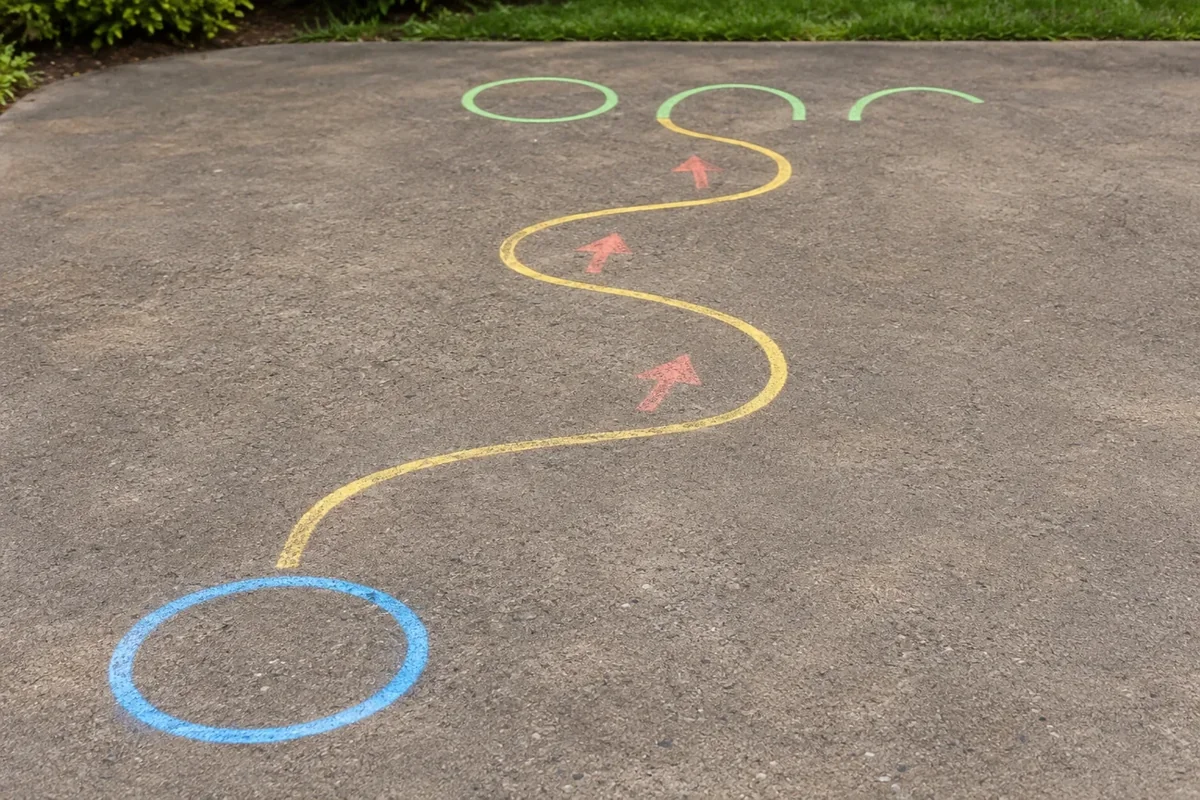
Leave generous space between the start, path and target. - Draw the route. Use broad chalk lines so the shapes are easy to see. Make the starting circle large enough for someone to pause comfortably. Draw arrows between stations to show the direction of travel, keeping paths from crossing. Children can suggest colors and decorative details after the main route is clear.
- Try each station. Walk slowly through one example. At the path, choose a way to follow it. At the target, stand close and gently toss or roll the soft object toward a circle. Adjust distances before inviting others to join. A station that repeatedly frustrates children probably needs a larger target or shorter distance.
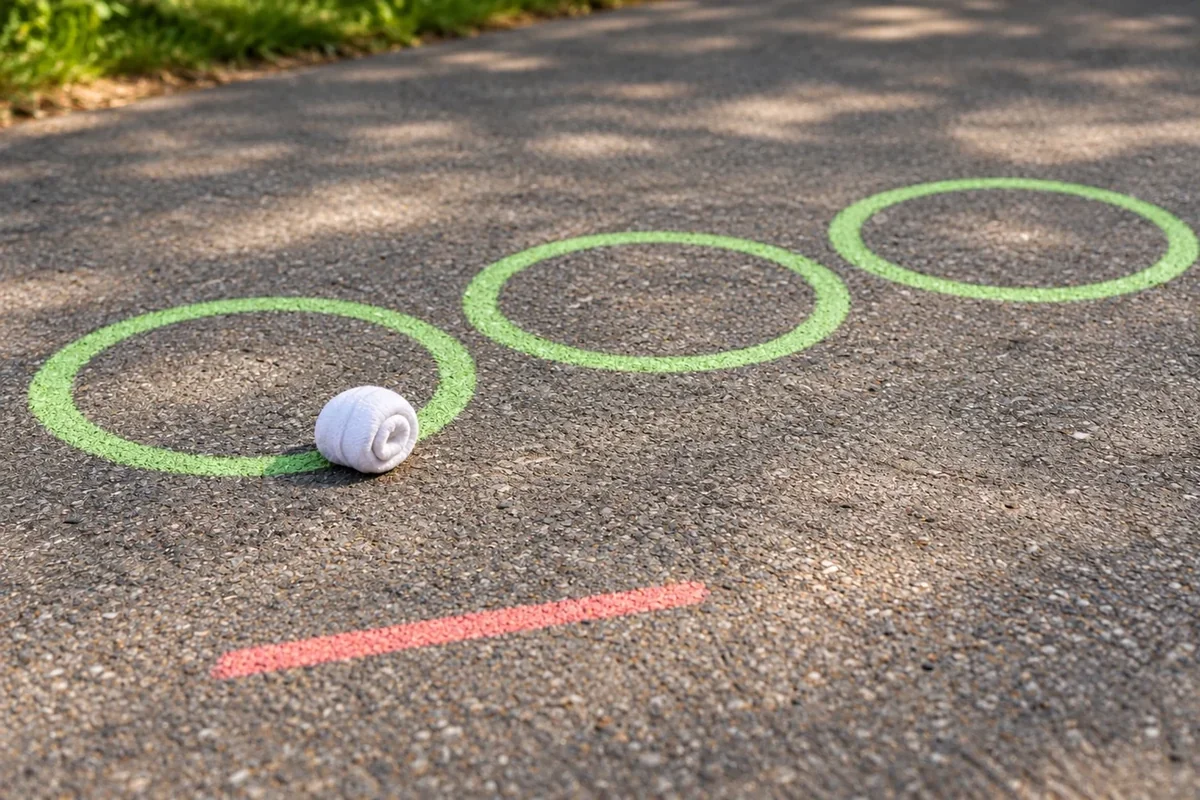
Start close to the target and choose a toss or roll. - Take turns with choices. One child begins while others wait outside the course. Invite participants to choose a movement option rather than requiring jumping or balancing. Keep tossed objects within the activity area and retrieve them only when the route is clear. A relaxed pace leaves time to notice the chalk designs.
- Redesign together. Ask which station was enjoyable and which needed changing. Add a second path or move the target closer. Children can test one change at a time and explain its effect. Finish with a slow round or a seated tracing version rather than selecting a fastest winner.
Notice, talk, and explore
The activity combines route planning, spatial language, turn-taking, and movement. Ask, “How do the arrows help?” and “What would make this target easier to reach?” Let children explain a design decision. Their answer can guide the next change more effectively than an adult adding increasingly difficult obstacles.
Make it work at home or in class
At home, build a compact version with just a path and target. In class, use several small identical courses if supervision allows, avoiding a long waiting line. On a rainy day, draw a paper course and move a large counter with a finger. Wash or allow rain to remove chalk according to the site’s rules, and store the soft throwing object dry.
Make the route welcoming and manageable
A chalk path does not need to be narrow to be interesting. Widen it if children keep stepping outside, or turn it into a route they can walk beside. Place a waiting mark well away from the target so retrieving a sock does not cross another person’s turn. If chalk is pale against the pavement, choose a darker color and retrace the outline. Ask permission before drawing on shared surfaces and do not cover public access routes. Stop if the pavement becomes wet or the space becomes crowded. A table-sized paper version keeps the design challenge available indoors.
Cleanup and storage
Pick up the chalk and soft throwing object before leaving the space. Follow the property owner’s preference for washing away the chalk or leaving it for rain. Let the rolled sock or beanbag dry if needed, and store the paper course plan with outdoor activity supplies.
Keep the creativity going
Finish by asking your child to explain one improvement they made to the course. Perhaps a larger circle made the target easier to reach, or an extra arrow clarified the route. Draw that improved version on paper before the chalk disappears. The paper plan can become the starting point for a future course, with a different space or fewer stations. Counting steps, ordering stations, and comparing distances also connect naturally with a short math activity. Choose a workbook page that matches your child’s confidence, then leave room for their own next design. A good course can be playful and thoughtful without becoming increasingly difficult.