Spring & Easter
Design a Spring Weather Wheel
 Facebook
 Pinterest
 X
X LinkedIn
 Reddit
 WhatsApp
 Telegram
 Bluesky
 Email
Email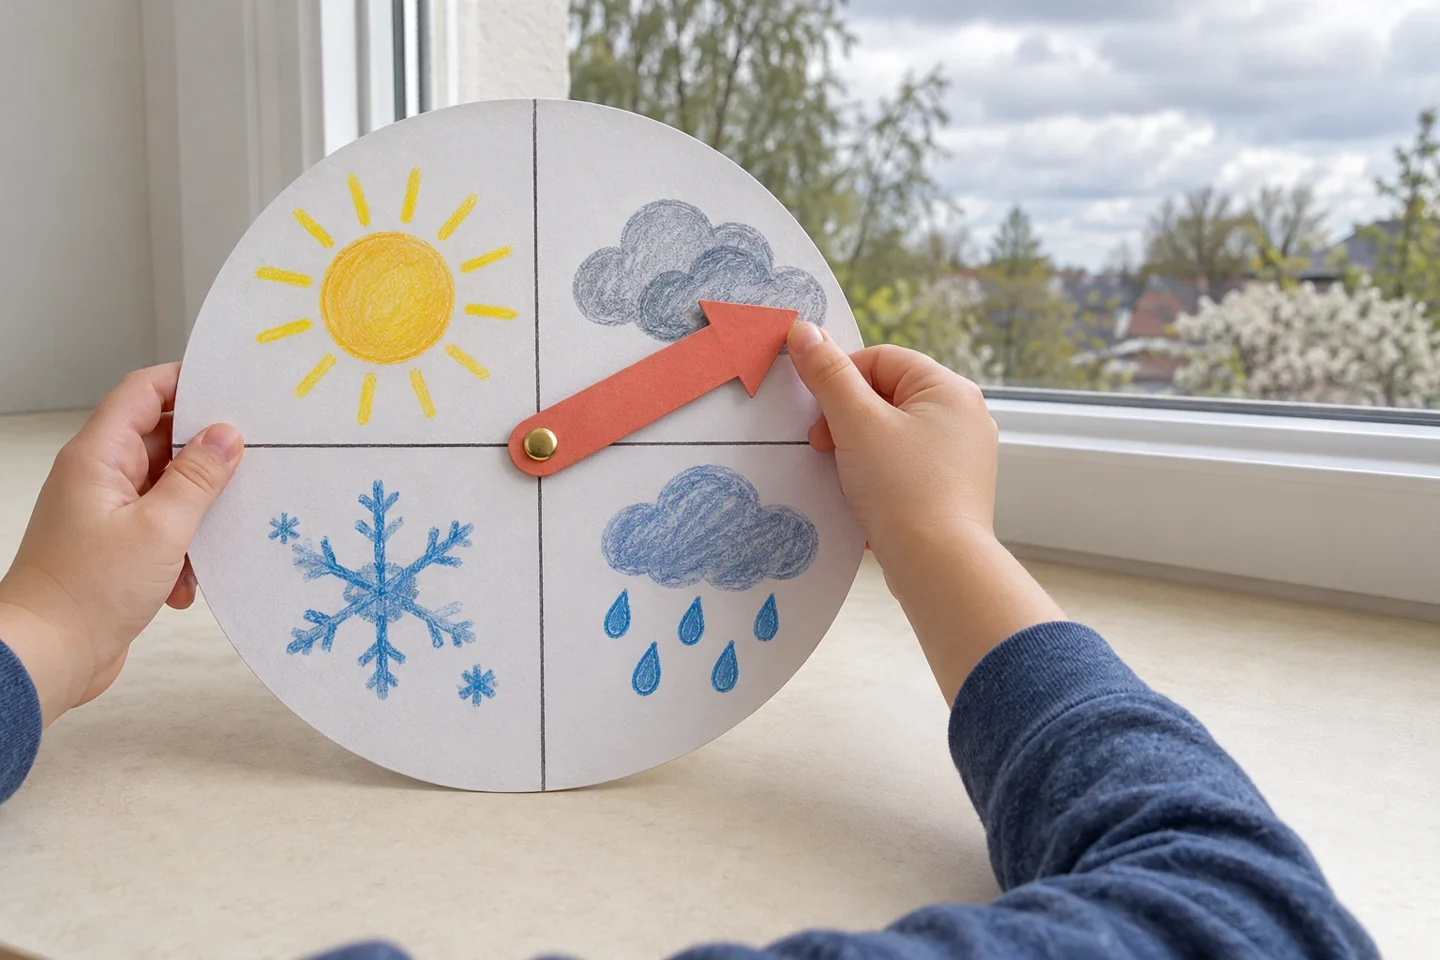
Your activity at a glance
| Suggested ages | 4–9 |
|---|---|
| Activity time | 30 minutes |
What you need
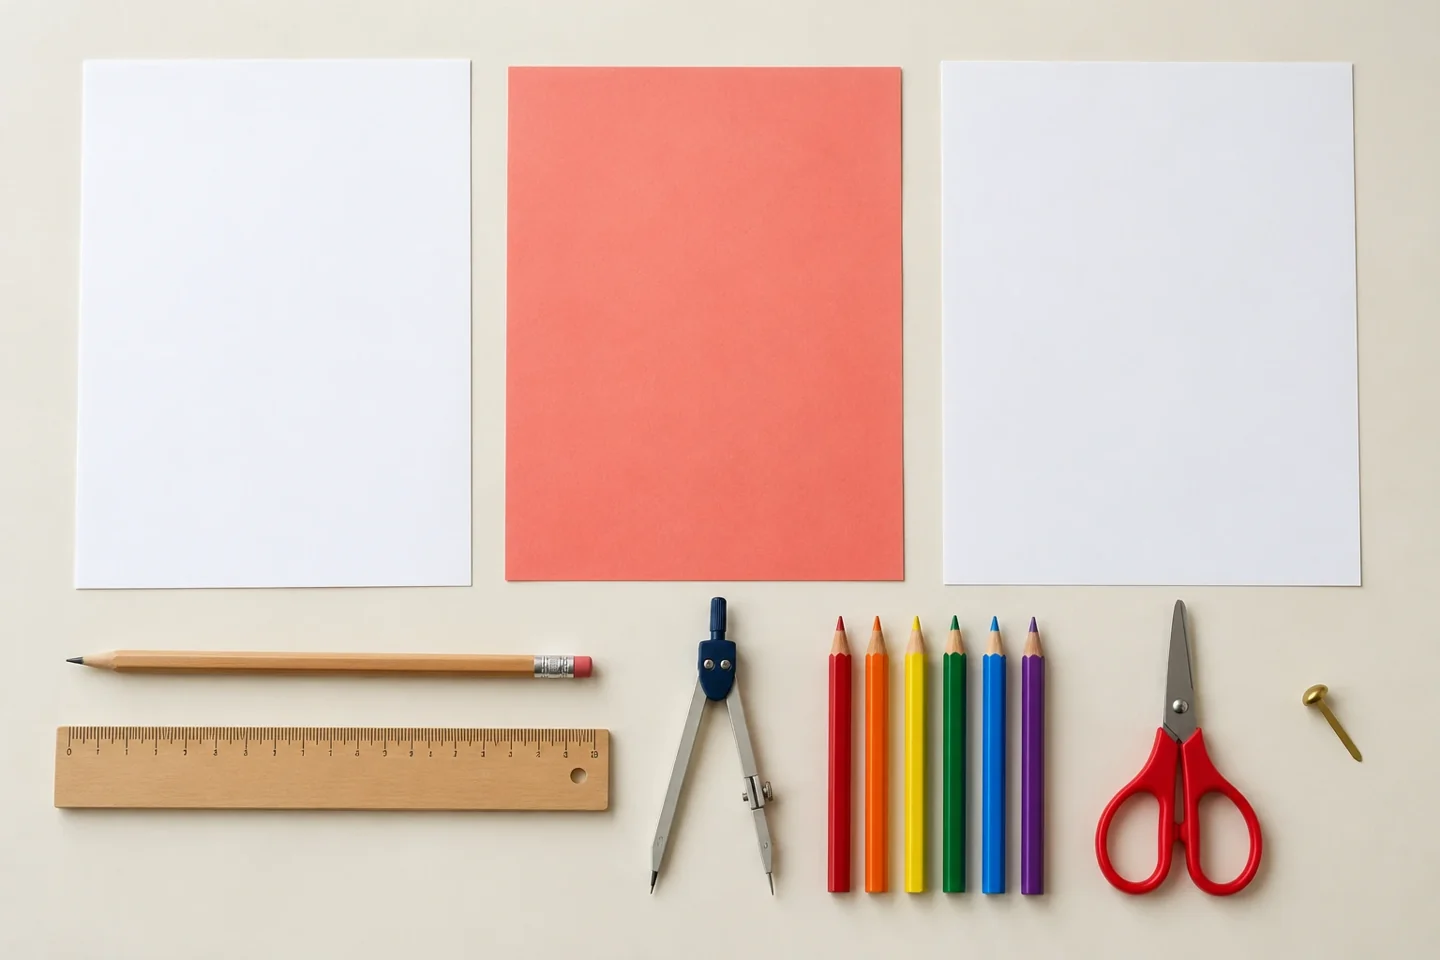
- One cardstock sheet for a circle about 8 inches across
- One contrasting cardstock piece for a broad pointer 3½ inches long
- One paper fastener fitted by an adult
- Colored pencils, ruler, pencil, compass or round tracing guide, and child-friendly scissors
- One plain sheet for drawing two observation records
Become a little weather observer
Weather can change between breakfast and the afternoon walk. A reusable picture wheel gives children a quick way to describe what they observe at a particular moment, then compare it with a later check. It is an observation tool rather than a forecast: the pointer represents the sky and conditions children can notice now.
Get ready together
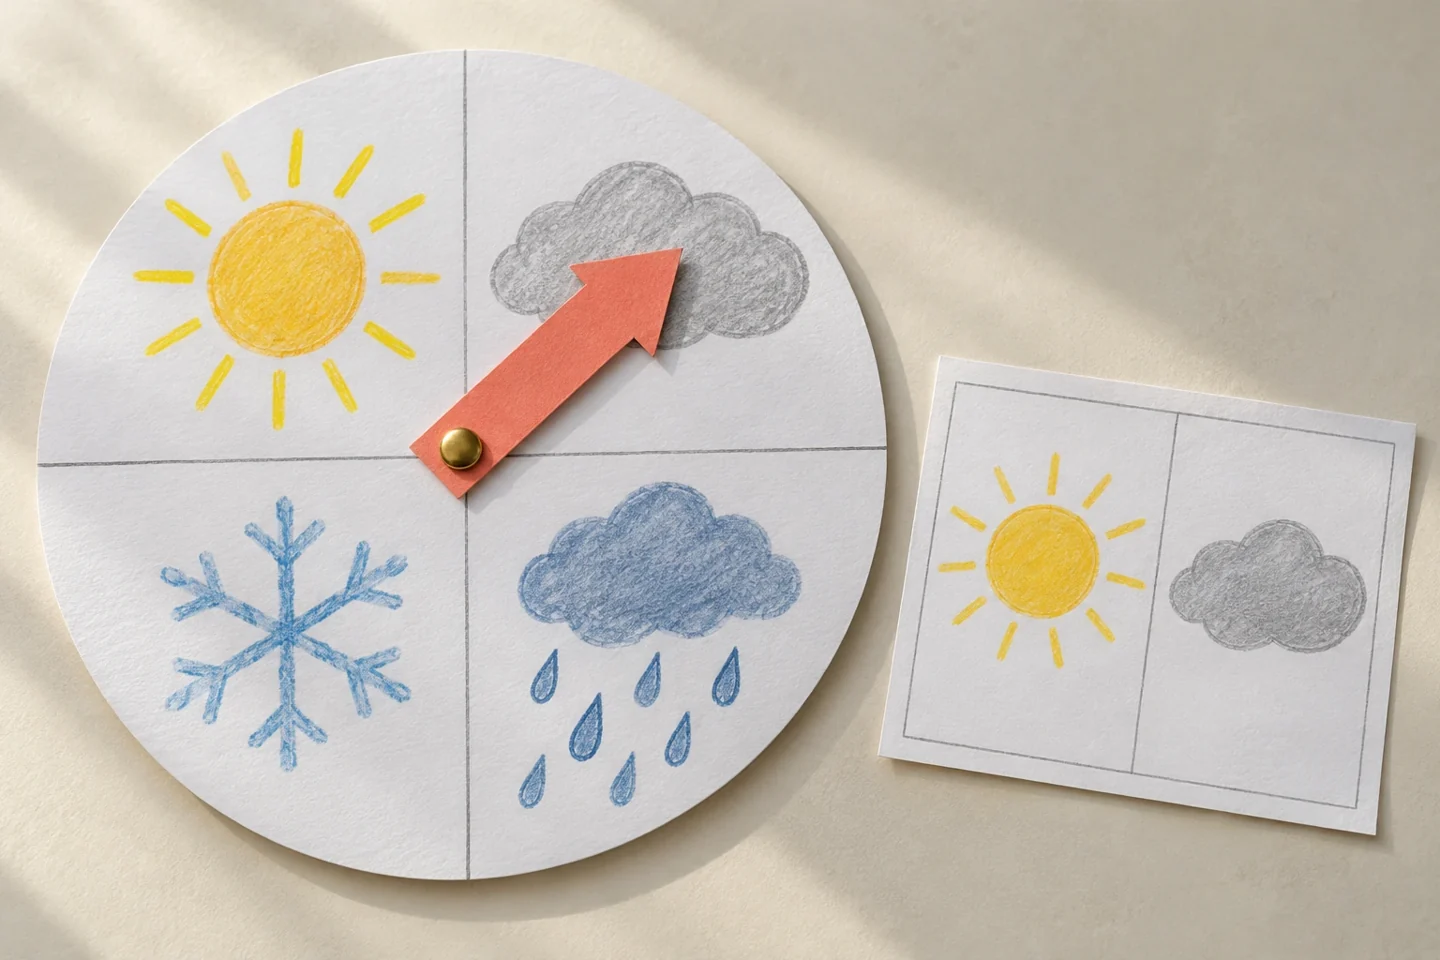
Prepare a firm circle and a broad arrow, then reserve an empty center where the fastener will sit. The four sections represent sunny, cloudy, rainy, and snowy observations; adjust a separate note for local conditions that do not fit neatly. Children can draw the symbols themselves or color outlines prepared by an adult. Keep the symbols large and visually different. A window with a clear view is enough for the observation stage, so no outdoor trip is necessary to use the wheel.
Make it step by step
- Divide the circle into four large sections. Choose clear pictures for sunny, cloudy, rainy, and snowy weather. Spring snow is possible in some places, so use the local conditions as a starting point.
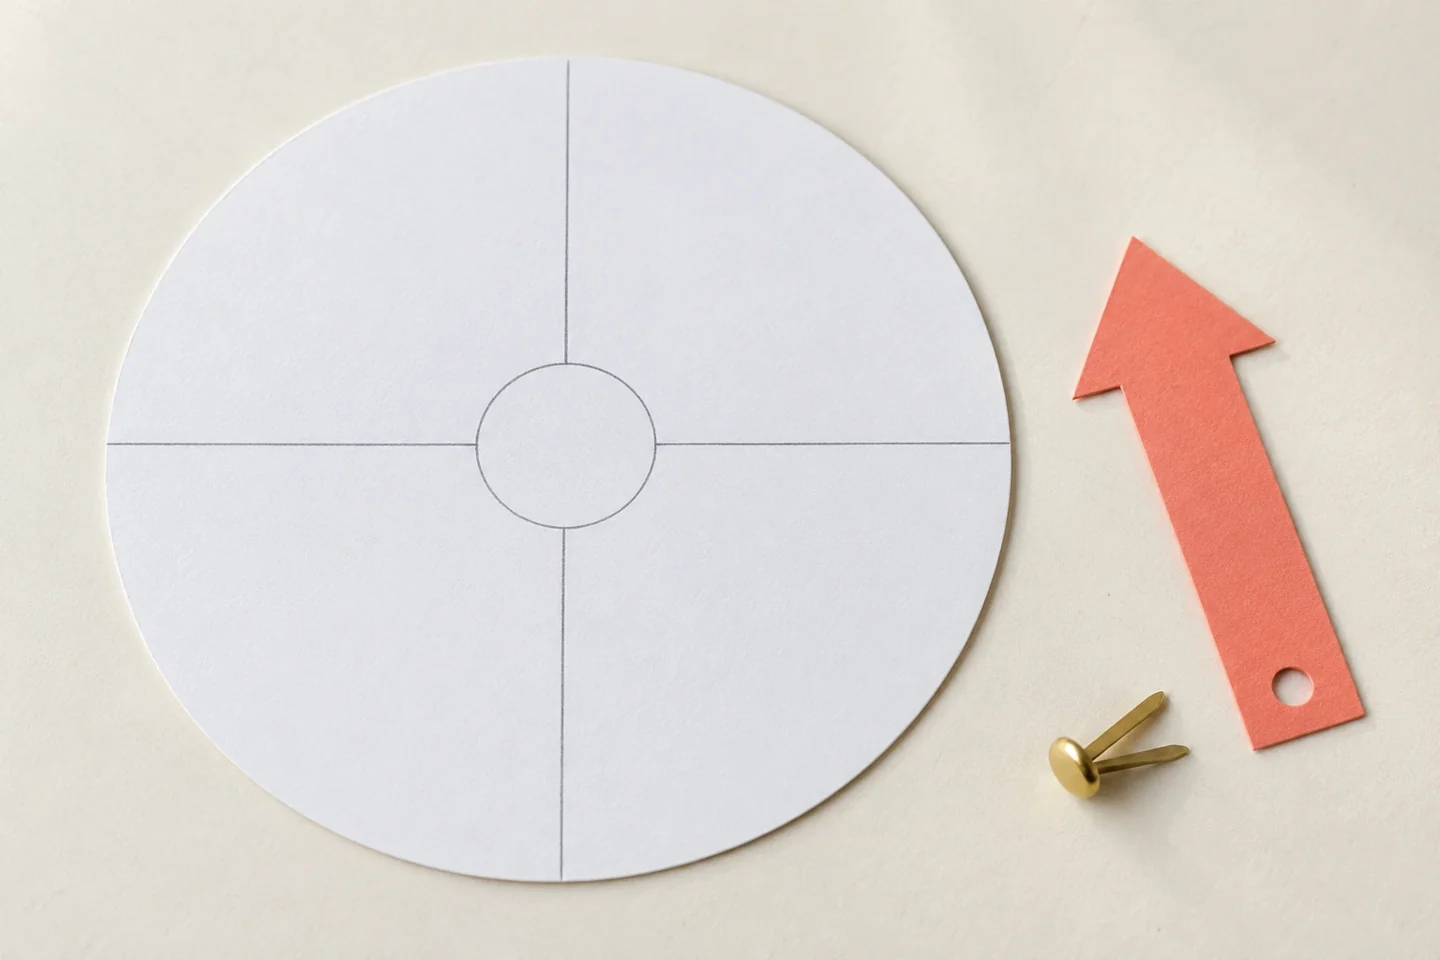
Make four clear sections and leave space around the central pivot. - Draw one weather picture in each section. Leave an empty central space and keep the pictures large enough to recognize across the table.
- Cut a broad 3½-inch arrow from cardstock. Mark its attachment hole about ½ inch from the tail so the tip will stay inside the wheel. An adult makes holes through the wheel center and pointer, then joins them with a paper fastener. Open the fastener loosely enough for the pointer to turn without bending.
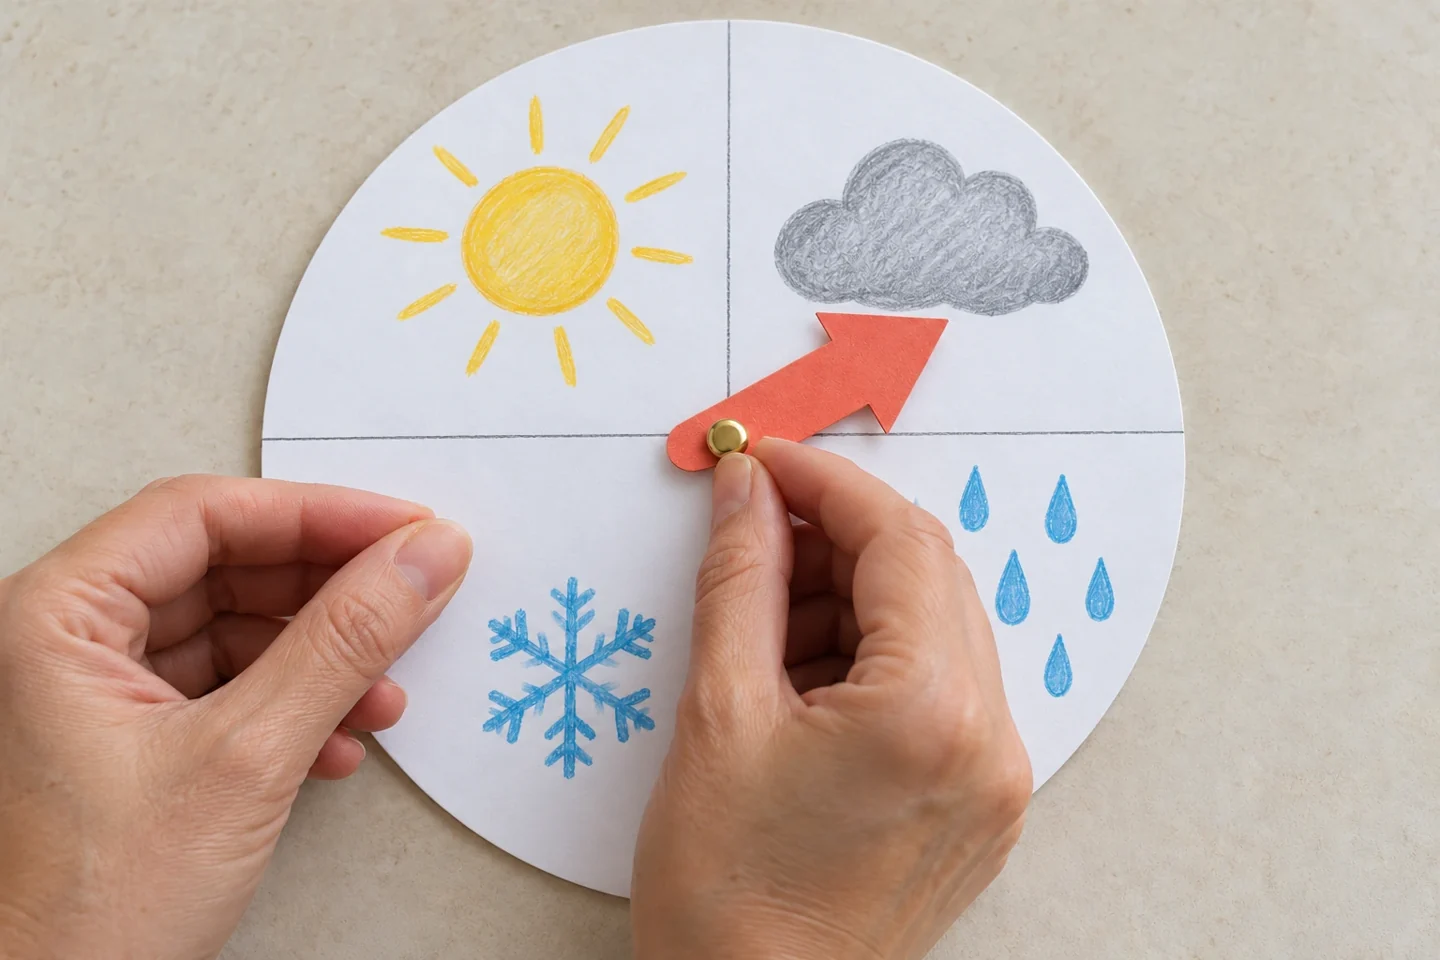
An adult attaches the pointer through its tail so it turns inside the wheel. - Look outside together or observe from a covered, suitable spot. Describe what is visible before choosing a picture. If two pictures fit, point between them or record both in a separate note.
- Check again later and make a small drawing record. Add wind, warmth, or puddles as separate observations rather than treating the wheel’s four pictures as a complete weather report.
Try it, notice it, talk about it
Look outside before turning the pointer. Ask what evidence is visible: dark clouds, falling drops, shadows, or snow on the ground. Snow left on the ground is different from snow currently falling, and a discussion can clarify which observation the child means. If sunshine and clouds both fit, point between two sections and add a spoken or drawn note. The wheel records a simplified description at this moment; it does not predict what will happen later or represent every part of the weather.
What makes you call the sky cloudy? Can sunshine and rain happen close together? What changed since the earlier check? Let children describe evidence such as shadows or raindrops rather than guessing from a picture alone.
Make it work for your children
Use a separate sheet to compare morning and afternoon checks. Children can draw the two skies side by side and add a note about what changed. In a classroom, one child can operate the wheel while another describes the evidence, then exchange roles at the next check. Younger children may simply point to a picture without moving the arrow. Older children can add wind or temperature observations to the separate page and explain why those details need more than the four pictures on the wheel.
If the arrow slips, increase gentle friction with a small cardstock backing square or adjust the fastener. A child can point by hand instead of using a moving arrow. Adults prepare the attachment, and children can dictate observations when writing gets in the way.
Finish and tidy up
An adult fits the fastener and checks that the arrow moves without coming loose. Keep small attachments away from children who might put them in their mouths. If the arrow drifts, a backing square of cardstock can add stability; do not tighten it so firmly that it tears the center. Store the wheel flat near the observation area and clip comparison drawings together. Leave space to add mist, hail, or other unusual observations in words or pictures rather than repeatedly rebuilding the wheel.