Spring & Easter
Easter Egg Pattern Art for Kids
 Facebook
 Pinterest
 X
X LinkedIn
 Reddit
 WhatsApp
 Telegram
 Bluesky
 Email
Email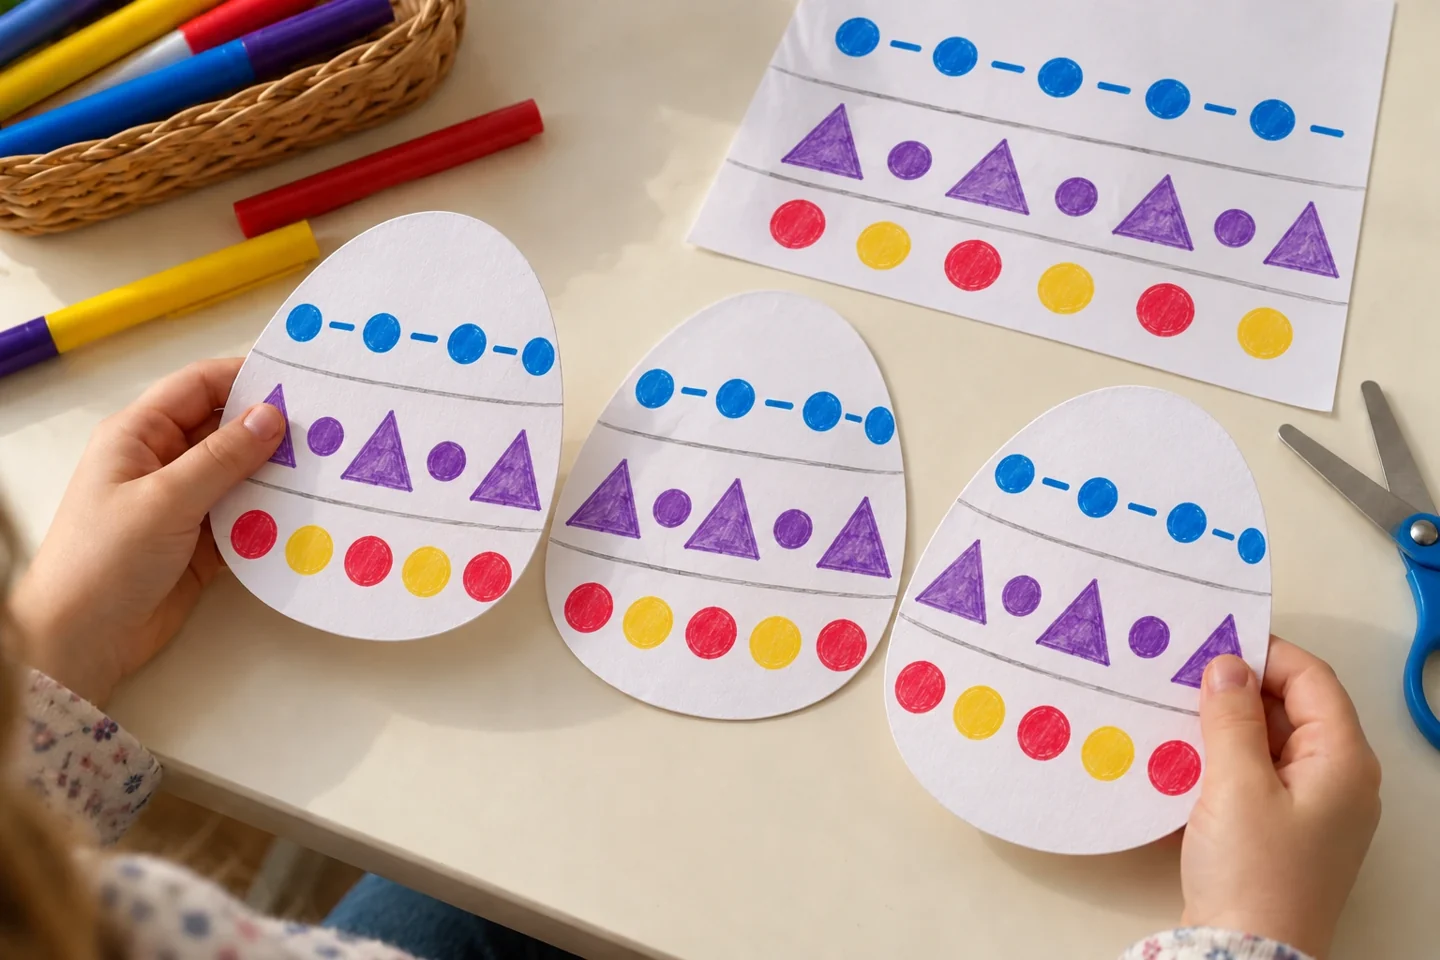
Your activity at a glance
| Suggested ages | 4–9 |
|---|---|
| Activity time | 25 minutes |
What you need
- 3 white sheets for egg shapes approximately 7 inches tall
- Colored pencils or washable markers, pencil, and ruler
- One scrap sheet for practicing repeating units
- Child-friendly scissors; optional glue and one larger backing sheet
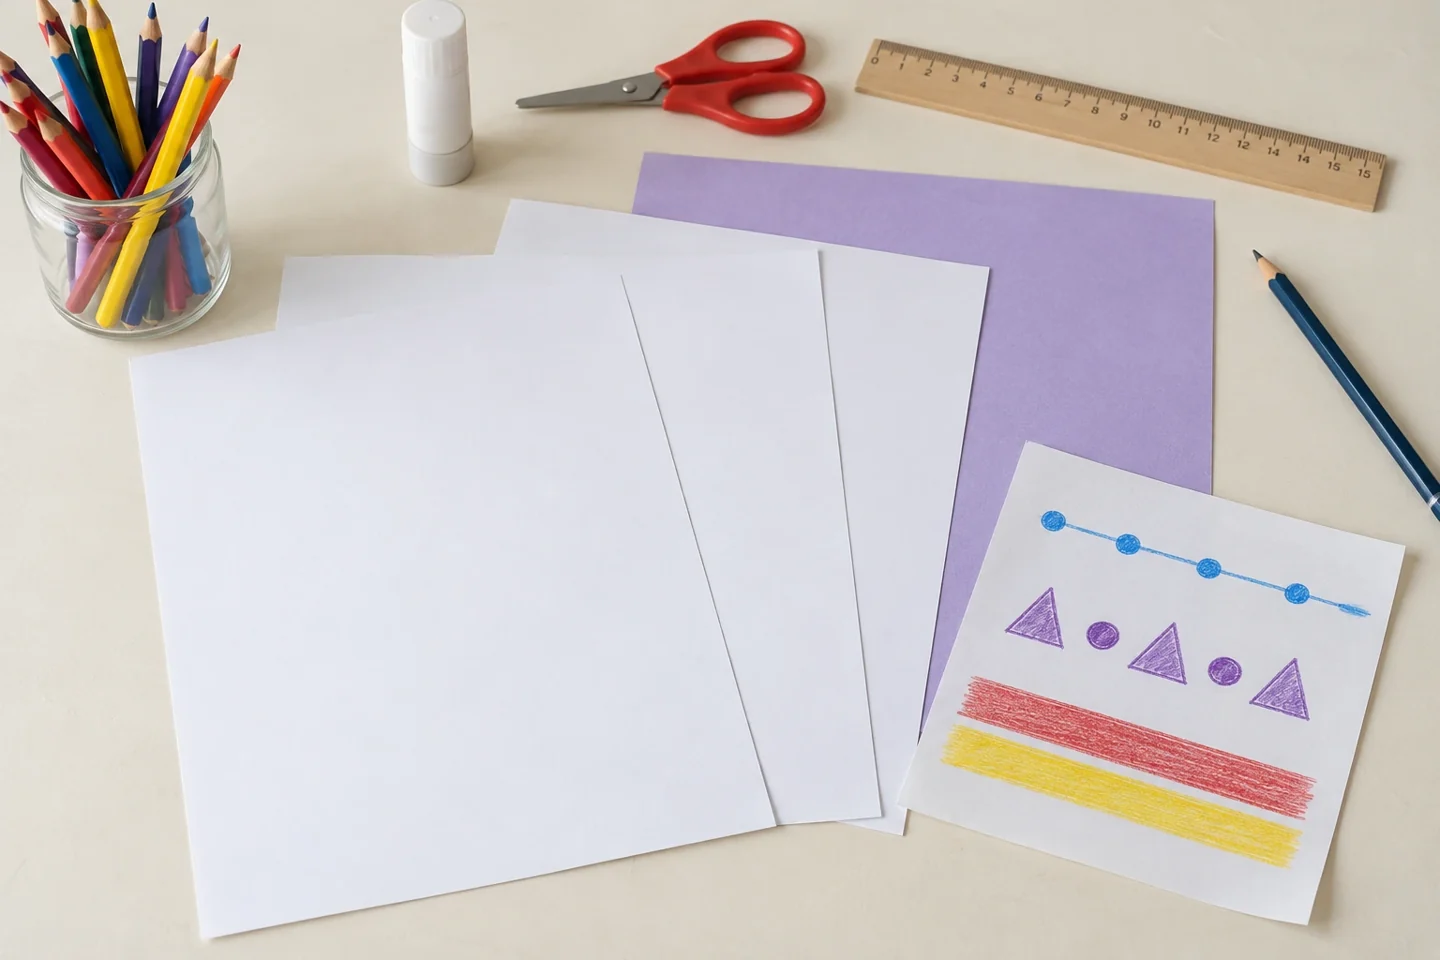
A spring invitation to spot patterns
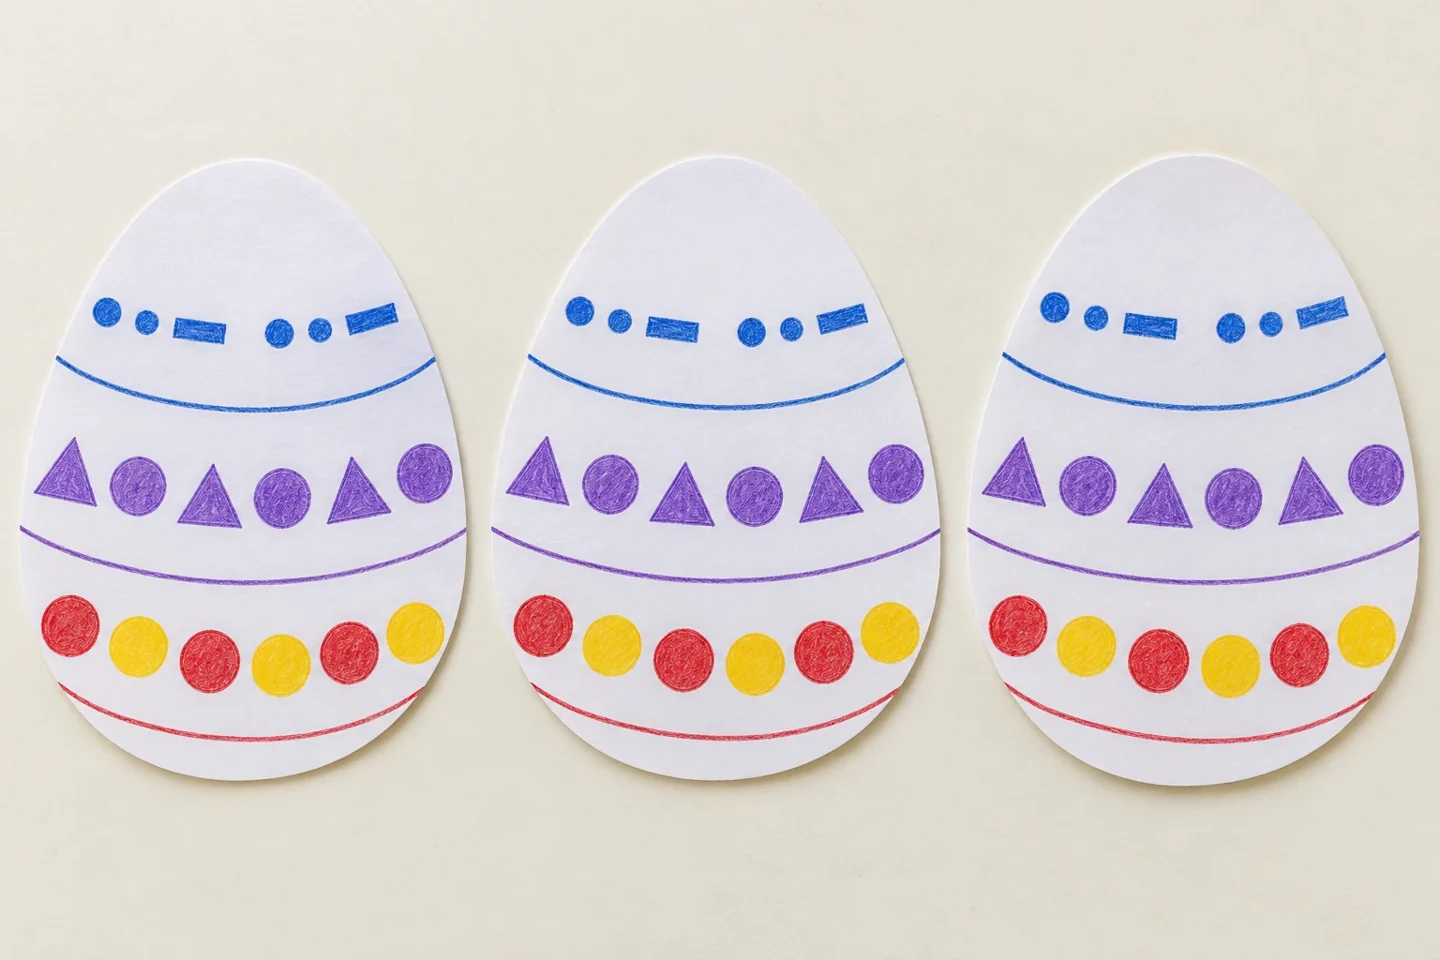
A paper egg is a small canvas with plenty of room for invention. Children can cover it with zigzags, dots, stripes, or a pattern of their own, then explain the rule behind the decoration. There is no single correct Easter egg design: the interesting part is noticing what repeats and choosing where the pattern will go.
Get ready together
Prepare three large egg outlines per child and keep a spare outline for experimenting. Wide eggs provide more space than narrow ones for decorating bands. Children who are still learning to cut can work on the full sheet while an adult trims the finished design afterward. Put a small scrap of paper beside each egg for testing a color or symbol. Offer a manageable selection of crayons or pencils instead of a crowded box of unfamiliar tools, and leave a clear place where completed eggs can be compared.
Make it step by step
- Draw three large egg outlines, or ask an adult to prepare them. Keep the shape wide enough for several bands of decoration. Cut them out now, or decorate first if the paper is easier to hold flat.
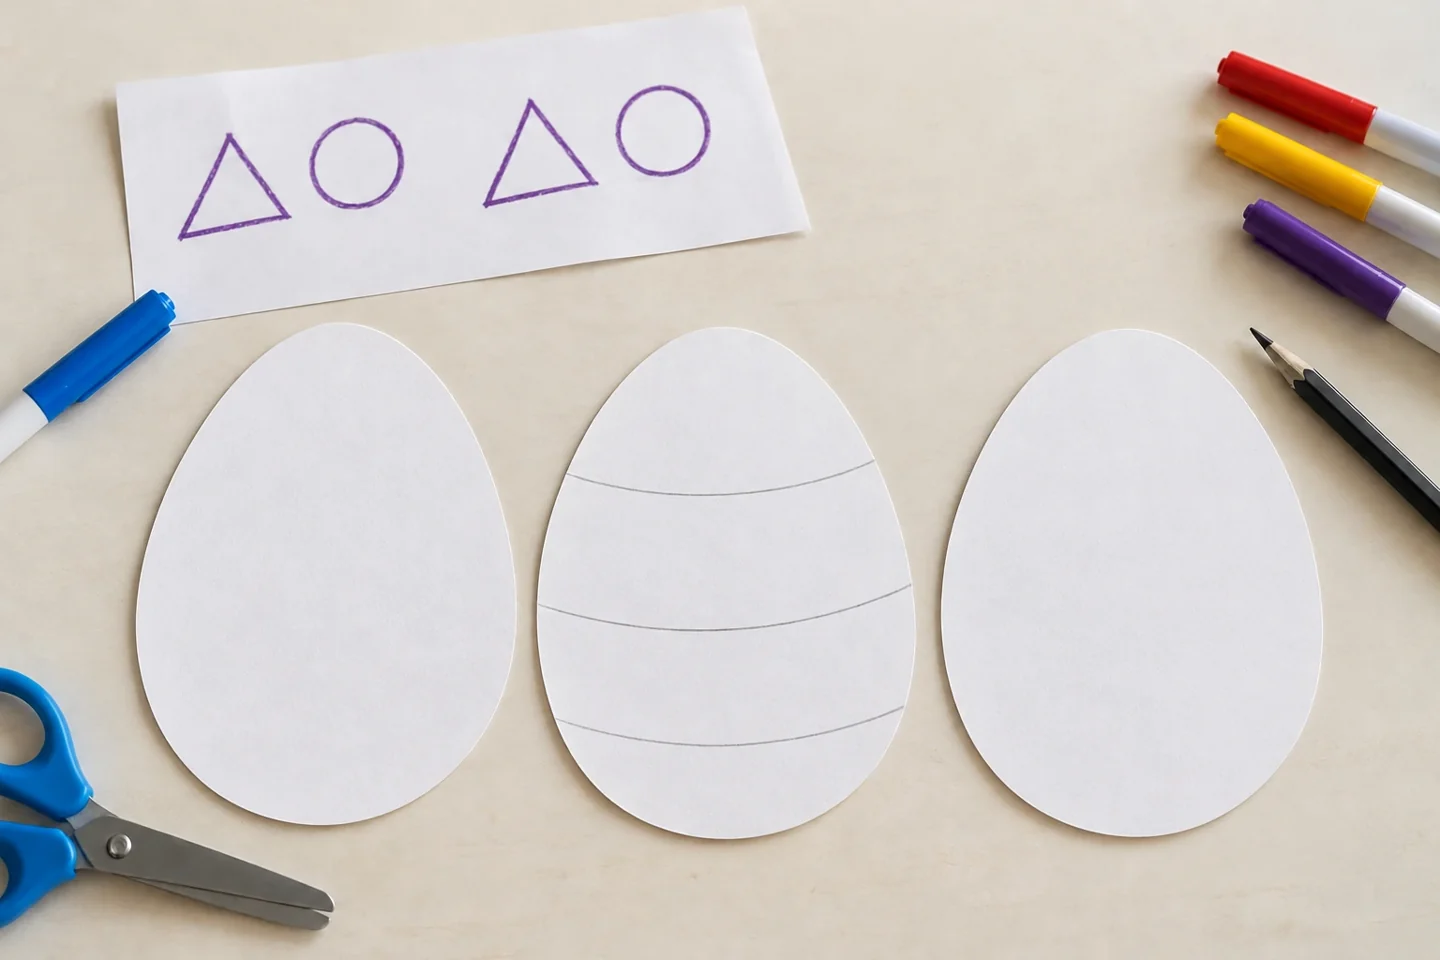
Practice a short repeating unit before decorating the egg bands. - On scrap paper, practice a short repeating unit such as dot-dot-line or triangle-circle. Say the unit aloud and repeat it twice, checking that the order stays the same.
- Draw three gently curved bands across the first egg. Fill one band with the chosen repeating unit, starting at the left edge and moving across.
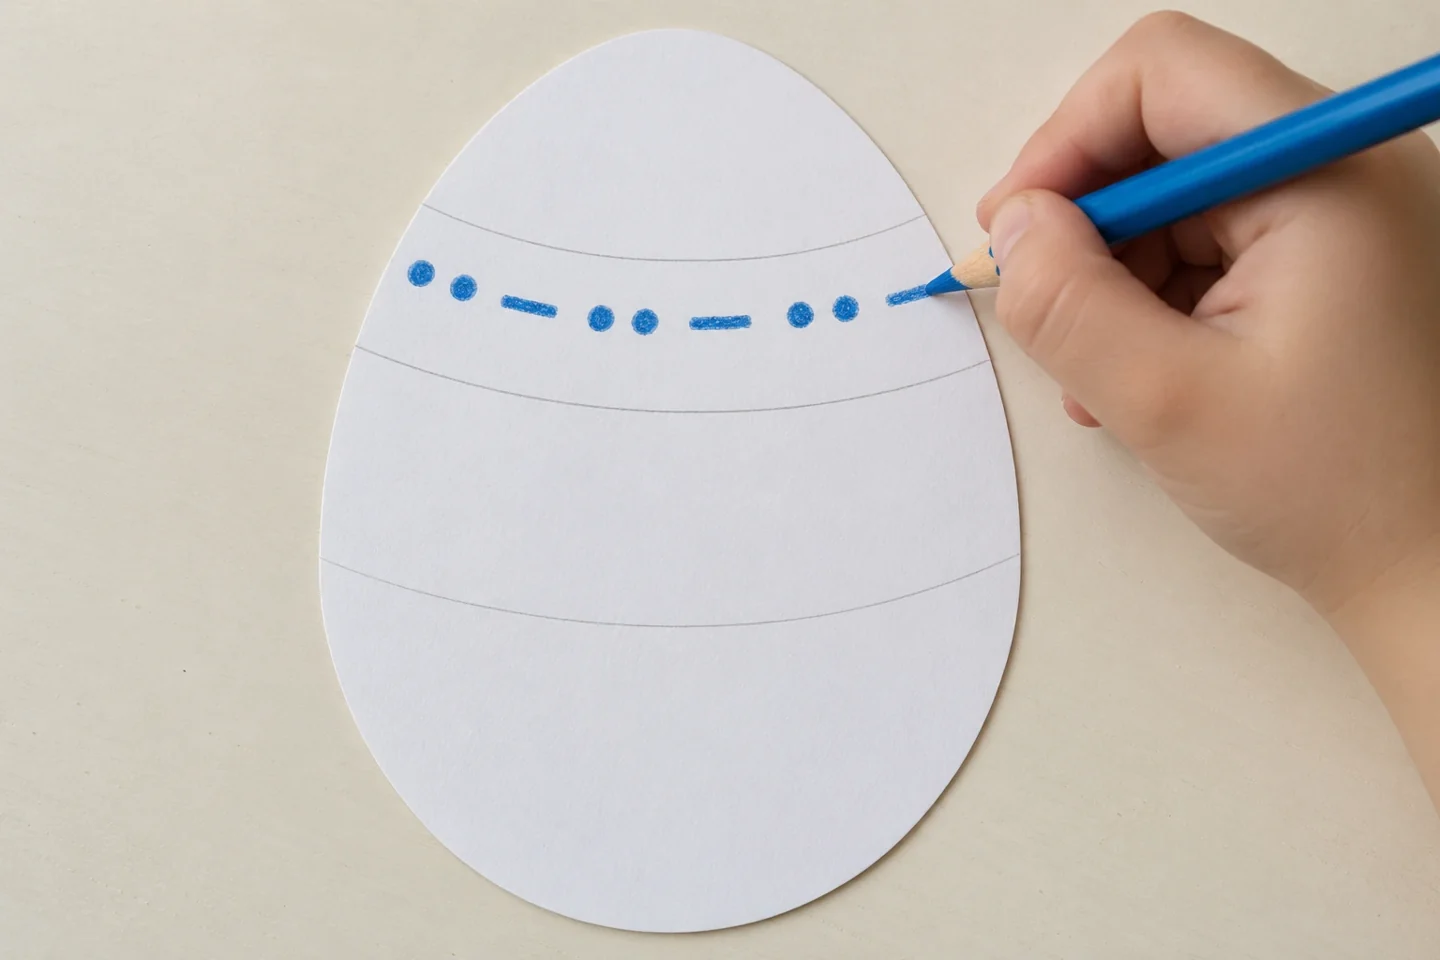
Repeat dot-dot-line in the same order along the curved band. - Give the next band a different rule. A color sequence can repeat alongside a shape sequence, but begin with one rule at a time so it remains easy to follow.
- Decorate the other eggs using new choices. Place them together and describe a favorite pattern. Glue them onto a larger sheet or display the cutouts separately.
Try it, notice it, talk about it
Begin by making a short pattern together on scrap paper. Draw dot-dot-line twice and ask what should follow. When moving to the egg, point to the whole repeating unit rather than treating every mark separately. A curved band may end partway through a unit; that is simply where the paper ends, not a mistake in the rule. Pause midway through one band and invite the child to explain the next mark. Keep this as a conversation about the design rather than a test with rapid questions.
Ask a partner to predict the next shape without being told the rule. Can the same sequence be made with different colors? Compare a repeating pattern with a design in which every shape is different.
Make it work for your children
For younger children, draw two wide bands and choose a two-color sequence. Children who enjoy a greater challenge can keep the shape rule constant while changing the color rule, then explain both. Classroom partners can exchange undecorated eggs with one partly started band and continue each other’s patterns. At home, display three eggs and ask a family member to find a matching unit. Compare a repeating sequence with a free-form drawing where each mark is different; both are valid art choices, but only one has the agreed repeat.
If a pattern changes halfway through, ask whether the child wants to continue the new rule or start a fresh band. A misplaced mark can become a new repeated symbol. Broad crayons and fewer, larger bands help younger artists work comfortably.
Finish and tidy up
Decide whether to display the eggs separately or glue them to a background. Separate eggs can be rearranged into groups such as striped, dotted, or zigzag designs. A collage stays easier to move if the child checks the arrangement before gluing. Leave marker work to dry before stacking it, and place finished cutouts in a flat folder rather than folding across the decoration. Keep the practice patterns beside the finished eggs if the child wants to show how an idea developed from its first small trial.