Birthdays & Special Events
Design a Paper Party Hat
 Facebook
 Pinterest
 X
X LinkedIn
 Reddit
 WhatsApp
 Telegram
 Bluesky
 Email
Email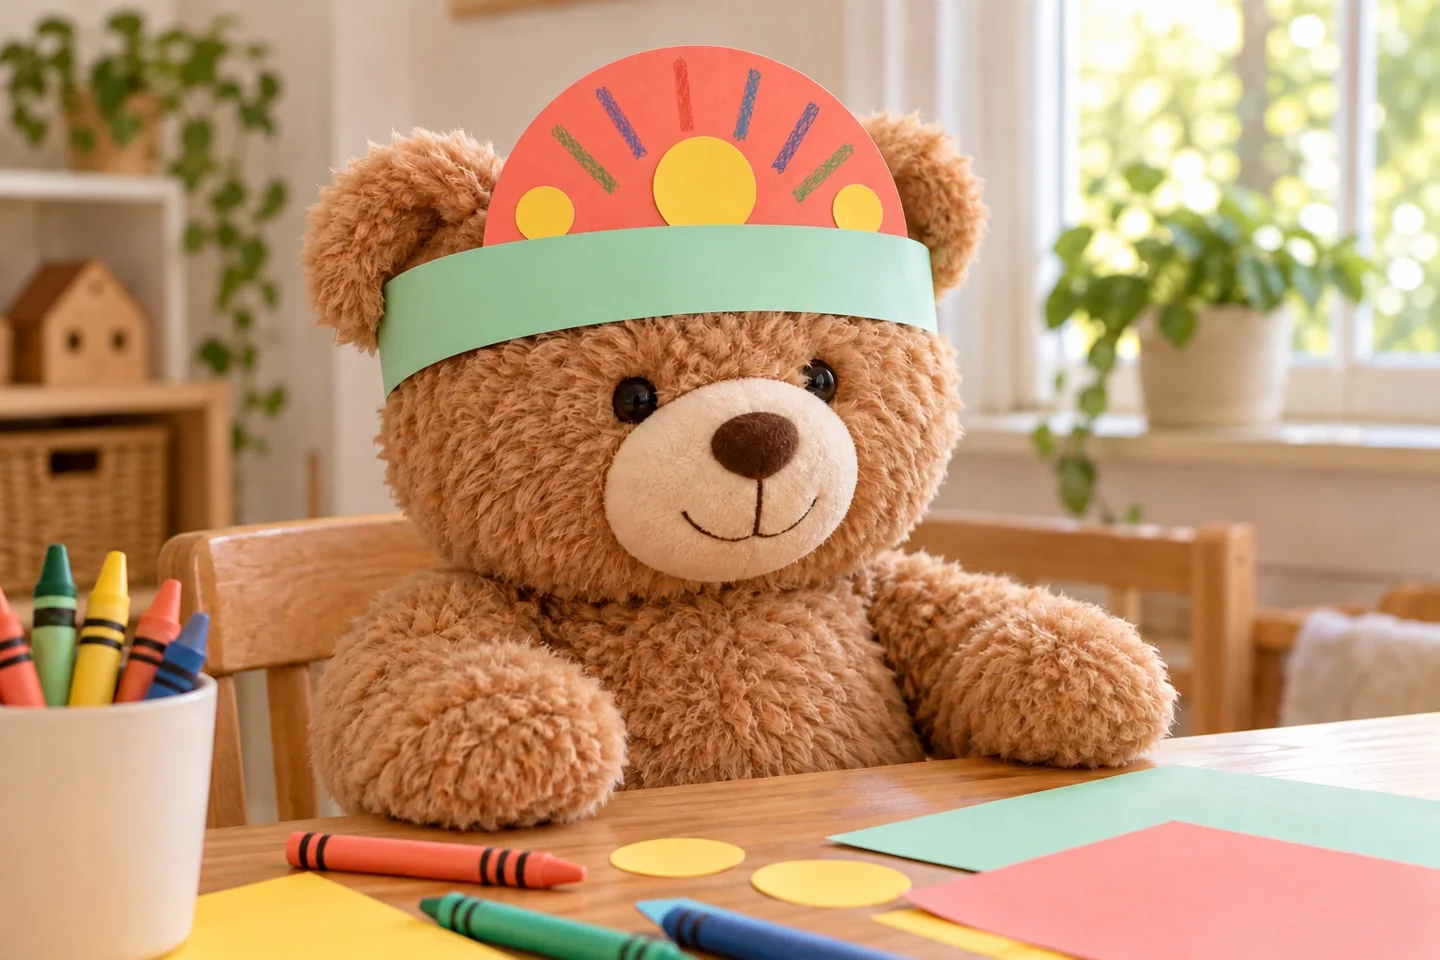
Your activity at a glance
| Suggested ages | 5–10 |
|---|---|
| Activity time | 25–40 minutes |
What you need
- Two letter-size construction-paper sheets per child, plus spare paper for longer bands or reinforcing strips
- Ruler, pencil, and a small plate for tracing
- Child scissors and glue stick
- Clear tape and crayons
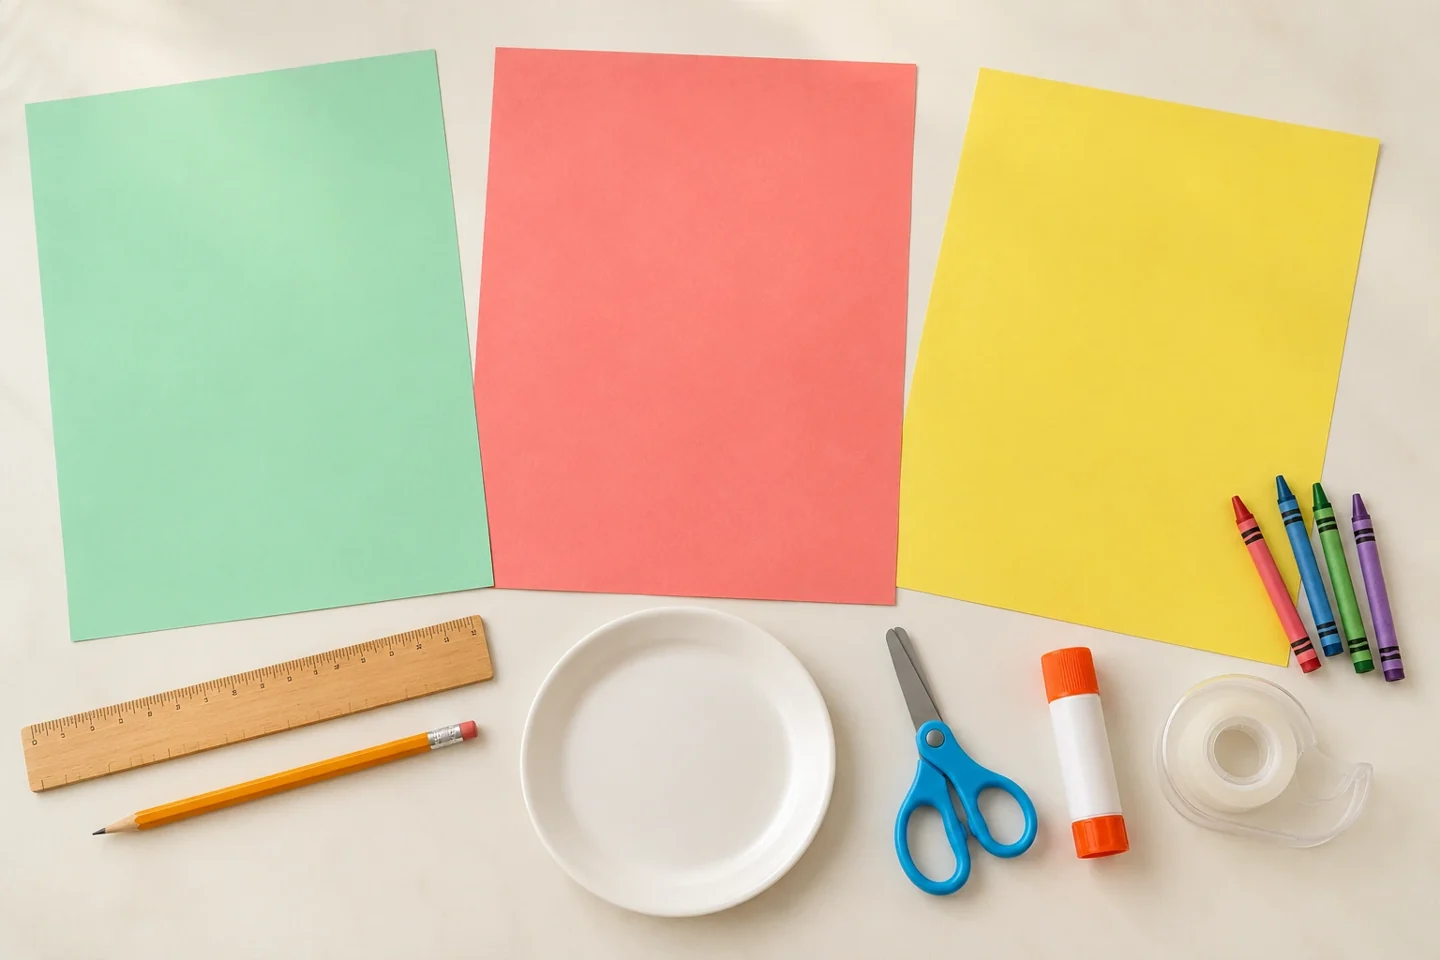
A celebration made by children
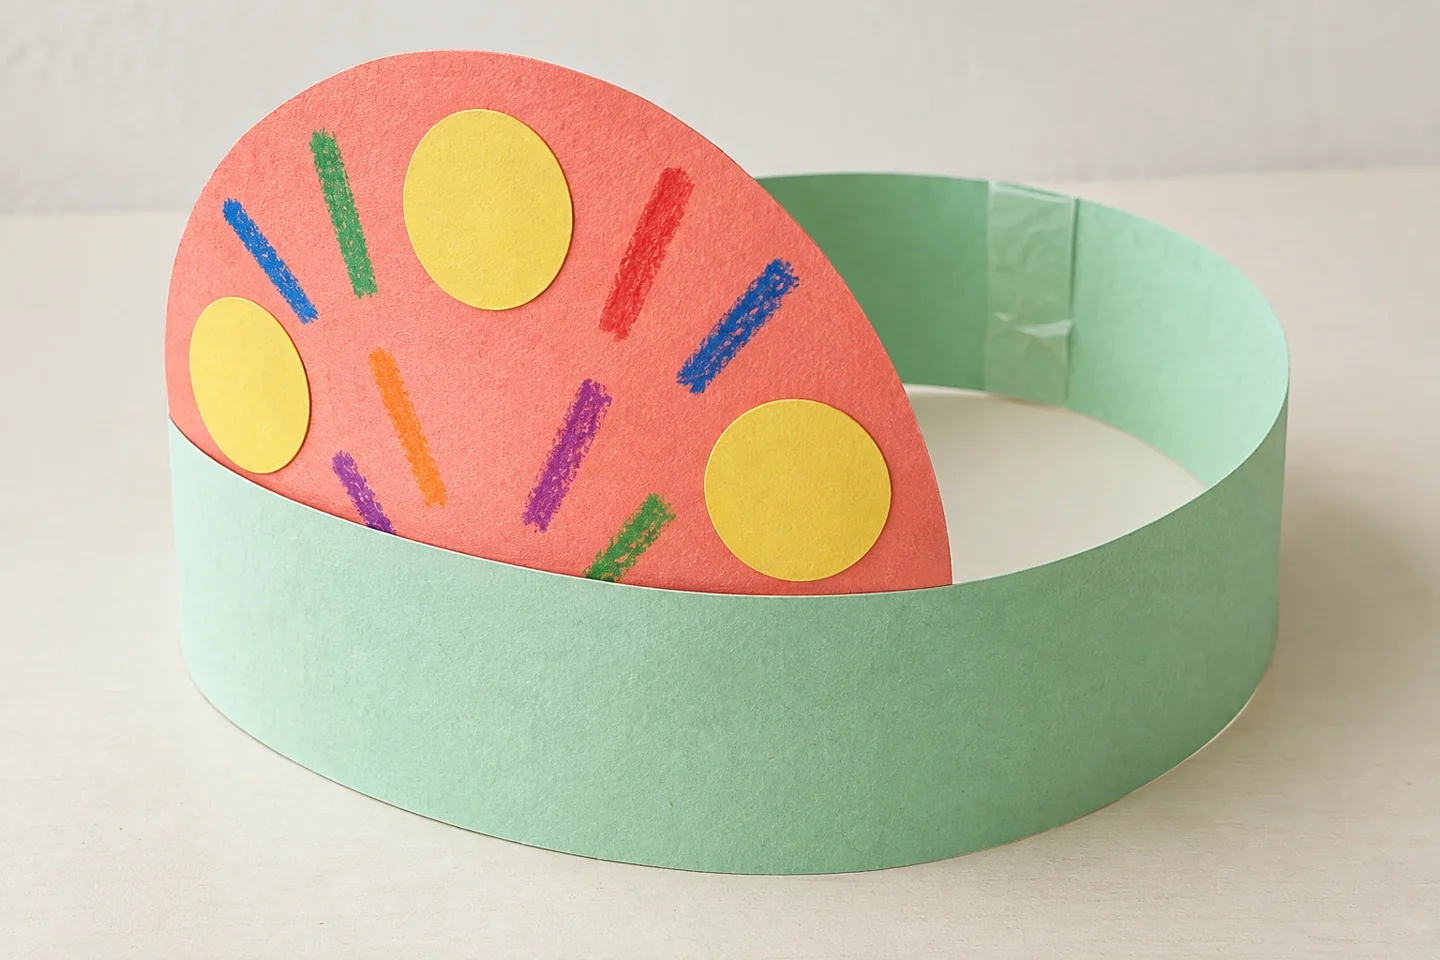
A paper party hat is a wearable construction challenge with plenty of space for personality. This version uses a broad headband with a decorative semicircle above it, so there is no elastic under the chin. Children can test balance, adjust the fit, and decide what makes their hat special.
The broad band carries a lightweight semicircle, making this a hat children can decorate flat and wear without a chin strap. Treat balance as part of the making process: a top that tips forward can be shortened, strengthened, or redesigned. The adjustment is a useful discovery, not a mistake to hide.
Before you begin
Choose flexible construction paper for the band and slightly firmer paper for the semicircle if available. Trace and cut one adult sample only to demonstrate the overlap, not a finished decorative design. Keep clear tape nearby for strengthening the back, and set a dry area aside before fitting.
For six children, prepare twelve sheets and one plate template per table. Cut twelve headband strips in advance if the group needs help with measuring. Three shared glue sticks and three pairs of scissors are enough when children take turns. Add a spare sheet for longer bands and reinforcing strips.
Make it step by step
- Build the band: Cut two strips 2½ inches wide and tape them into one long strip. Keep the band flat. Ask the child to choose a color that will support the taller decoration, then draw a light fitting mark later rather than guessing head size. Cut each strip along the 11 inch side and overlap their ends by about one inch before taping. The joined band is about 21 inches long. If it will not wrap comfortably with an overlap, tape on another short strip from spare paper before decorating.
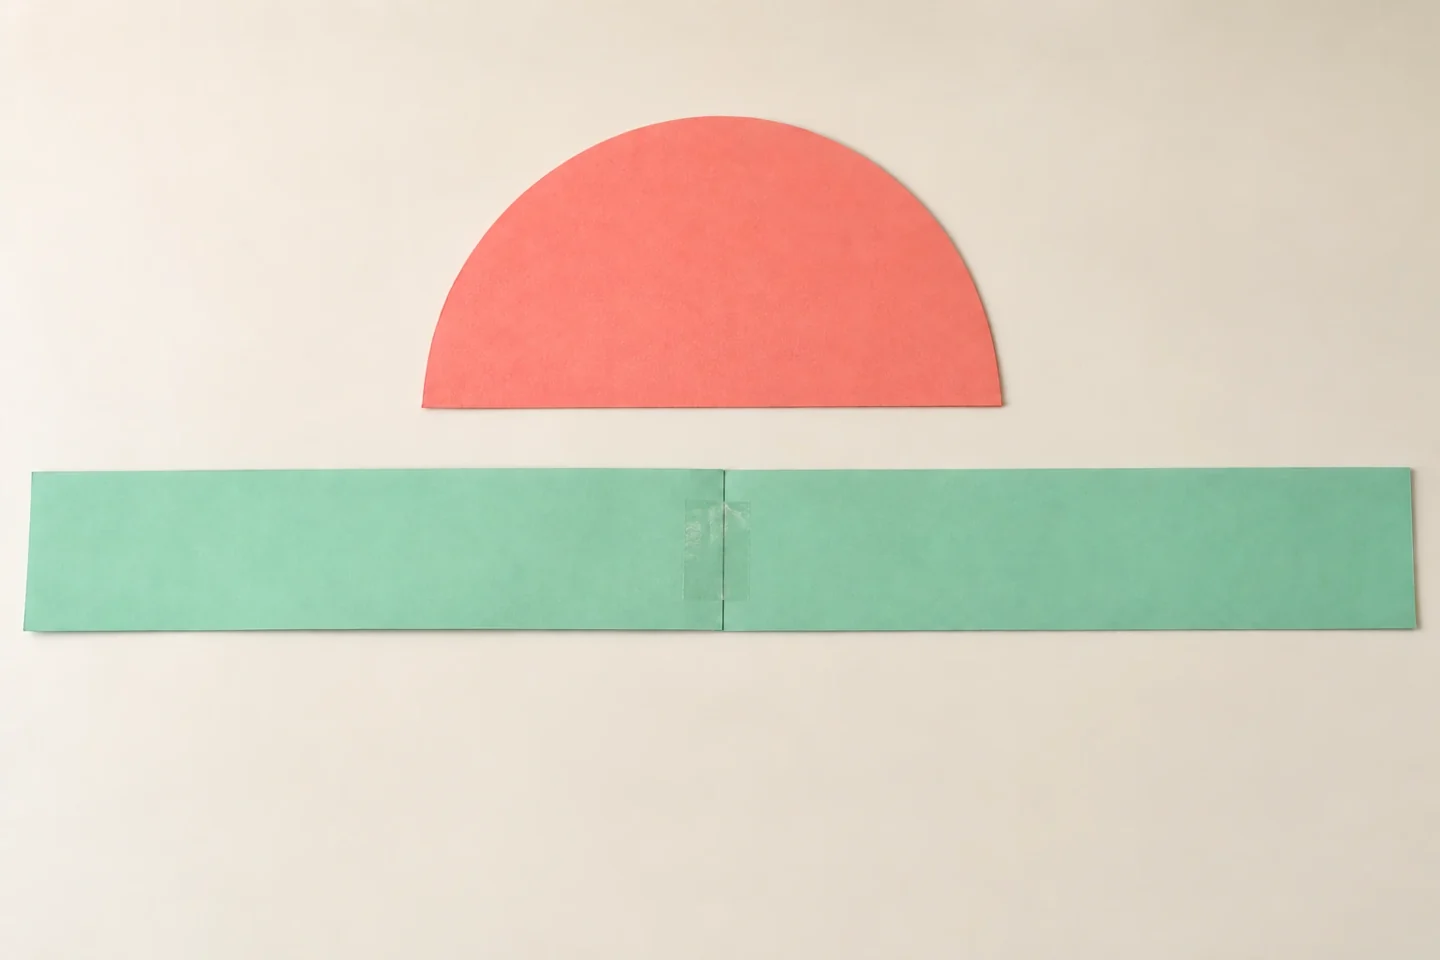
Keep the long band and semicircle flat until their join is secure. - Make the top: Trace half of a small plate onto a second sheet and cut out the semicircle. A shape about 7 inches wide and 3½ inches high works well. Leave the straight edge intact so it can overlap the headband.
- Decorate flat: Add drawn stripes, circles, stars, or imaginary characters to both pieces. Paper additions should sit flat rather than dangle. Children may use matching patterns across the two parts or deliberately choose contrasting designs.
- Join the pieces: Overlap the semicircle’s straight edge about an inch behind the band’s center. Glue it in place and reinforce the join with tape on the back. Let the glue dry before fitting the hat.
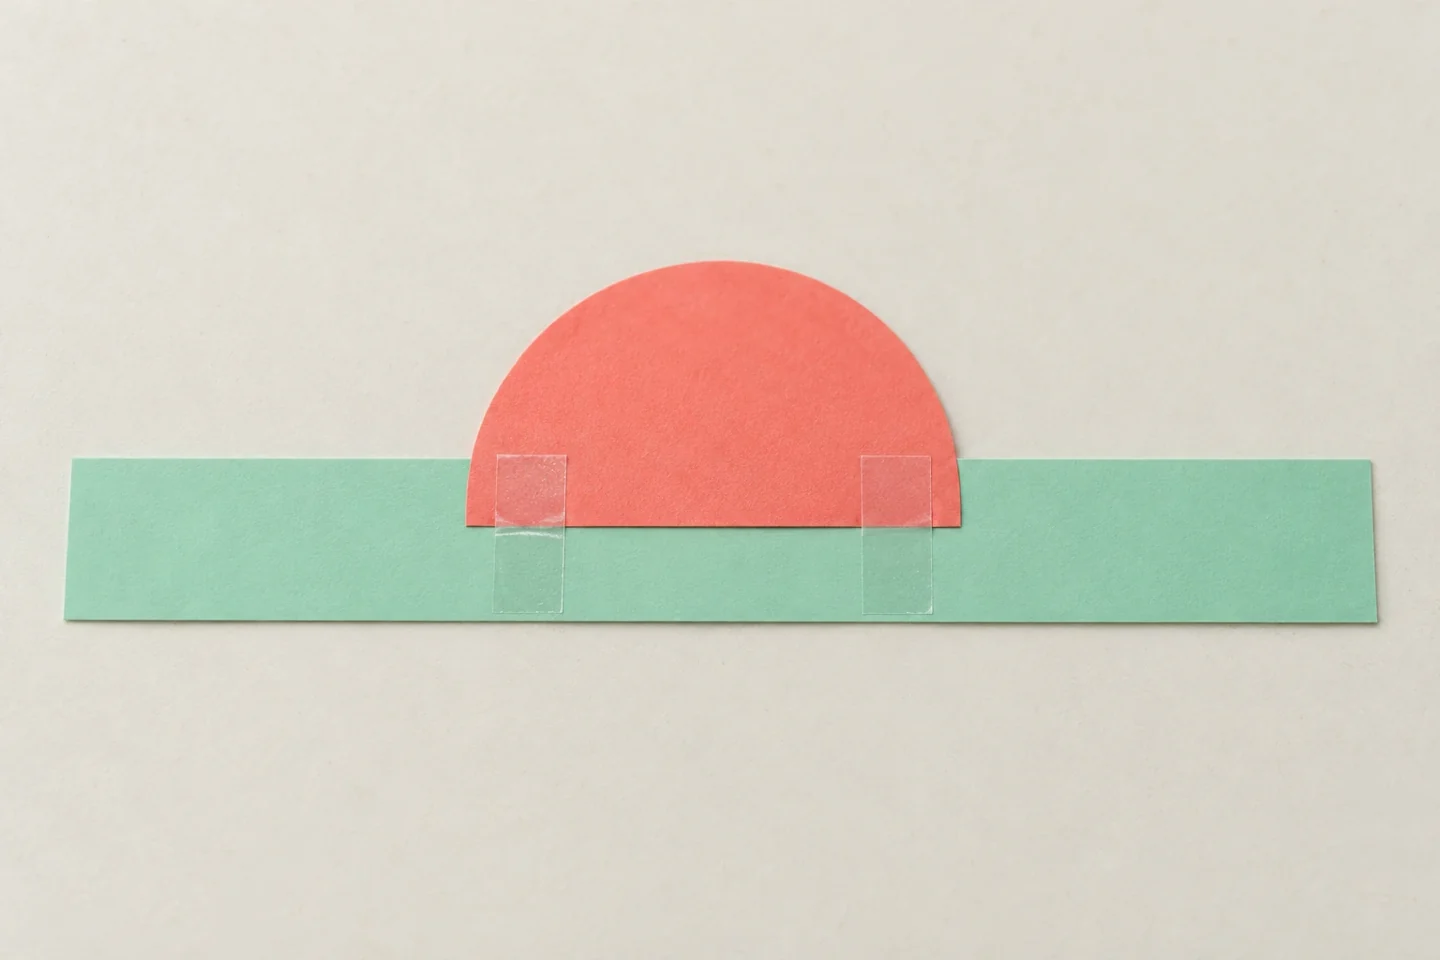
Attach the semicircle behind the band and reinforce the join. - Fit and adjust: An adult wraps the band loosely around the child’s head, marks the overlap, then removes it to tape the seam. If the top leans forward, shorten its height or strengthen the join with a second paper strip. Invite a final comfort check.
Talk, notice, and try another idea
Ask, “What happens when the top is taller?” Hold two paper semicircles against a band without attaching them and notice how they bend. Children may predict that the larger shape needs a stronger join. Let them compare the actual result after assembly.
Look for a repeated pattern on the hat. Ask whether it continues from band to top or changes at the join. A child might use circles on the band and stripes above; noticing the transition helps them describe their design decisions without needing formal art terms.
At home and with a group
At home, let the child choose whether to make a party hat or a pretend uniform for a character. A second smaller hat can fit a stuffed toy. Keep the same broad-band construction so the child can compare two sizes without learning a new method.
For a group, decorate all pieces before the adult begins individual fitting. Have one child at a time bring a dry hat to the fitting station. Those waiting can add a drawing to a celebration card. Give completed hats back to their makers rather than mixing them on a crowded table.
Helpful adjustments and cleanup
If the semicircle folds forward, add a short reinforcing strip behind the join or reduce its height. If glue will not hold, let it dry and use a small tape patch on the back. Children who prefer not to wear a hat can display their design on a shelf or place it on a toy.
Open the headband seam to store the hat flat, or stand it upright where the semicircle will not be crushed. Put unused semicircle shapes in a folder for another project. Check the join after active play and remove the hat if it becomes uncomfortable; no decoration is worth a scratchy forehead.
Keep the creativity going
A finished hat can belong to an imaginary character as well as a party guest. What would a dinosaur’s party hat look like, and what games would it choose? Explore The Big Dinosaur Activity Book for more dinosaur fun, or browse our books and series together to choose a calm activity after the making and fitting.