Birthdays & Special Events
Make a Celebration Photo Frame
 Facebook
 Pinterest
 X
X LinkedIn
 Reddit
 WhatsApp
 Telegram
 Bluesky
 Email
Email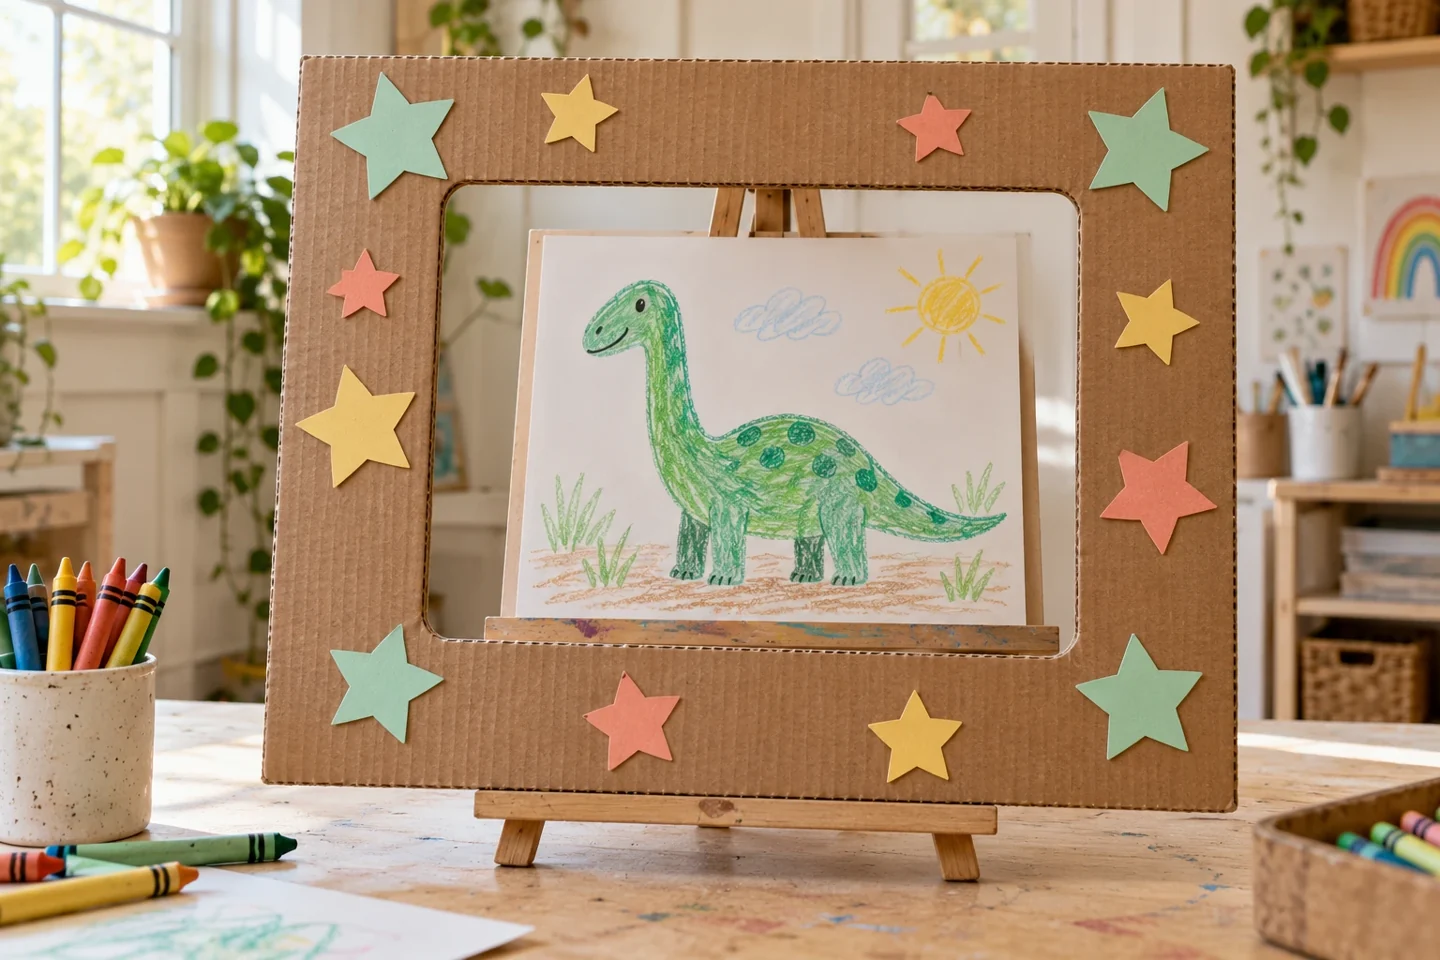
Your activity at a glance
| Suggested ages | 5–10 |
|---|---|
| Activity time | 35–50 minutes |
What you need
- One flat corrugated cardboard piece about 16 by 20 inches
- Ruler and pencil
- Adult cutting tool and wide tape
- Construction paper, glue stick, and crayons
- Two cardboard reinforcing strips about 2 by 16 inches if the frame bends
- Child scissors for paper decorations
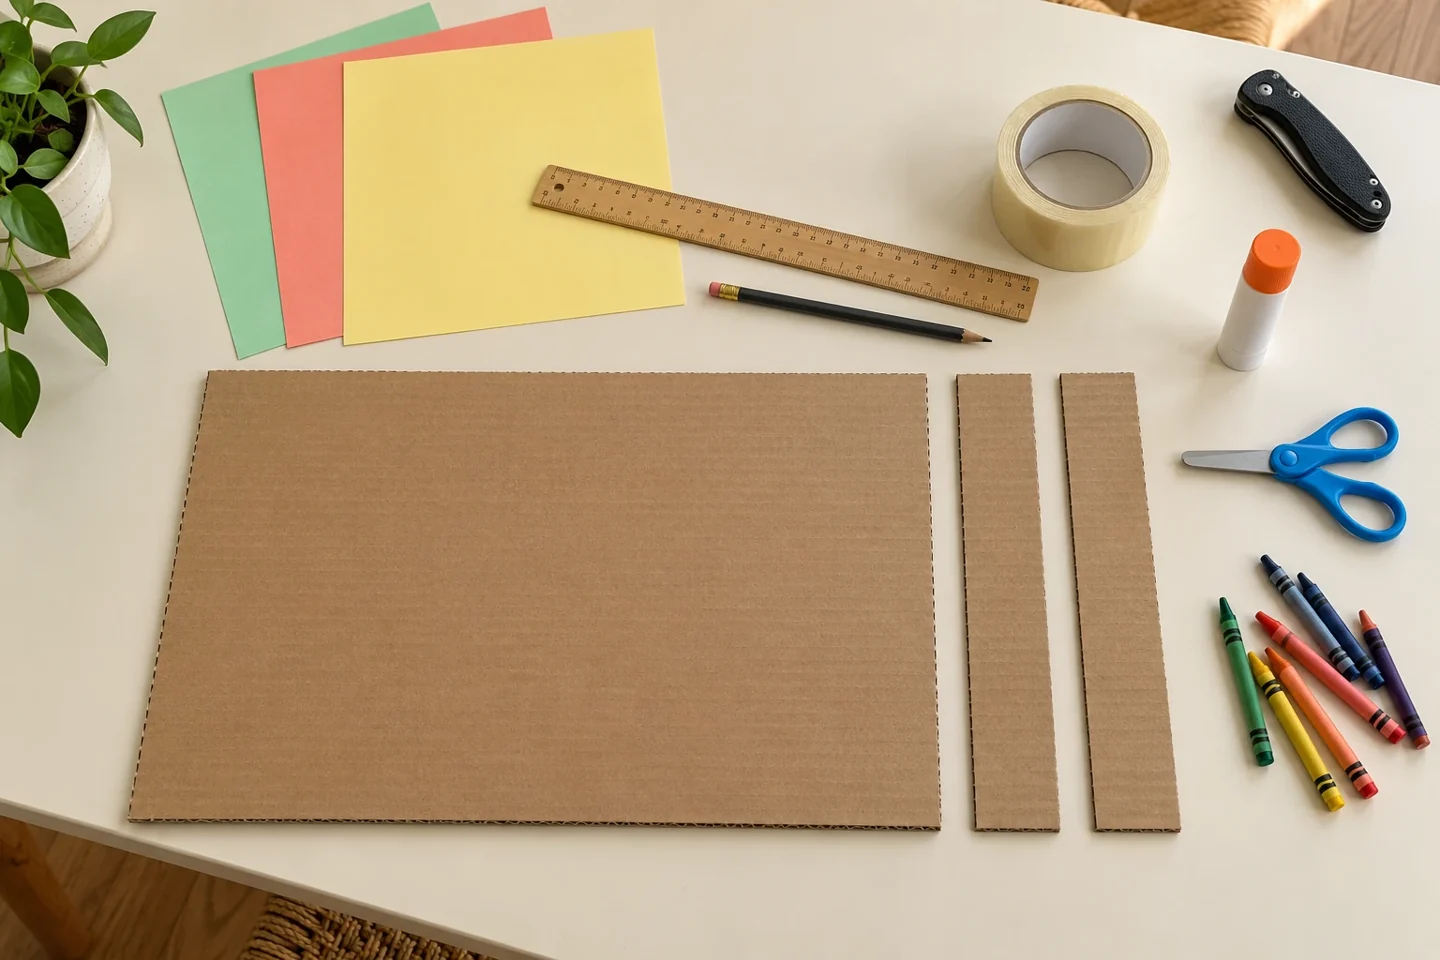
A celebration made by children
Create a reusable cardboard frame that brings drawings and handmade decorations into celebration photos. The frame can be held beside a face, displayed around artwork, or placed over a pretend scene. Its purpose is to celebrate the makers’ ideas, not to require photographs of anyone.
A broad cardboard border gives children a sturdy place for decorations while leaving a useful opening in the center. The frame can celebrate a birthday, a finished project, or a family gathering. It also works beautifully around a drawing, so taking a photograph is entirely optional.
Before you begin
Inspect the cardboard for staples and damaged folds before measuring. Mark the opening with a ruler and let the adult cut it on a protected surface away from children. Tape rough edges on both sides if needed. Keep decorations lightweight so the finished frame can be lifted without bending.
For a group of twelve, make two frames and divide children into teams of six. Give each team a tray of large paper shapes, two glue sticks, and crayons. Divide the border into rough areas only if needed to prevent crowding; otherwise let children agree where their pieces belong before gluing.
Make it step by step
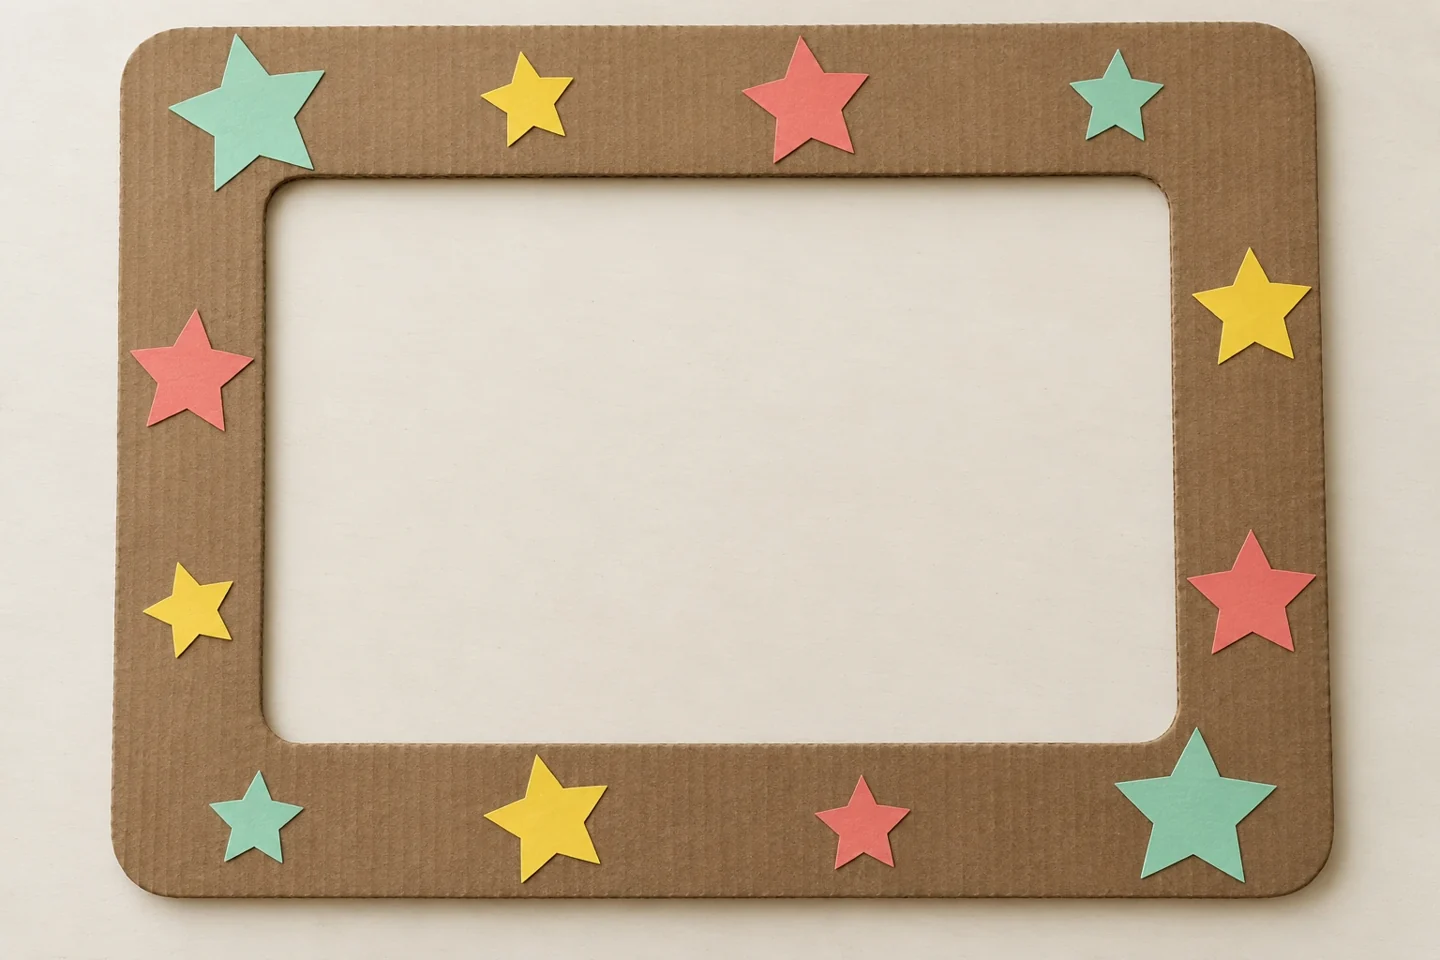
- Mark the opening: Draw an inner rectangle leaving a border about 3 inches wide on every side. Round the inside corners slightly to reduce weak points. An adult cuts the opening and removes any loose or sharp cardboard edges. On a 16 by 20 inch piece, the opening will be about 10 by 14 inches. Check those measurements before cutting so the border stays evenly wide.
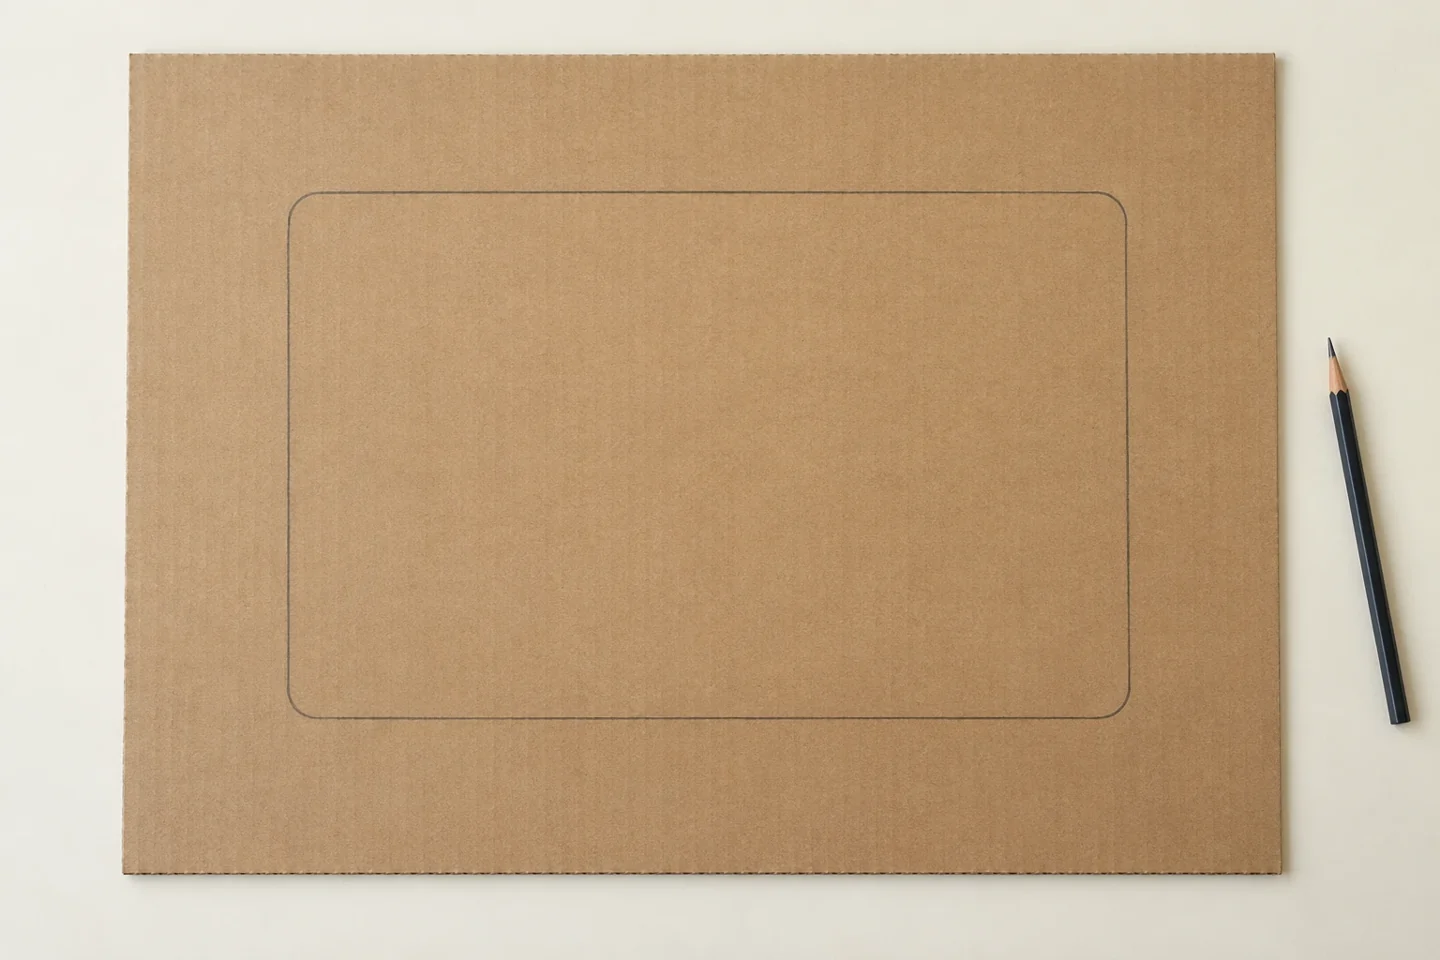
The marked opening leaves a three-inch border around the frame. - Strengthen the frame: Tape the back at the corners and any bend lines. If the cardboard flexes, glue a second strip across the back of each long side and allow it to dry. Test by lifting the frame gently with two hands.
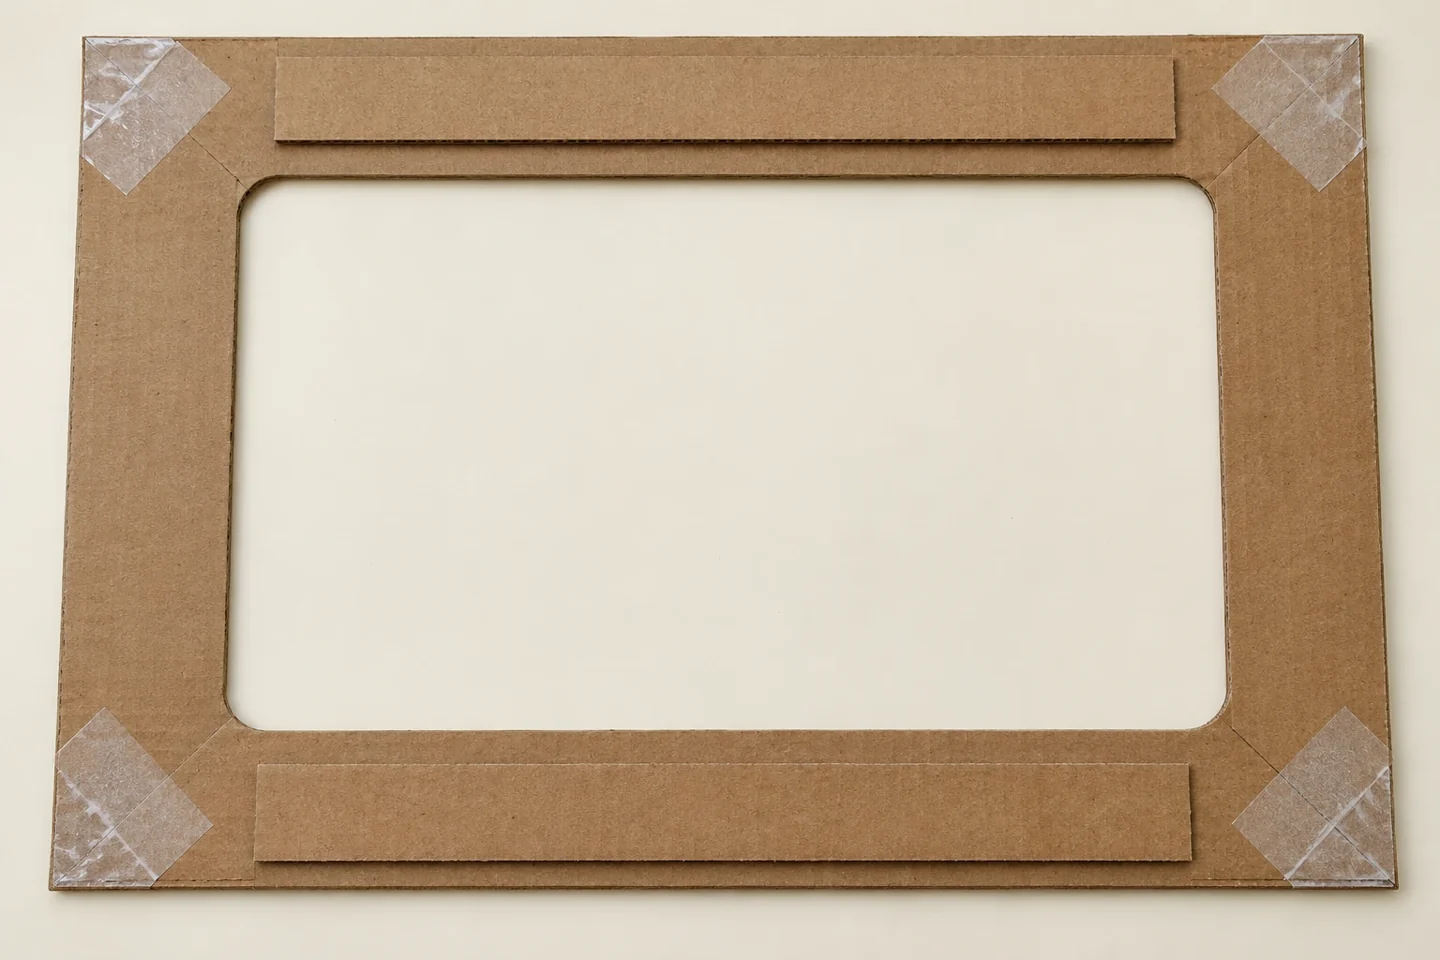
Reinforce the back without covering the open center. - Plan the decoration: Lay paper stars, circles, flowers, or theme shapes on the border before gluing. Keep the inner opening clear so decorations will not cover the subject. Children can draw directly on the cardboard as well.
- Attach the designs: Glue large, flat paper pieces onto the border. Press briefly and let the frame dry flat. Avoid heavy objects and long projecting pieces; a lightweight frame is easier to hold and store.
- Use it your way: Hold the frame with two hands while an adult takes a photo only if everyone wants one. Alternatively, frame a drawing or a small display of completed crafts. Put it flat on a table between turns so it does not get bent.
Talk, notice, and try another idea
Ask, “What belongs on the border and what needs to stay open?” Place a decoration across the inner edge temporarily and notice how it blocks the view. Children can decide whether to move it, trim it, or use that shape on another part of the frame.
Test the frame by lifting it gently from two sides. Ask where it bends and whether a backing strip improves that spot. This is a chance to connect visible construction choices with their effect, using a real object children have helped build.
At home and with a group
At home, create a frame around a child’s artwork and swap the drawing for later celebrations. Keep the decoration general if you want to reuse it. If people want photographs, use the frame in a comfortable spot with clear space around it and ask before taking each picture.
For a classroom or party, let children decorate flat on a table, then dry the frame before use. An adult can hold it while pairs show their work through the opening. Avoid requiring photos or public sharing; displaying a craft or pretend scene offers the same playful framing idea.
Helpful adjustments and cleanup
If a corner bends, add a cardboard strip across the back and tape it securely. If a decoration keeps curling into the opening, flatten it under paper while the glue dries. A child who finds cutting tiring can arrange prepared shapes and direct where a partner attaches them.
Store the frame flat behind a shelf or inside a large folder so it does not get creased. Remove loose decorations before another use and check the taped edges. Save the inner cutout for future cardboard art, recycle tiny scraps, and return the adult cutting tool to its storage place immediately.
Keep the creativity going
Once your frame is dry, try it around a drawing of a busy town. Which details would you place inside the opening, and which would you leave outside? The Busy Animal Town Search and Find Book offers another playful way to look closely at pictures together. You can also browse our books and series for a quieter activity after the celebration.