Sensory & Quiet-Time Activities
Make a Paper Window Picture: Explore Color and Light
 Facebook
 Pinterest
 X
X LinkedIn
 Reddit
 WhatsApp
 Telegram
 Bluesky
 Email
Email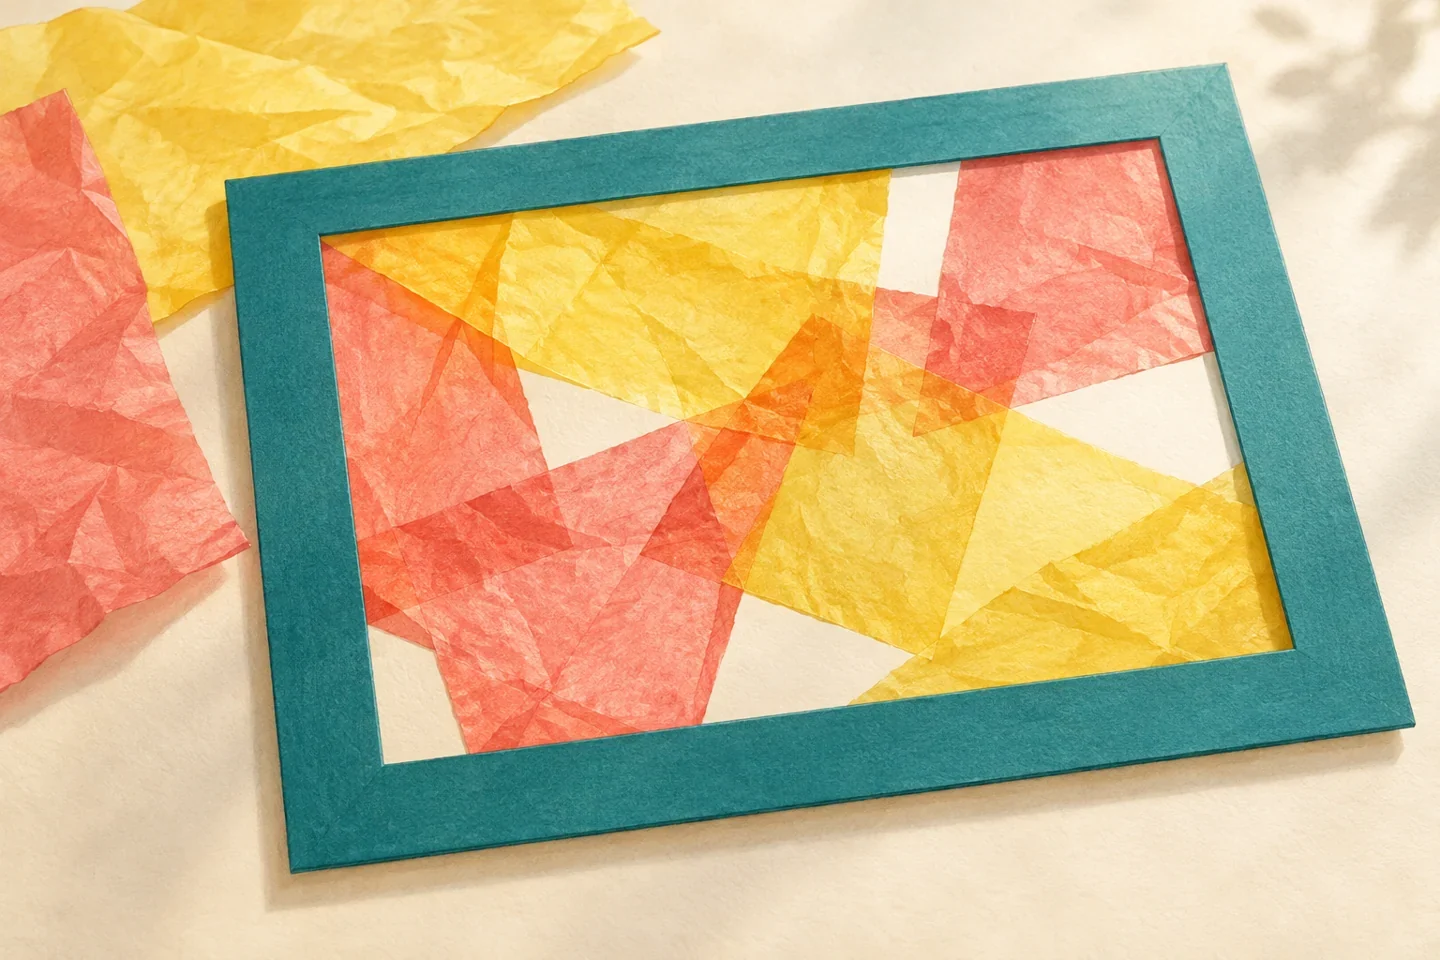
Translucent paper lets some light pass through it, so a simple layered picture can look different against a table and a bright background. Children choose large pieces, arrange overlaps, and secure them inside a prepared paper frame. The activity does not need an exact stained-glass pattern. Looking and arranging are as useful as making a permanent display.
At a glance
| Suggested ages | 5–9 |
|---|---|
| Activity time | 25–40 minutes |
| Adult setup | 10 minutes |
| Participation | Individual or small group; watching, pointing, and partner assistance are welcome |
What you need
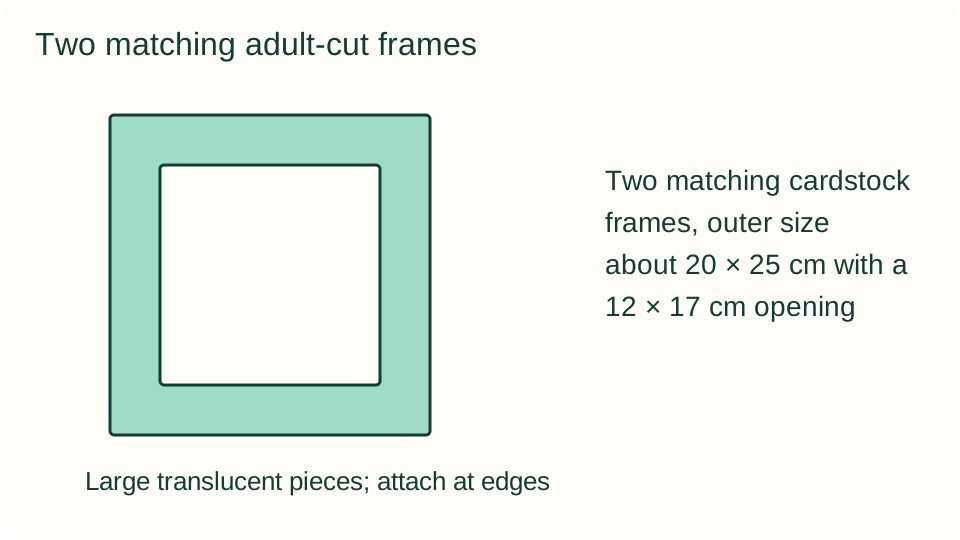
- Two matching cardstock frames, outer size about 20 × 25 cm with a 12 × 17 cm opening
- Six to eight large pieces of colored tissue or translucent craft paper
- Small tape pieces or an age-appropriate glue stick, plus scrap paper
Get ready
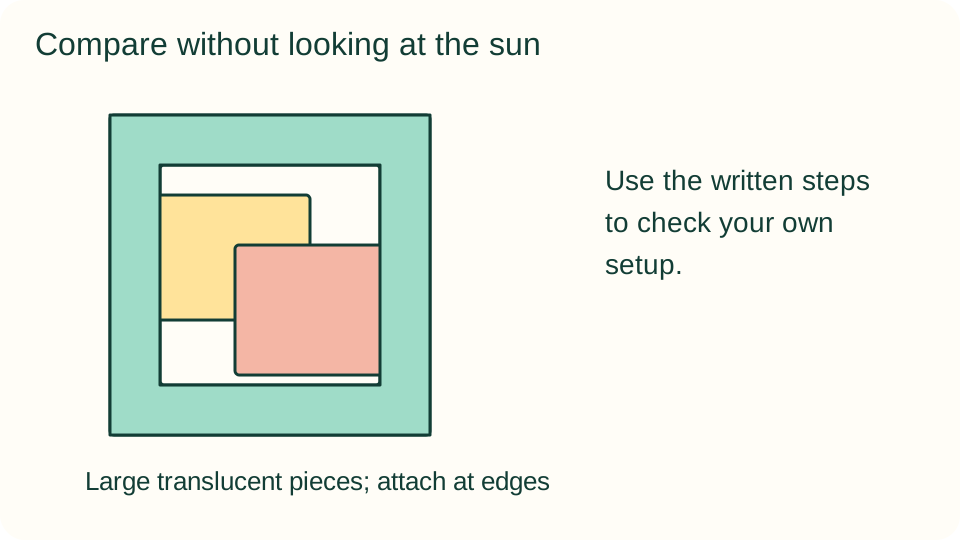
An adult cuts the frame openings and checks clean edges. Use plain colored translucent material rather than glittered or heavily coated paper. Choose a safely reachable window area with no climbing or cord access. Children must not look directly at the sun; a tabletop light comparison is also available.
Try the activity
1. Compare a piece first
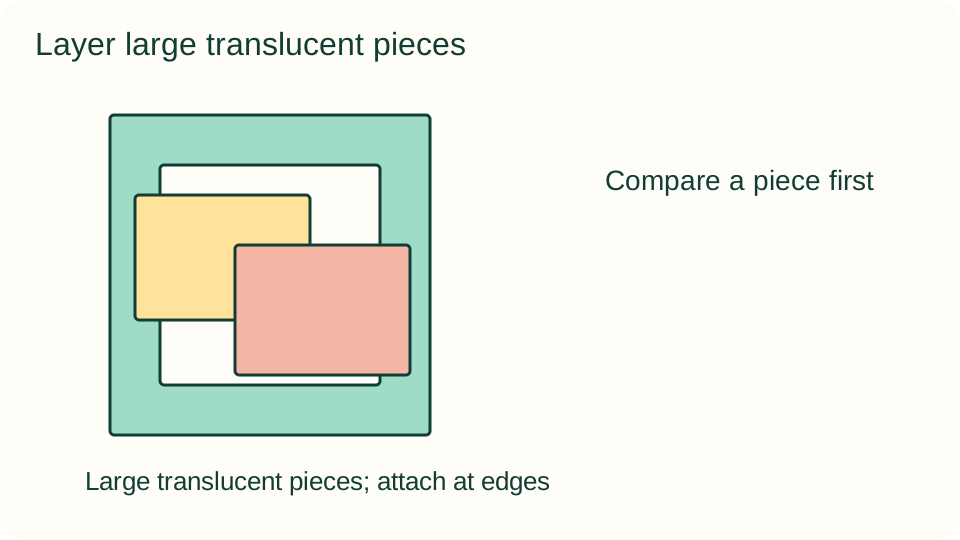
Place one large translucent piece on the table, then hold it against a bright indoor background with adult assistance. Notice whether its color appears different. This comparison can happen near a window without touching glass or looking toward the sun itself.
2. Set the lower frame
Lay the first frame flat on scrap paper. Arrange several pieces so they cross part of the opening and extend onto the frame border. Keep the pieces large enough to bridge the opening without tearing. There is no requirement to fill every gap.
3. Try one overlap
Place a second color partly over the first and look at the shared area. Tissue thickness, dyes, and light affect the result, so do not promise that every pair will produce a particular new color. Children can move a piece away again if they prefer a lighter area.
4. Secure the outer edges
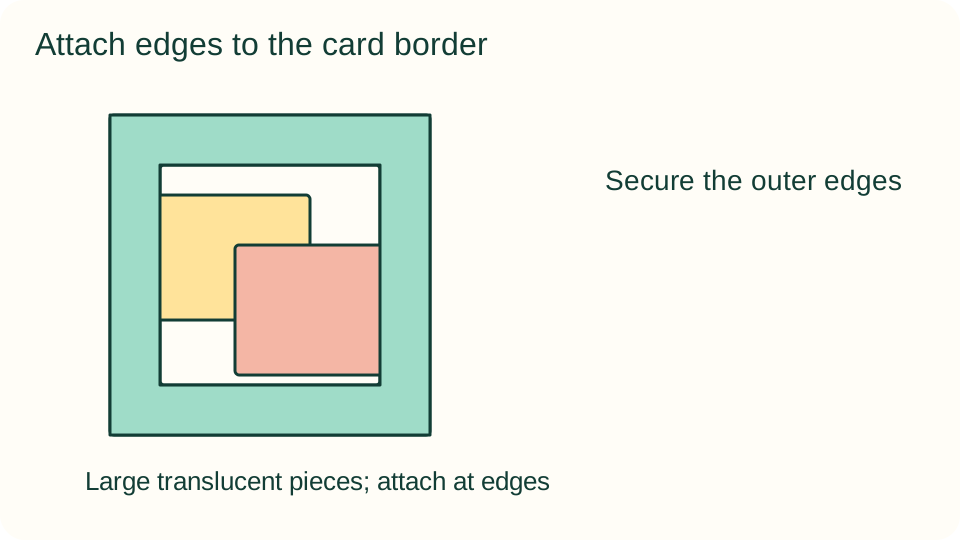
Attach each piece only where it meets the frame border, using small tape tabs or light glue on the card. Keep sticky materials out of the viewing area as much as practical. A child may direct placement while an adult handles the attachments.
5. Add the matching cover frame
Place the second frame over the first, aligning both openings. Tape the outside borders together or use a light glue layer and let it dry flat. The two frames hold the paper edges between them. Check for loose flaps before lifting the picture.
6. Choose a display or comparison
An adult can hold the picture near the chosen window or attach it using a removable method suitable for that surface. Compare its appearance on the table again. A child can also keep it as a tabletop picture without any window display.
What children can explore
The paper changes how much light reaches the viewer, and overlapped layers often look darker. This is a creative material comparison rather than a precise lesson in color mixing. Ask which areas look different against different backgrounds. Do not infer a predictable result solely from the names of the paper colors.
Make it work for your group
Prepare a frame with fewer large pieces for an easier version. Offer preattached pieces that the child can look at and compare without using glue. Older children may compare single and double layers of one color or create a second picture with more open space.
At home and in the classroom
At home, choose a display spot together and keep the window approach supervised. In a classroom, prepare frame pairs before the session and provide an indoor background for those who cannot use the window station. Each child chooses whether their picture becomes a public classroom display.
Return to it another day
If the child wants to return, save usable materials and unfinished work together. Ask which part they would like to try again rather than increasing the difficulty automatically. Watching, using a tool, choosing another material, or stopping are valid options; this guide does not promise a particular emotional response.
Helpful fixes and cleanup
If tissue tears, replace that large section rather than adding many tiny patches. If the frame bends, dry it flat and reduce glue next time. Put away adhesive, collect offcuts, and have an adult remove the display later so glass and nearby cords remain out of reach.