Arts & Crafts
Make a Paper Weaving Mat: A Color and Pattern Activity
 Facebook
 Pinterest
 X
X LinkedIn
 Reddit
 WhatsApp
 Telegram
 Bluesky
 Email
Email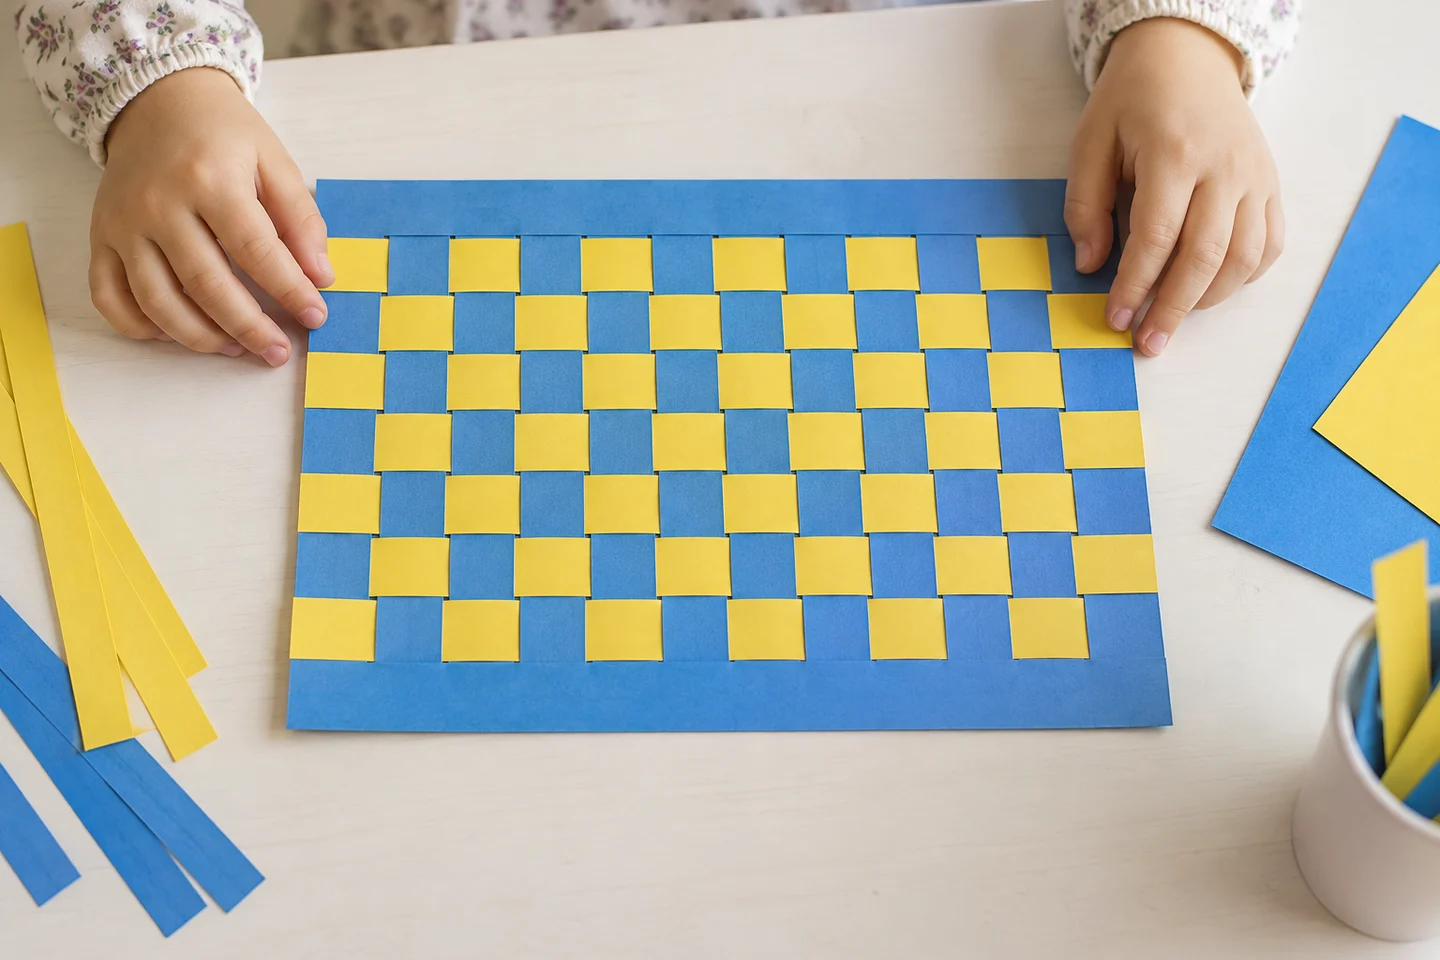
Over, under, over, under: paper weaving turns a simple movement into a colorful pattern. Children slide strips through a prepared base and gradually watch a woven mat appear.
The alternating rows are the main discovery. Color patterns are optional, so a child can choose two shades, a rainbow, or whatever scraps they enjoy.
At a glance
| Detail | Plan |
|---|---|
| Suggested ages | 5–9, with adult cutting support |
| Preparation | 10–15 minutes at home; 30–45 minutes for class bases |
| Weaving time | 25–40 minutes |
| Group size | Individual makers with shared supplies |
| Mess level | Low |
What you need
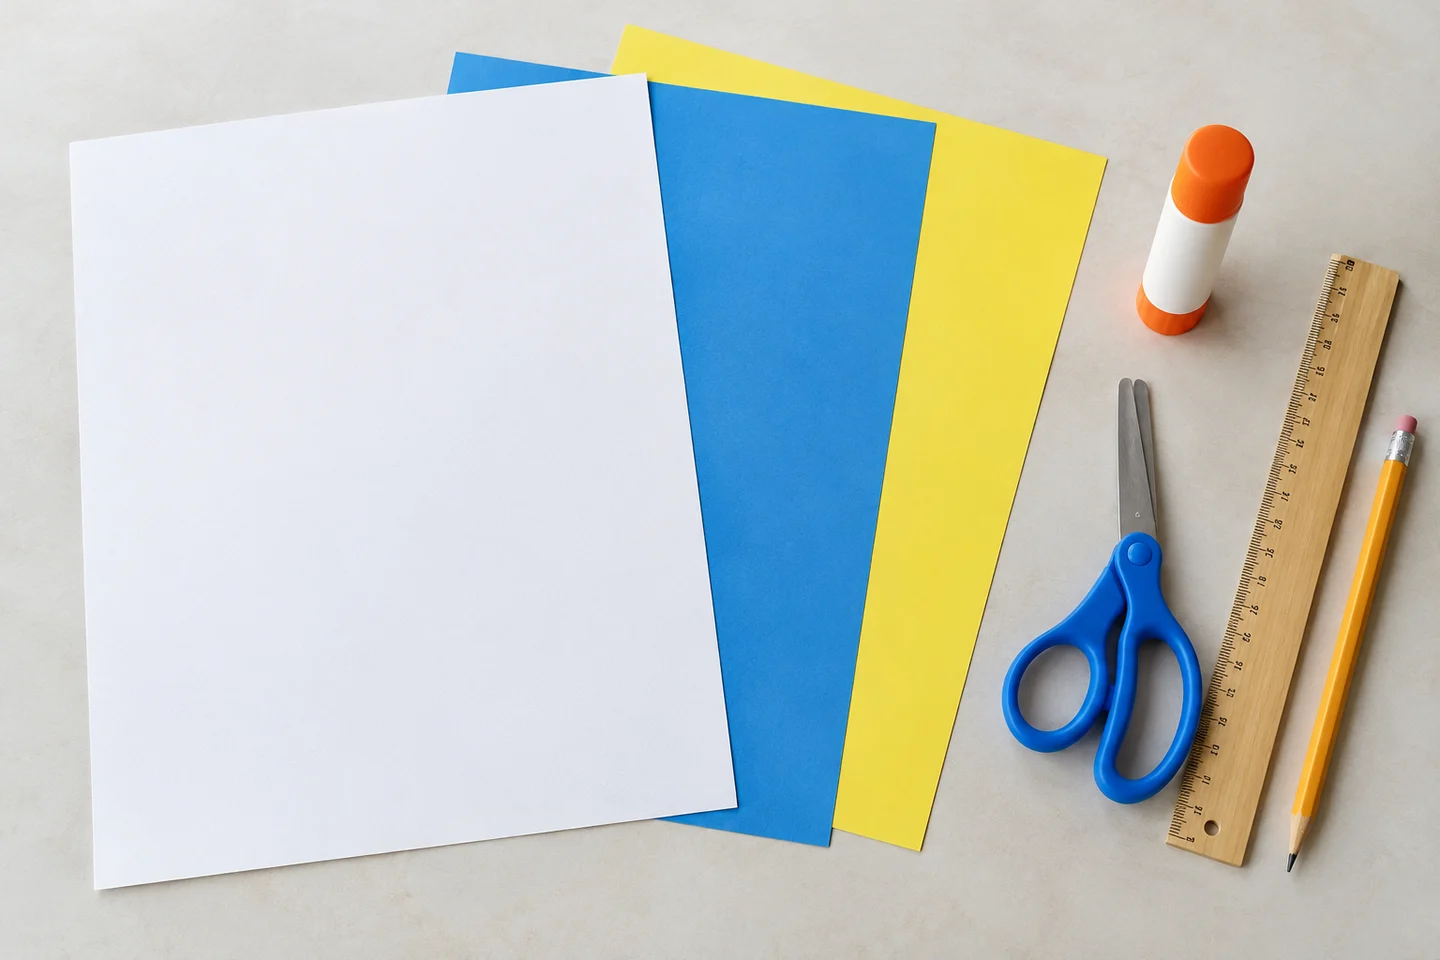
- One 9 × 12-inch construction-paper base per child.
- Two contrasting 9 × 12-inch sheets for weaving strips.
- A glue stick.
- Child scissors, plus a ruler and pencil for preparation.
For 24 children, prepare 28 bases including spares and 48 contrasting sheets. Twelve glue sticks can be shared in pairs. Ordinary construction paper is easier for a first attempt than very thin tissue or thick card.
Prepare the base
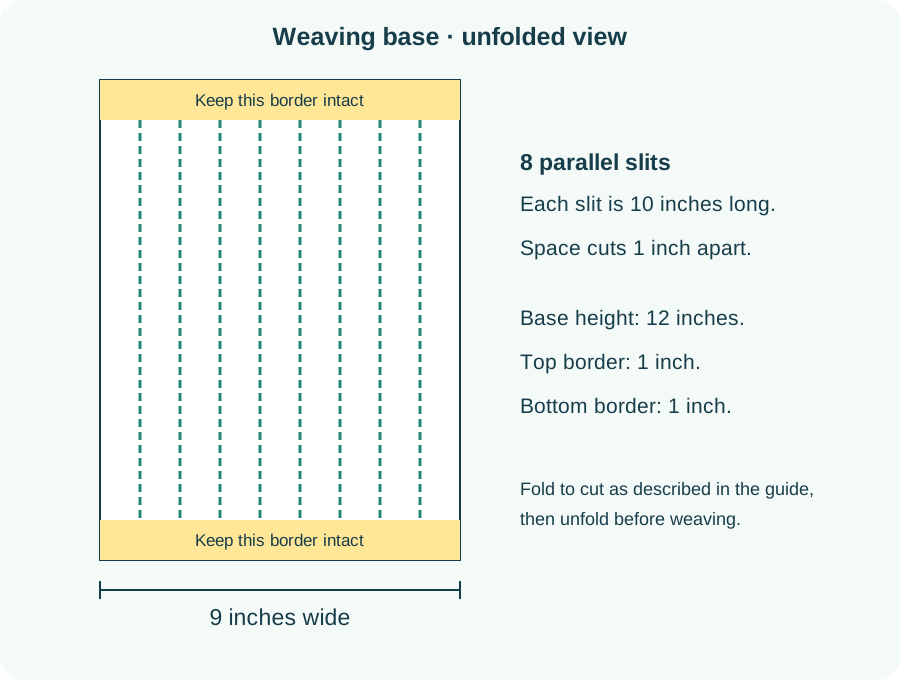
Place the base upright, nine inches wide and twelve inches tall. Fold its top short edge down to the bottom short edge. Across the folded width, mark eight cutting lines at one-inch intervals. Cut from the fold toward the open edges, stopping one inch before them.
Unfold the base. It now has nine vertical bands joined by intact top and bottom borders. Cut contrasting paper into one-inch strips parallel to its twelve-inch edges. Each sheet gives nine long strips; about ten strips fill the base, with extras available for spares.
Weave a colorful mat
1. Explore the openings
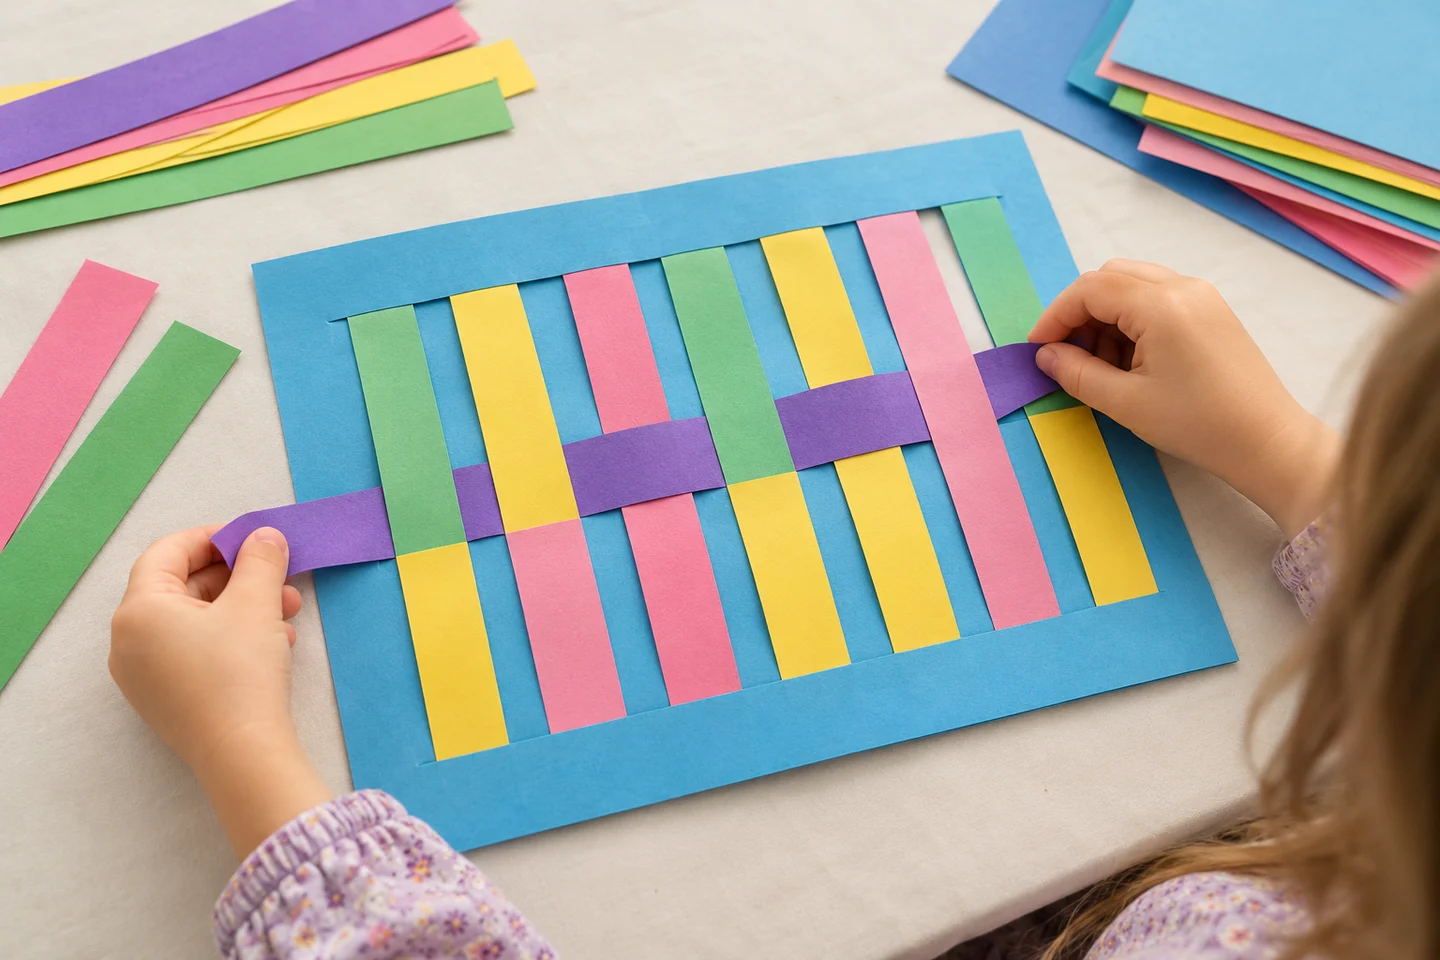
Lay the base flat and gently lift a band. Show how a strip can travel above one band and below the next while the borders hold everything together.
2. Weave the first strip
Near the top border, pass a strip over the first band, under the second, and continue alternating across all nine. Leave the ends extending beyond the sides for now.
3. Slide it into place
Move the strip gently toward the top border and straighten it. A partner can hold the base while the child guides the paper. Avoid pulling so hard that a band tears.
4. Reverse the next row
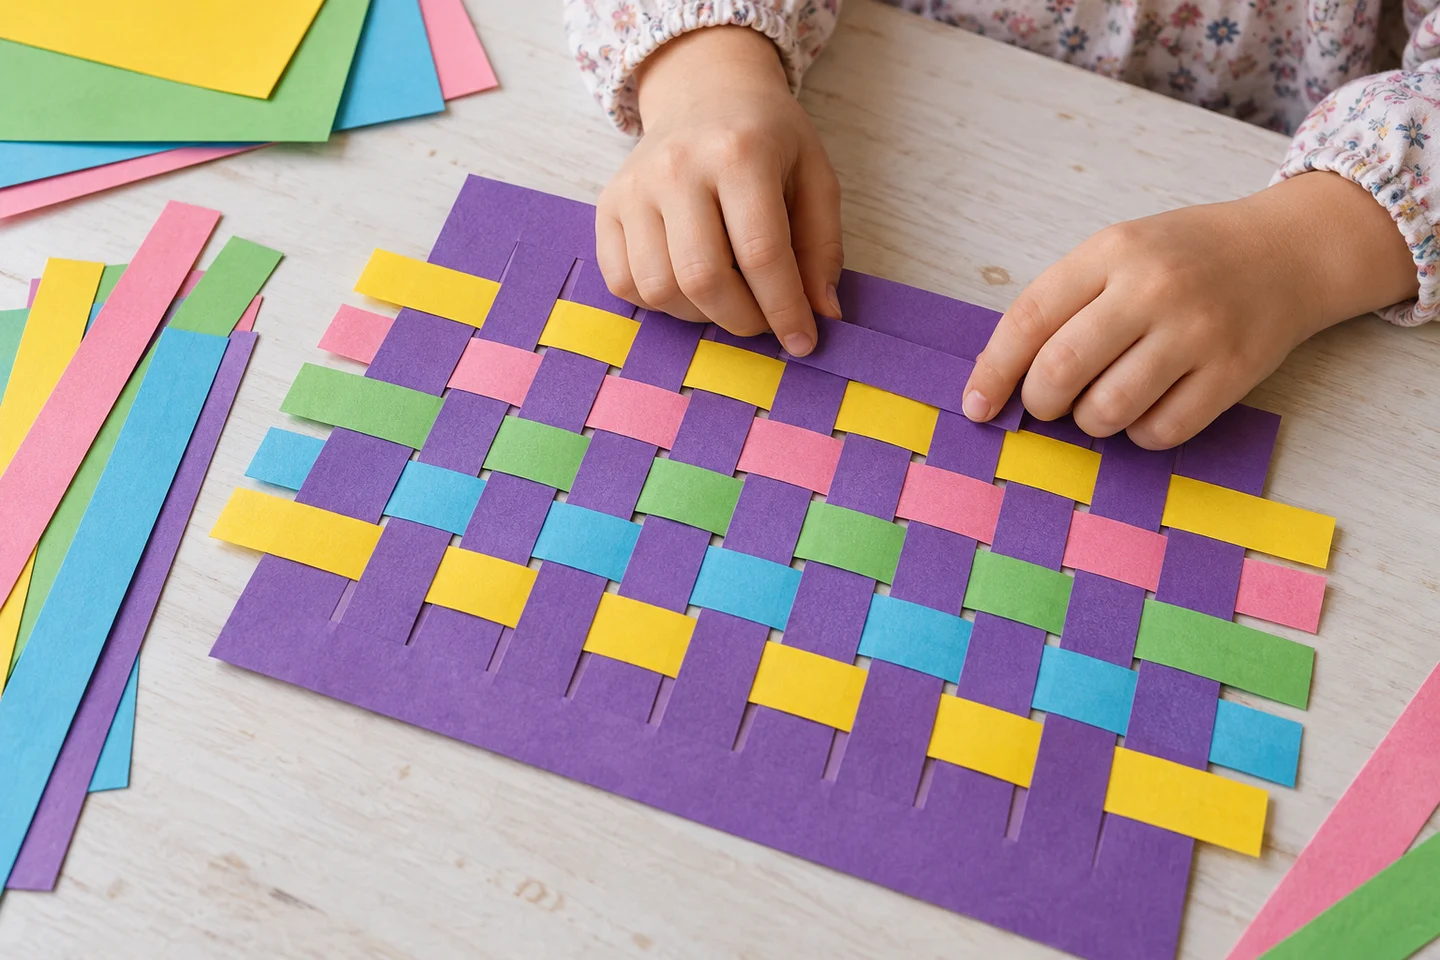
Begin the second strip under the first band, then over the second. This places the new row on the opposite side of each band from the row above.
5. Continue the pattern
Alternate the starting position as you add rows. Pause to check two neighboring rows and straighten gaps. Use fewer than ten strips if the last space is tight.
6. Secure and finish
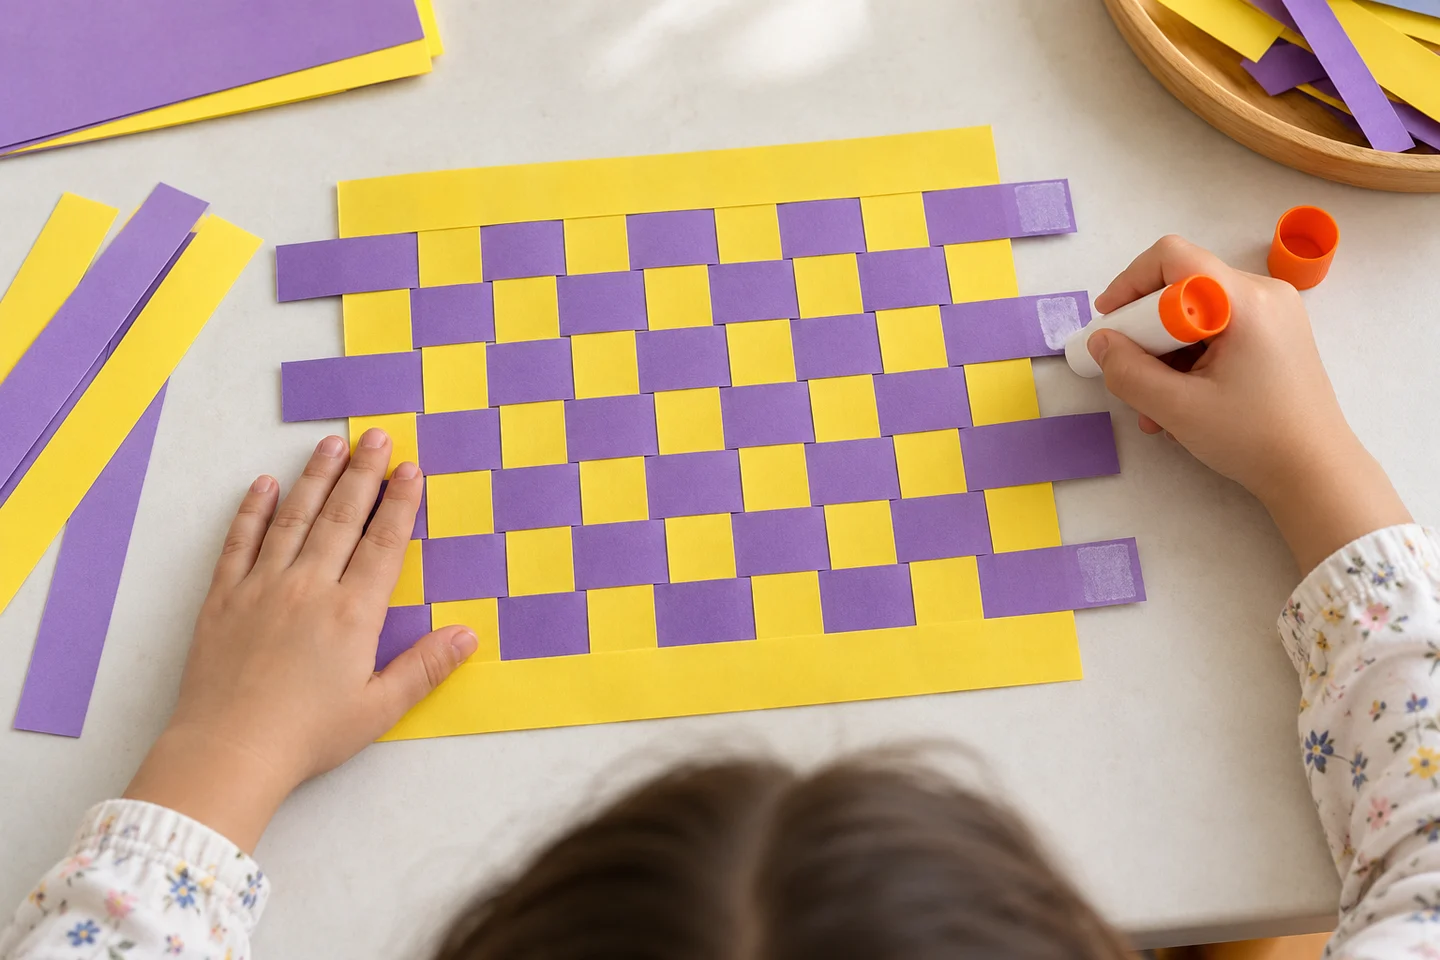
Add a small amount of glue where strip ends meet the outer bands. Let it dry, then trim overhanging ends or ask an adult to trim them. Decorate the intact borders if you like.
What children can explore
Weaving gives a practical experience of alternation and position. Ask, “What comes after over?” or “How is this row different from the one above?” Children can also compare repeating colors with the separate over-under pattern.
At home and in the classroom
At home, prepare one base and take breaks between rows. In class, demonstrate with large contrasting strips, then work in pairs before independent weaving. Keep spare bases nearby for accidental cuts through a border.
Make it work for your group
Use wider bands in a simpler base, preweave the first row, or offer help holding the paper. Older children can plan a color sequence before beginning and compare how it appears after weaving.
Helpful fixes and cleanup
If two rows look identical, check whether the second started on the opposite side. If a strip catches, lift the band gently instead of forcing it. Repair a small tear with tape on the back. Save leftover strips for another pattern project and keep the mat flat while its glue dries.