Arts & Crafts
Paper Flower Garden Craft for Kids: Cut, Arrange, and Create
 Facebook
 Pinterest
 X
X LinkedIn
 Reddit
 WhatsApp
 Telegram
 Bluesky
 Email
Email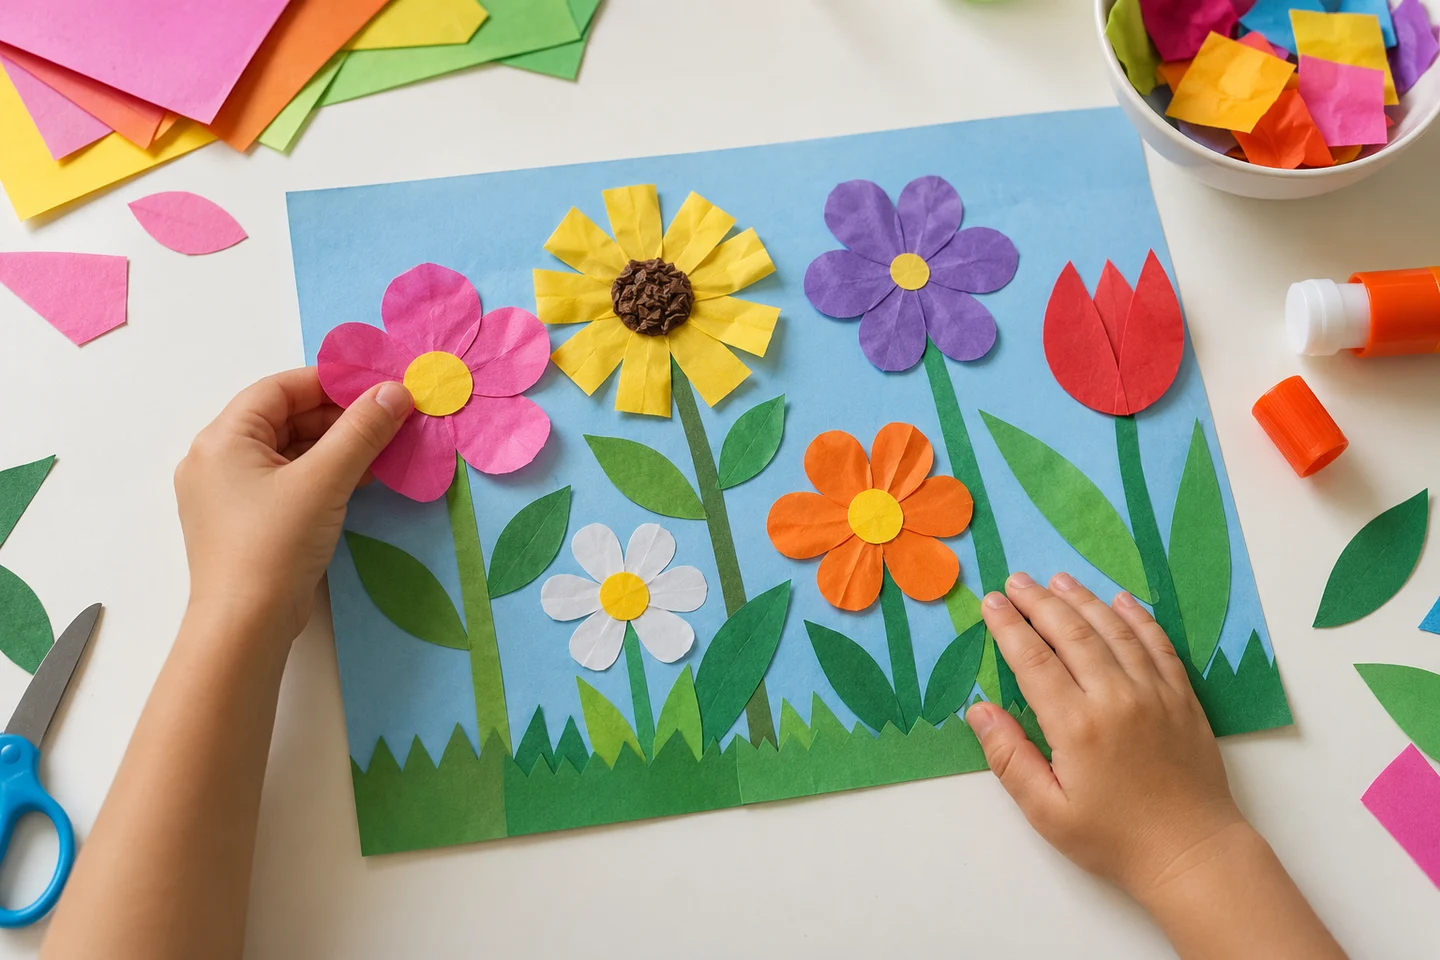
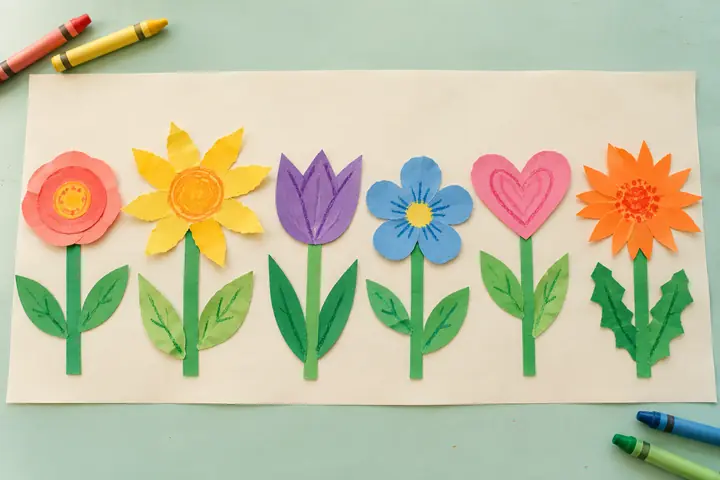
A paper flower can have square petals, purple leaves, or a stem that curls right across the page. This garden craft gives children simple materials and plenty of room to decide what their garden will look like.
Make one picture, work beside a sibling, or gather the class’s gardens into a display. Cutting, tearing, drawing, and arranging all offer ways to join in.
At a glance
| Detail | Plan |
|---|---|
| Suggested ages | 4–8, with support for cutting as needed |
| Preparation | 10–15 minutes; allow 20–30 minutes for classroom shape preparation |
| Creating time | 25–35 minutes |
| Group size | One child or a classroom making individual gardens |
| Mess level | Low with glue sticks |
What you need
- One background sheet, about 9 × 12 inches, per child.
- About three sheets of colored paper or a similar amount of scraps.
- A glue stick and crayons.
- Optional child scissors and prepared paper shapes.
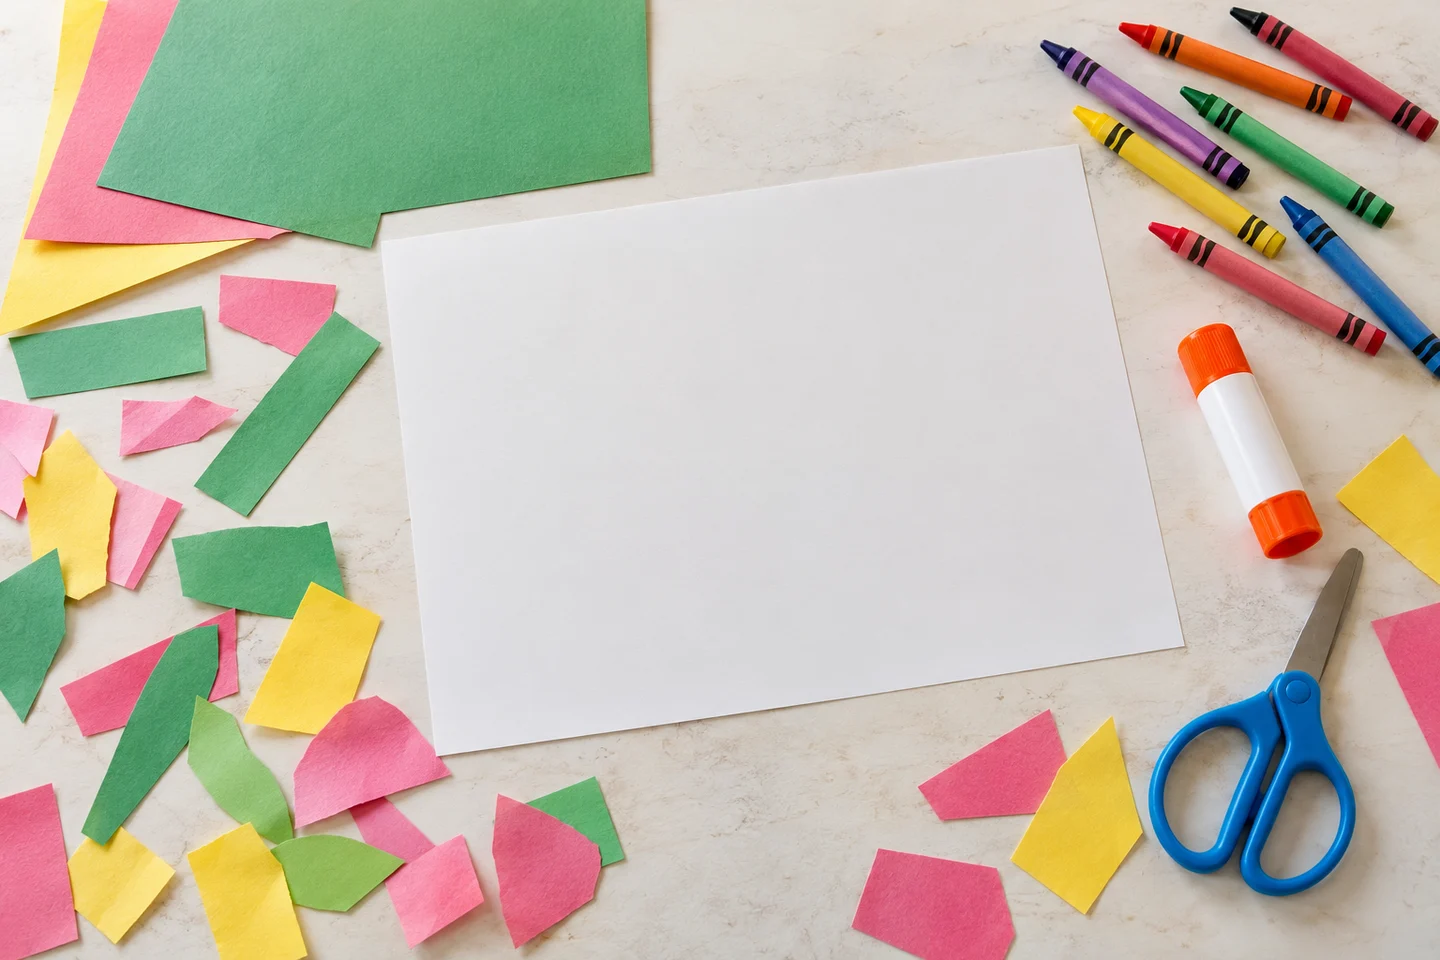
For a class of 24, gather 28 backgrounds, about 72 sheets or shared scrap trays, and 12 glue sticks to share between pairs. A starter selection per child could include three flower centers, around 15 petals, three stems, and six leaves. Children can use as many or as few as they like.
Get ready
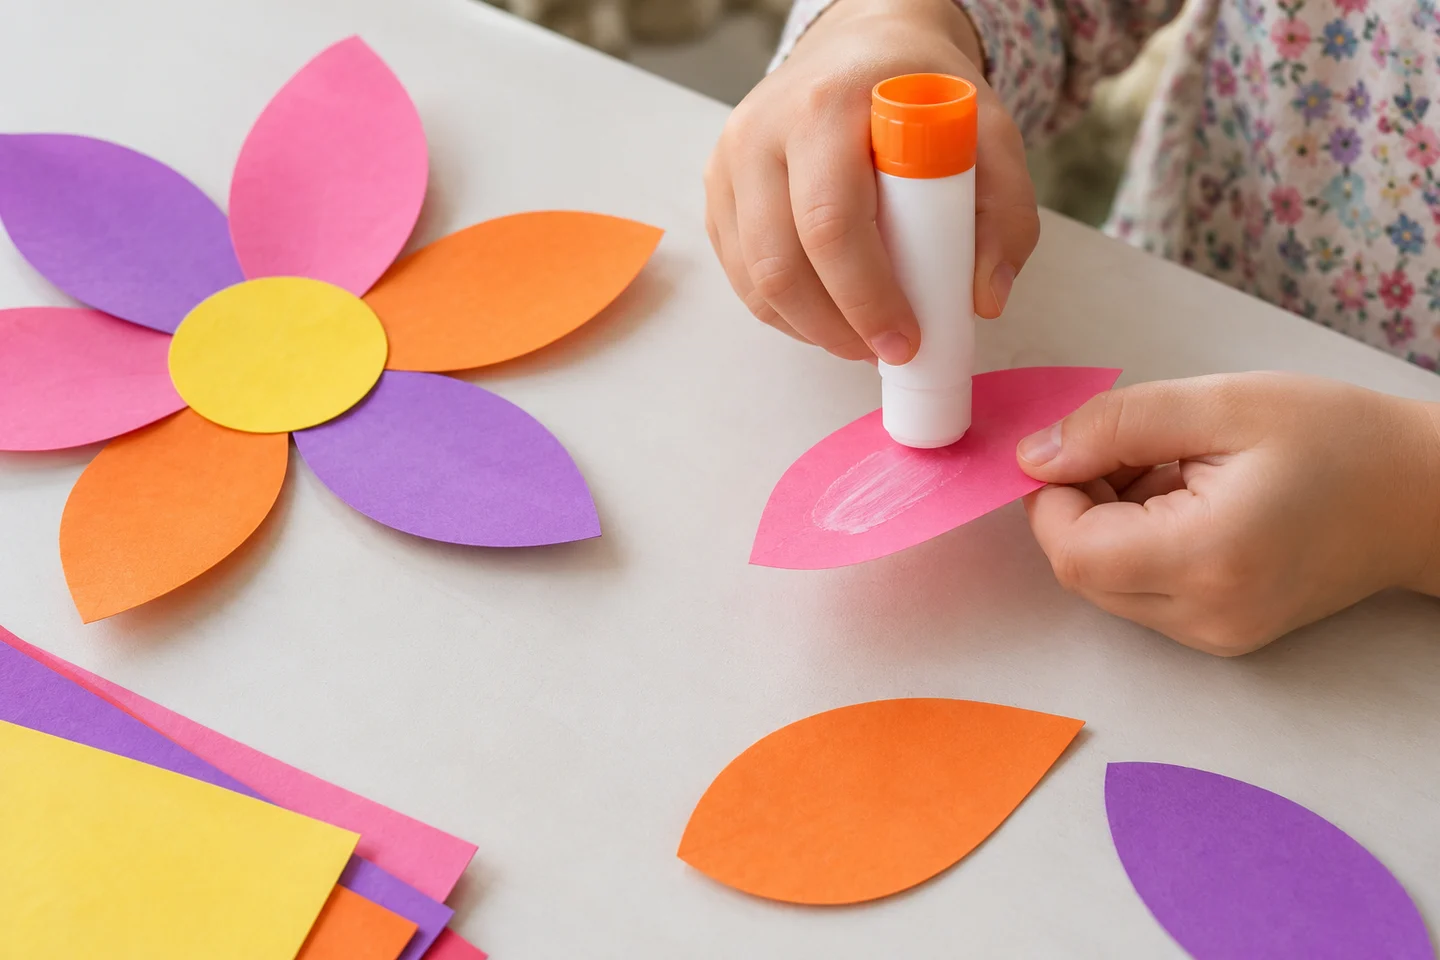
Prepare stems about half an inch wide and 4–6 inches long, with petals around 1–2 inches long. Keep extra scraps nearby for new ideas. Show how to put a light layer of glue on a piece’s back, then invite children to try their own arrangements.
Grow a paper garden
1. Choose your background
Turn the paper whichever way you like. Ask, “Will your garden have one big flower or several smaller ones?” Children can begin with a shape rather than a complete plan.
2. Try the petals
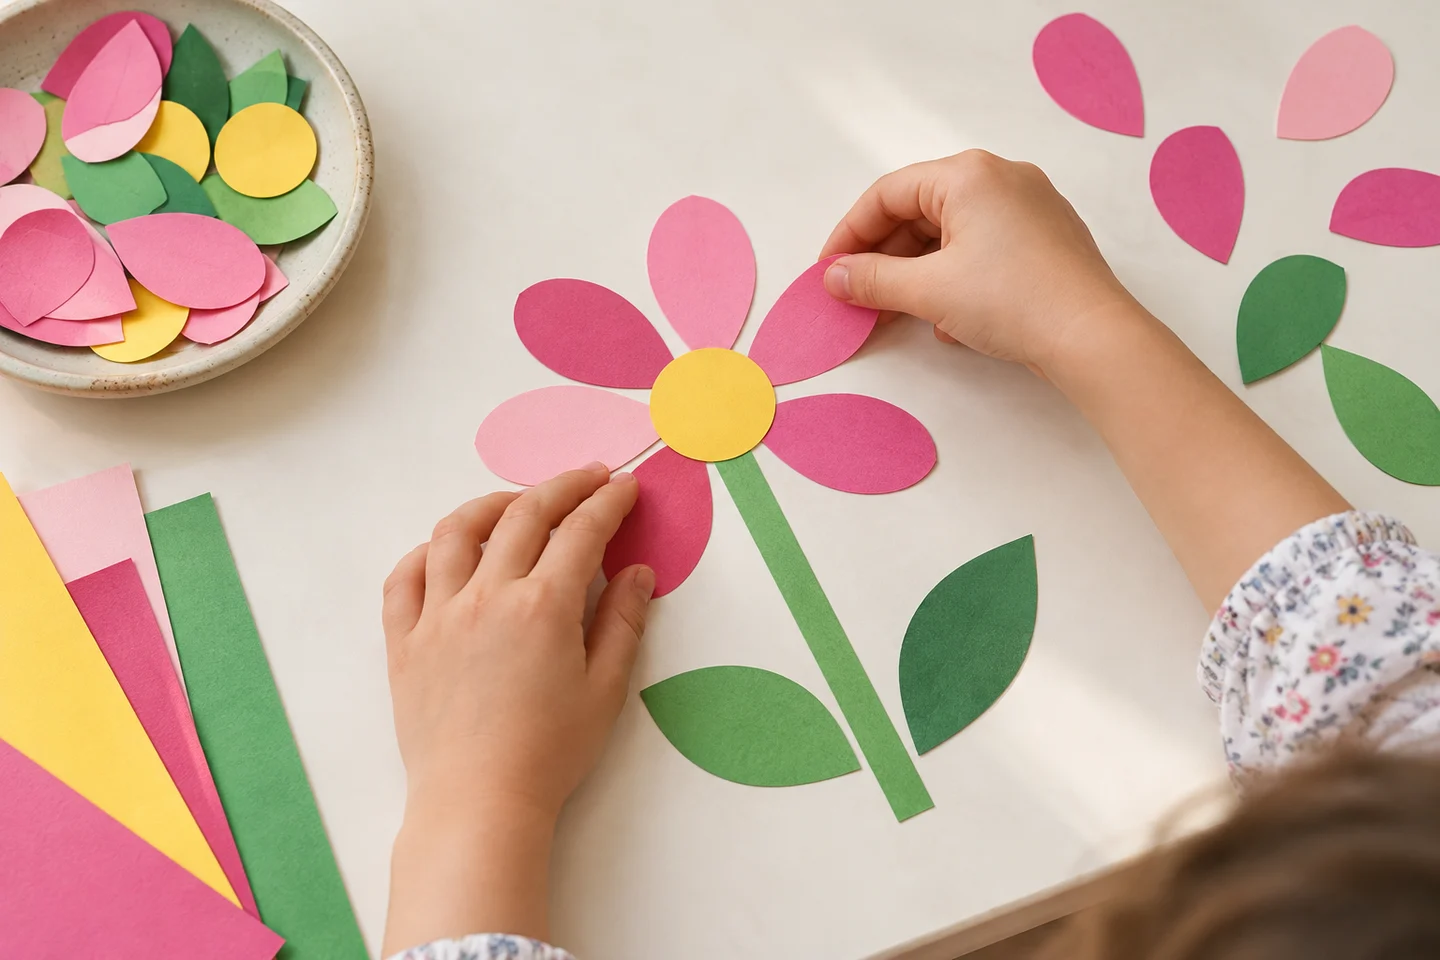
Place a center and a few petal shapes on the page without glue. Move them around to see what changes. Petals can overlap, spread out, or form an unusual flower shape.
3. Add stems and leaves
Decide which parts sit behind the flower. If the stem belongs underneath, attach it before the pieces above it. Try the whole arrangement once before gluing.
4. Attach a small area
Lift one piece, spread glue lightly on its back, and press it down. Work on a flower or a few pieces at a time so the arrangement is easy to remember. An adult can hold the background steady.
5. Draw extra details
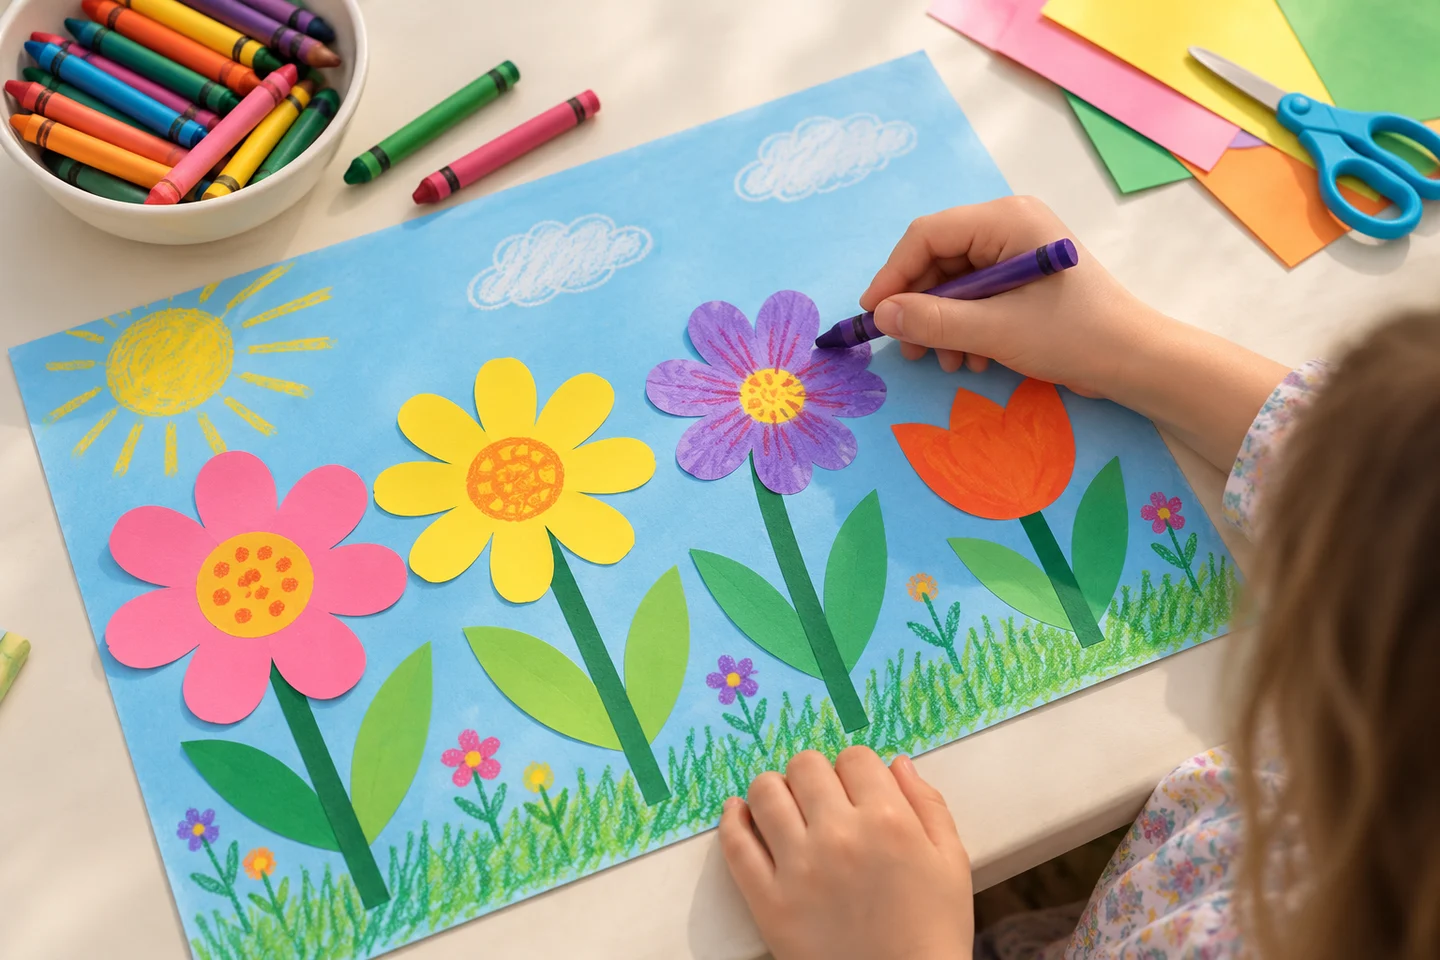
Add a path, insects, patterns, or imaginary visitors with crayons. A few simple flowers can be a finished picture, too; the page does not need to be full.
6. Name your garden
Invite a title or a short description. Write dictated words on a label or the back. Let the artwork dry flat before hanging it up.
What children can explore
Arranging paper introduces ideas about shape, position, and overlap. Ask, “Which piece is in front?” or “What changed when you moved that petal?” Cutting and tearing give children different ways to shape the materials.
At home and in the classroom
At home, make two gardens side by side and compare the choices each person made. In class, offer shared trays of shapes and a drying space. A display can include detailed gardens, simple flowers, and abstract plant-like designs together.
Make it work for your group
Prepare large petals, offer tearing instead of cutting, or let a child point while a partner glues. Older children might try symmetrical petals or a repeating color pattern. Save those as optional ideas rather than a model everyone must follow.
Helpful fixes and cleanup
Curling pieces usually need less glue and time drying flat. If the layout shifts during gluing, work in smaller sections. If cutting takes all the time, start with prepared shapes and return to cutting later. Cap the glue, collect scissors, and save unused shapes in an envelope for another garden.