STEM & Discovery
Build a Balance Sculpture: Explore Stable and Unstable Designs
 Facebook
 Pinterest
 X
X LinkedIn
 Reddit
 WhatsApp
 Telegram
 Bluesky
 Email
Email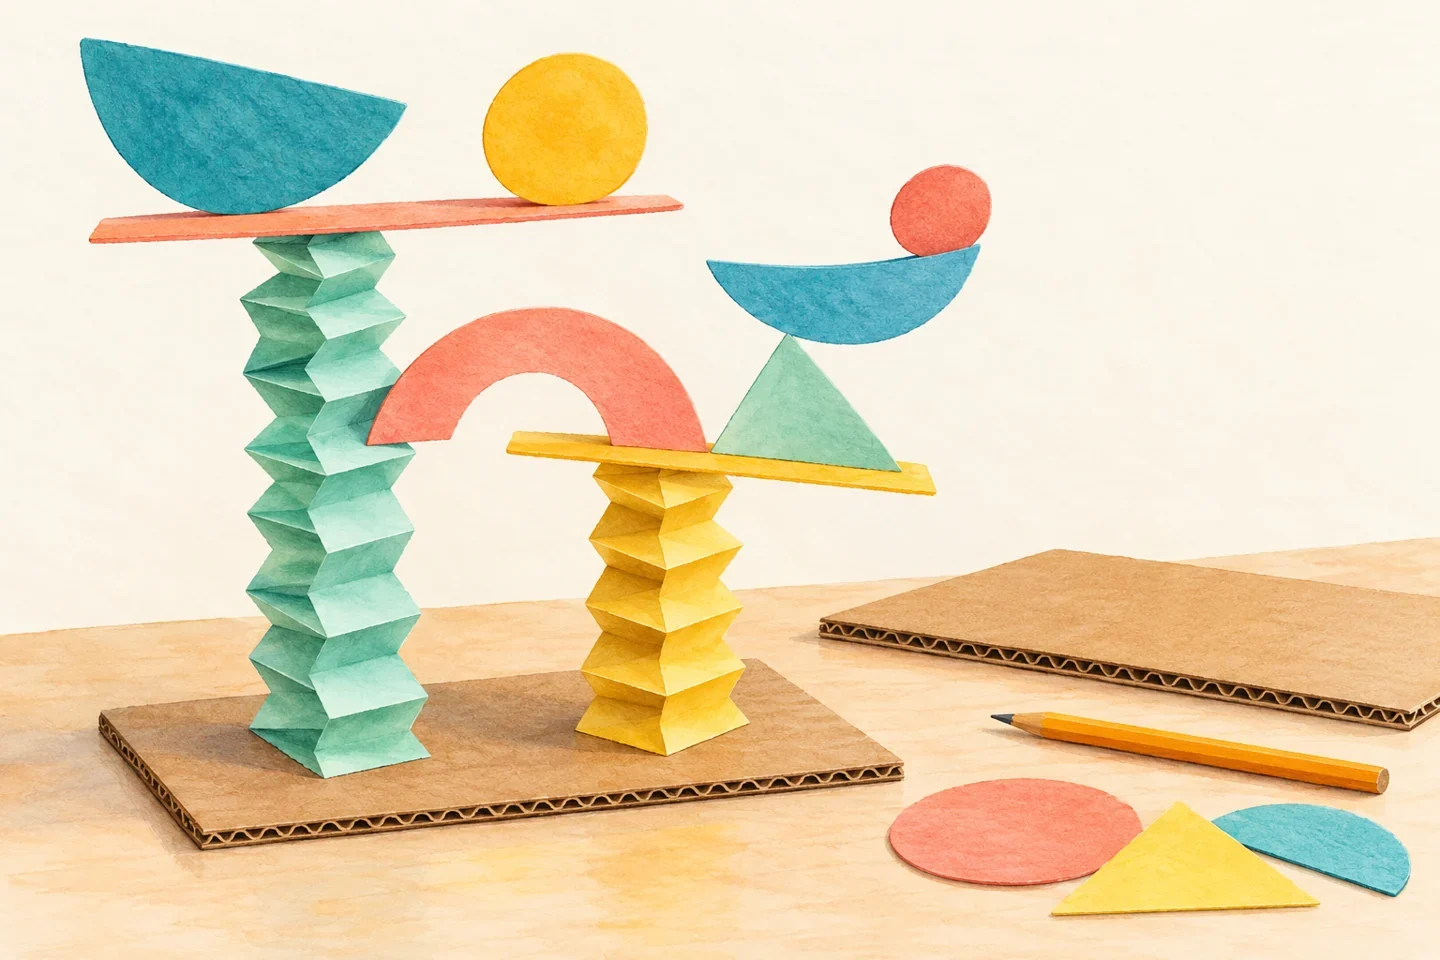
A paper sculpture can look very different after one shape moves from the center to an edge. Children make a low arrangement of folded supports and large paper decorations, then investigate which changes help it stay upright. This is a tabletop construction activity rather than a delicate hanging mobile. Every component stays lightweight and within easy reach.
At a glance
| Suggested ages | 5–10 |
|---|---|
| Activity time | 25–40 minutes |
| Adult setup | 10 minutes |
| Participation | Individual or small group; watching, pointing, and partner assistance are welcome |
What you need
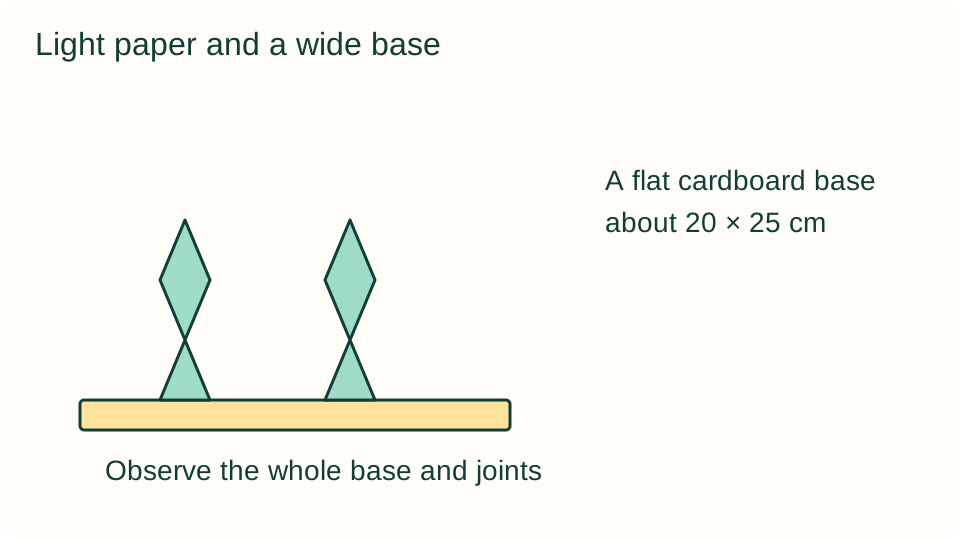
- A flat cardboard base about 20 × 25 cm
- Two sheets of cardstock and one sheet of colored paper
- Masking tape, pencil, ruler, and adult-assisted scissors
Get ready
An adult cuts the base and checks its edges. Avoid wire, skewers, beads, or heavy ornaments. The sculpture should stand freely on the table rather than being fixed to it. Prepare a wide, uncluttered working space so children can observe leaning without grabbing falling objects.
Try the activity
1. Make two folded supports
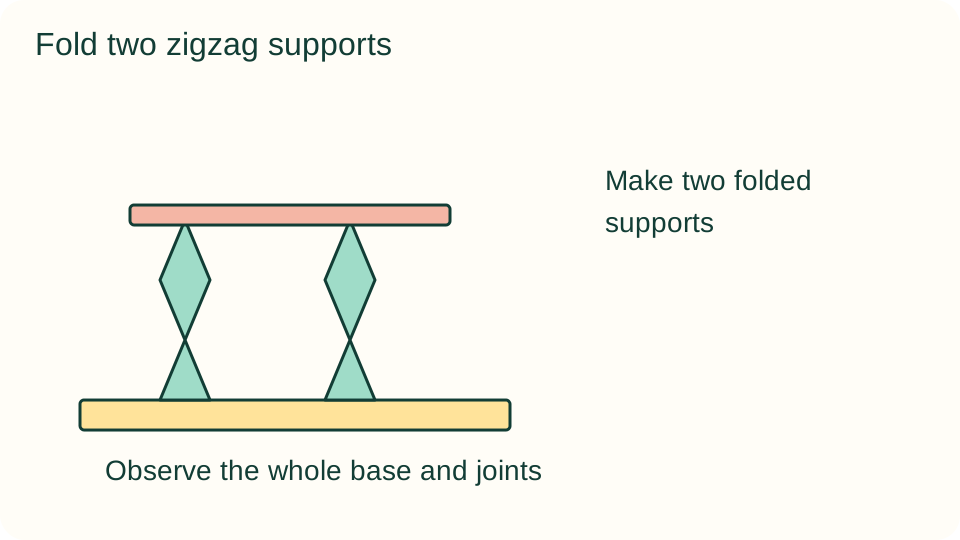
Cut two cardstock strips about 6 × 24 cm. Fold each into four equal panels, then arrange its folds as a low zigzag. Set the zigzags upright on their long bottom edges. The folds create a broader footprint than a single unsupported flat strip.
2. Secure the lower edges
Stand the supports near the center of the cardboard base. Use short tape tabs to attach their bottom edges to the base, without taping the base to the table. Keep enough space between them for a lightweight paper platform.
3. Add a top surface
Cut a cardstock rectangle about 10 × 15 cm and lay it across the folded supports. Attach two small tape tabs where it meets them. Check that the platform is approximately level before adding decoration. A sagging surface can make later changes difficult to compare.
4. Arrange large decorations
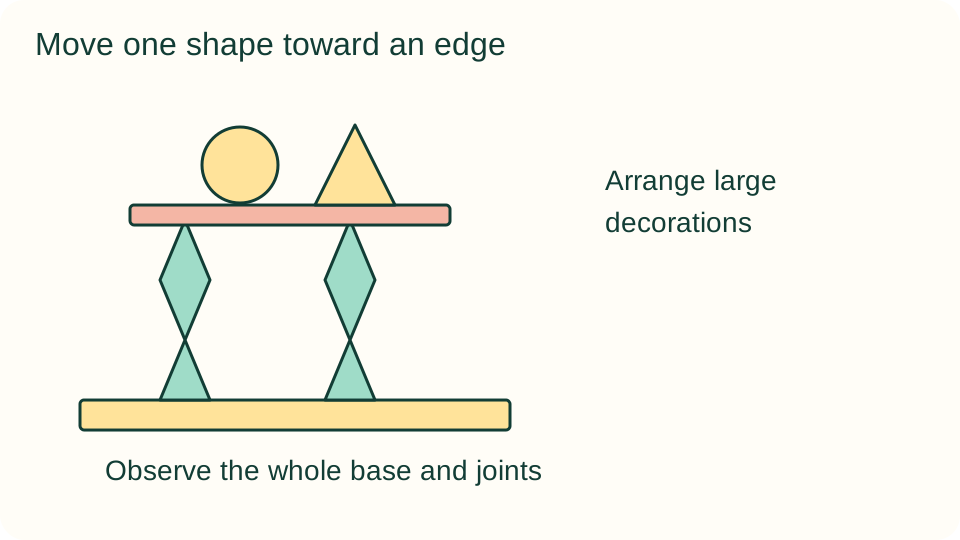
Tear or cut three large paper shapes, each at least a few centimeters across. Fold a small foot on each and tape it to the platform. Begin near the center, with shapes upright or gently folded. Do not stack heavy classroom objects on the sculpture.
5. Move one shape
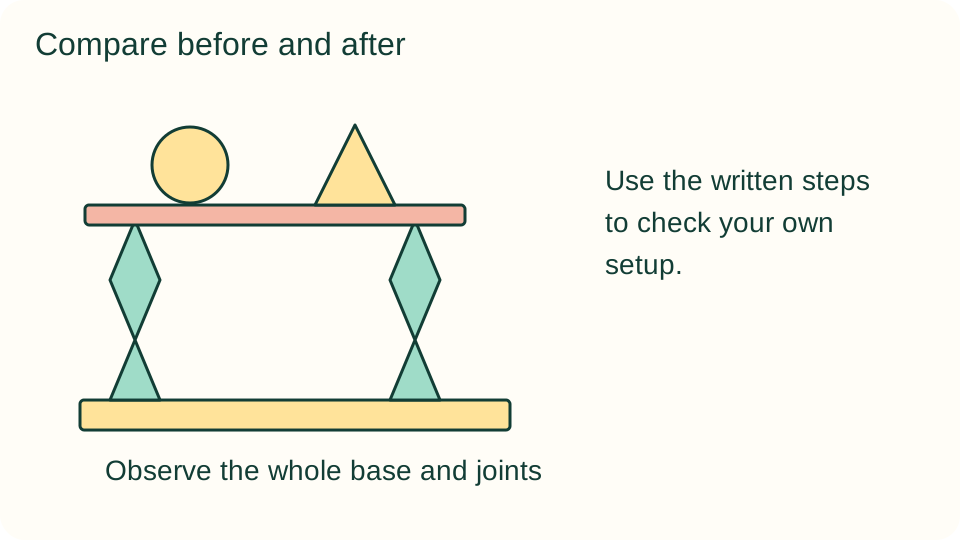
Observe the sculpture untouched for ten slow seconds. Move one decoration toward an outer edge while leaving the supports unchanged. Repeat the observation. If it leans or falls, sketch where that began before moving the decoration back.
6. Improve the arrangement
Try widening the support spacing, lowering a decoration, or moving a shape inward. Choose one adjustment at a time. Keep the same number of decorations while testing it, then decide whether the new arrangement is worth keeping or investigating again.
What children can explore
The position of the components and the shape of the supporting footprint affect whether the sculpture stays upright. A design may look balanced from the front but lean sideways. Look from more than one direction, describe the first moving part, and distinguish a loose tape joint from the entire base tipping.
Make it work for your group
Offer pre-folded supports and two large decorations for a simpler version. Older children can sketch top and side views or compare narrow and wide support spacing. Children may point to a preferred position and ask a partner to attach a shape instead of handling sticky tape.
At home and in the classroom
Use individual bases so everyone's contribution remains movable. Partners can alternate arranger and observer, explaining the reason for each revision. At home, pause the activity after the first stable design and revisit it later; there is no need to fill every available surface.
Save your discoveries
Copy a simple record onto paper: what you changed, what stayed the same, and what happened. Drawings, pointing to a sketch, or notes dictated to an adult work as well as independent writing. Record the actual observations, including trials that did not go as expected.
Helpful fixes and cleanup
If the platform sags, shorten its unsupported span or use stiffer card. If the base curls, replace it with flat cardboard rather than adding heavy weights. Store decorations in a folder and separate reusable supports. Remove loose tape scraps from the table and floor.