Arts & Crafts
Paper Bag Story Puppets: Make a Character and Tell a Little Story
 Facebook
 Pinterest
 X
X LinkedIn
 Reddit
 WhatsApp
 Telegram
 Bluesky
 Email
Email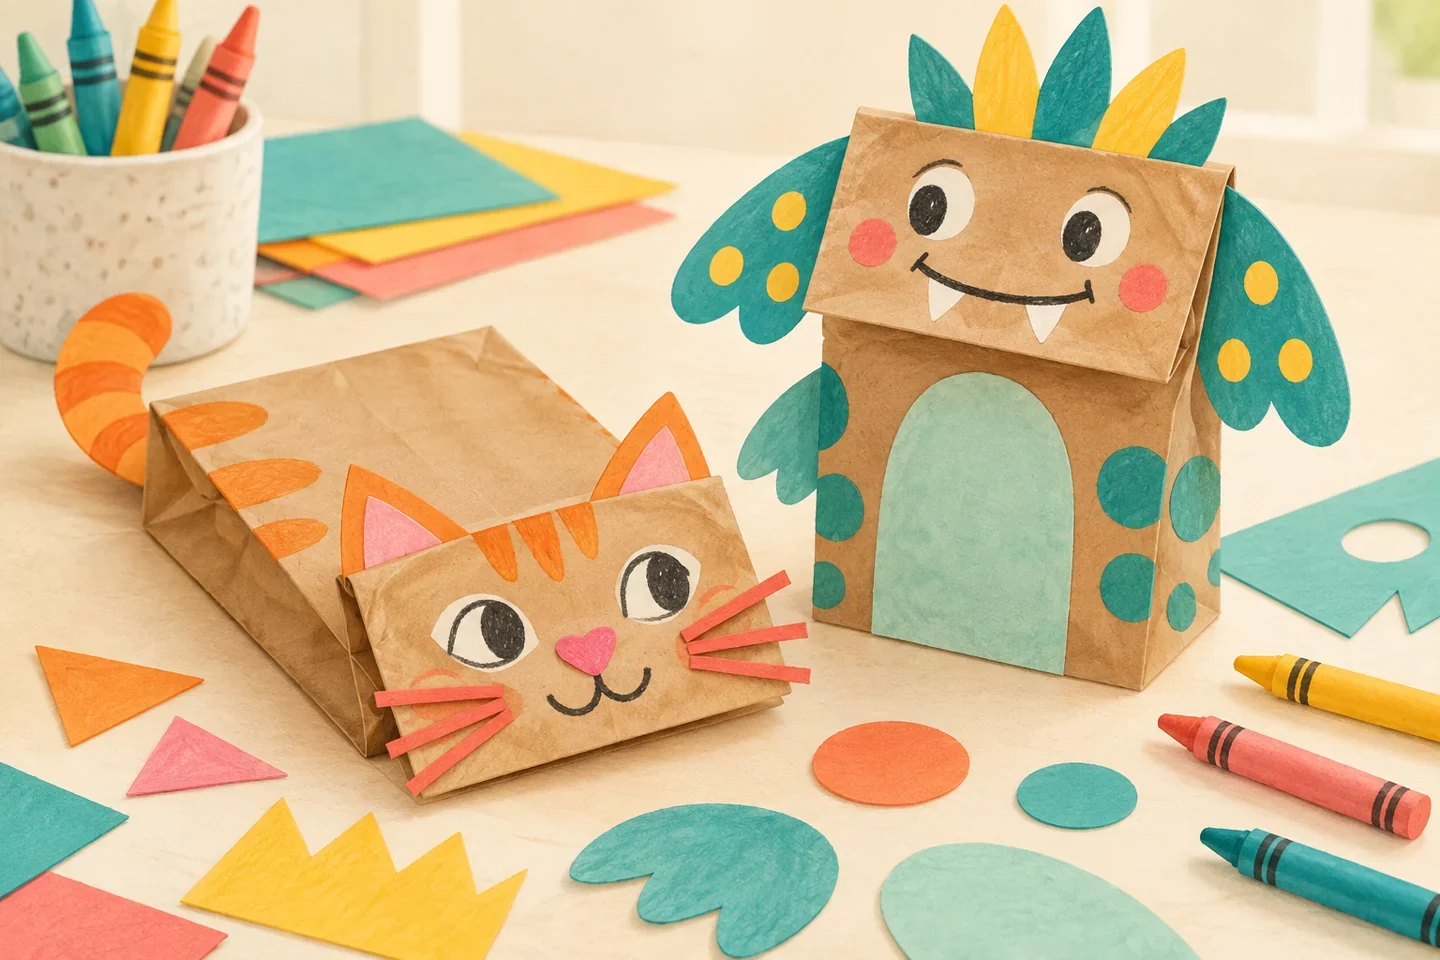
A plain paper bag can become a cat, a creature, or a character invented by the child. The bag's folded bottom forms a moving face flap; large paper features and drawn details provide the personality. After making the puppet, children can tell a very short story or simply explore its movement. A performance and a particular character design are optional, not requirements for finishing the craft.
At a glance
| Suggested ages | 4–9 |
|---|---|
| Activity time | 30–45 minutes |
| Adult setup | 10 minutes |
| Participation | Individual or small group; watching, pointing, and partner assistance are welcome |
What you need
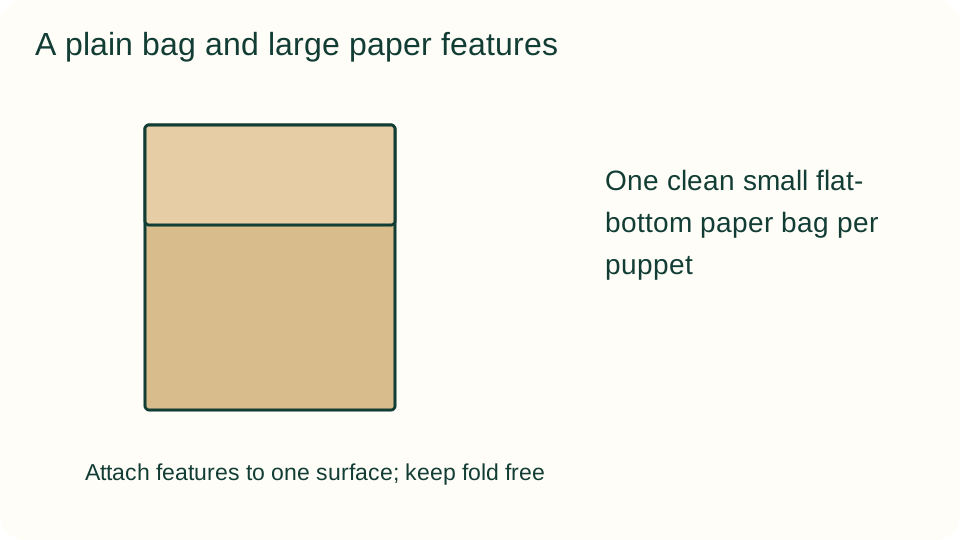
- One clean small flat-bottom paper bag per puppet
- One sheet of cardstock or firm colored paper for large features
- Crayons or pencils, a glue stick, and a protected work surface
- Child-appropriate scissors used with adult supervision; adult-precut pieces are an alternative
Get ready
Choose an unlined paper bag with no handles and no food residue. Flatten it with its folded bottom flap facing up and check that the opening is large enough for a comfortable hand. An adult prepares large features if cutting is difficult. Use drawn eyes instead of small loose decorations, and do not add staples, long cords, or rigid sticks.
Try the activity
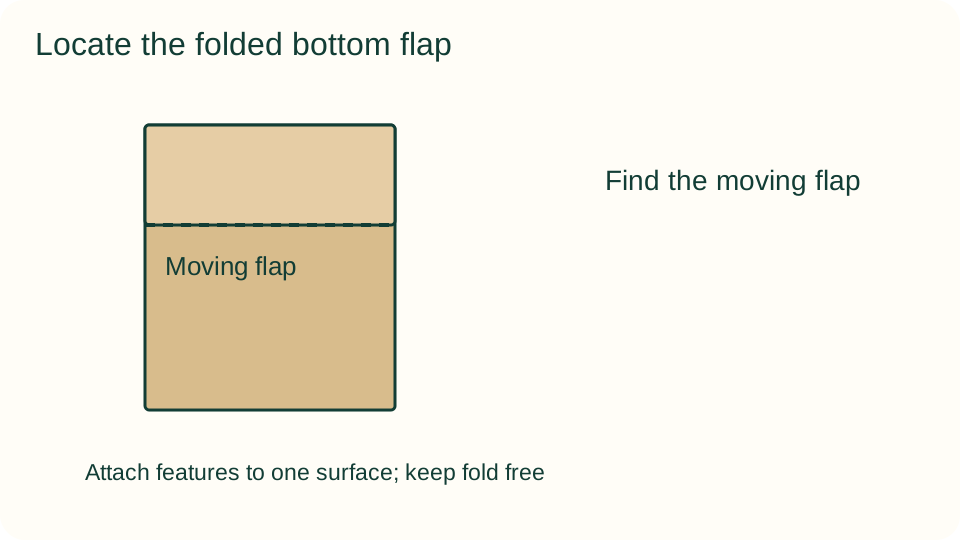
1. Find the moving flap
Place the flattened bag with its bottom flap facing up. Lift the flap gently and notice the space underneath. Explain that the face will sit on the flap while any lower-mouth detail can sit just below it. Practice opening and closing before adding paper so the moving parts are easy to identify.
2. Plan one character
Sketch a simple face on spare paper or describe it to a partner. Choose two or three large features, such as ears and a broad nose. Leave small details for drawing. The character can be an animal, person, or invented creature; copying the hero illustration is not necessary.
3. Arrange features without glue
Place the face pieces on the flap and test where they fit. Keep the fold line and the area underneath free of paper that might bridge the moving joint. Put ears near the top edge and check that they do not prevent the flap from lifting. Move pieces until the child is satisfied.
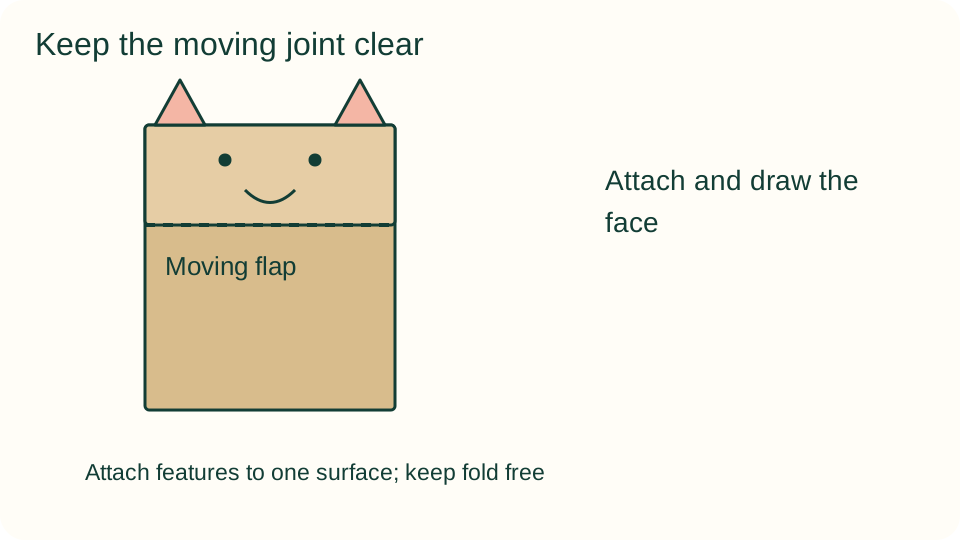
4. Attach and draw the face
Use a thin layer of glue to attach each large feature only to its intended surface. Draw eyes and a mouth on the flap; add a lower-mouth line beneath it if desired. Do not glue the flap shut or join it to the bag body with one continuous paper piece.
5. Test the movement gently
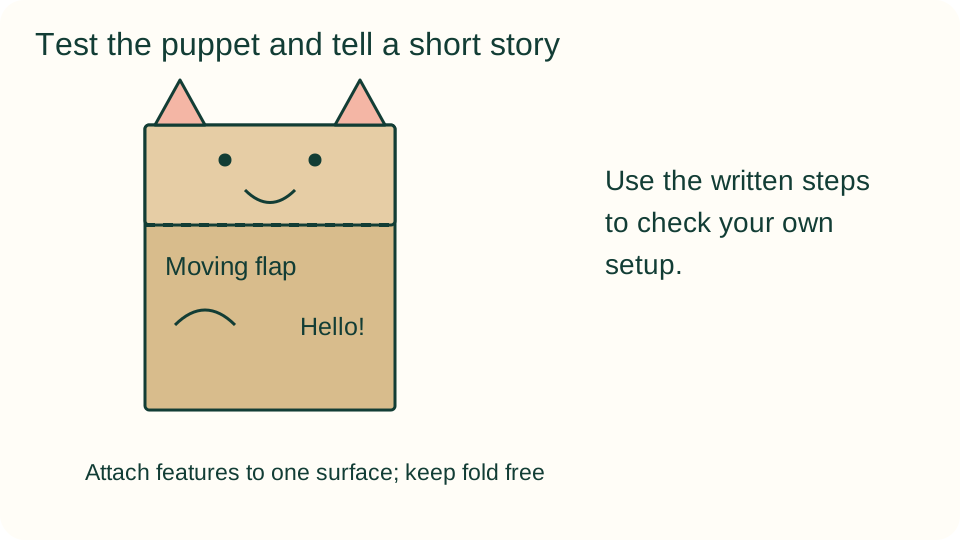
Let glued pieces settle before sliding a hand into the open end. Move fingers inside the folded bottom to open and close the face. If the bag fits poorly, let an adult demonstrate or hold it from outside. Repair a loose feature with a little glue and wait rather than pulling the flap harder.
6. Give the character a small moment
Choose one thing the character wants and one event that happens. Tell two or three sentences, make a greeting, or have a quiet conversation with another puppet. Children who do not want to speak can point to a picture, dictate a line, or show the character's movement without performing.
What children can explore
Ask how the face changes when the flap opens and which paper pieces affect its movement. A puppet's story can begin with a simple question, such as where it is going or what it found. Keep character choices open and avoid using facial features to assign a fixed personality or emotion.
Make it work for your group
Provide adult-precut ears and a drawn face for a shorter beginner version. Older children can make two characters with different goals or draw a setting on separate paper. A participant who cannot operate the flap can direct a partner's movements. Offer a flat paper character if a bag puppet feels awkward or uncomfortable.
At home and in the classroom
At home, use one puppet and a short familiar scene. In a classroom, pairs can alternate maker and story helper, with each child retaining control over their own character. Keep a separate drying space so glue does not transfer between puppets. An optional sharing circle should allow children to pass or have an adult read their words.
Keep your creative choices
Save a sketch, a small test, or a short dictated note about one choice the maker wants to remember. A later version can use different colors, shapes, or decoration without matching the example. Let the maker decide whether to continue, share the work, or keep it private.
Helpful fixes and cleanup
If the mouth sticks, check for glue across the fold and gently separate it before the adhesive sets. Heavy features can be replaced with smaller broad paper pieces rather than reinforced with staples. Close the glue, gather cuttings, and store the puppet flat after it dries. Keep the character's story on a separate sheet if wanted.