Nature & Outdoor Adventures
Nature Size Detective: Estimate, Measure, and Compare Outdoors
 Facebook
 Pinterest
 X
X LinkedIn
 Reddit
 WhatsApp
 Telegram
 Bluesky
 Email
Email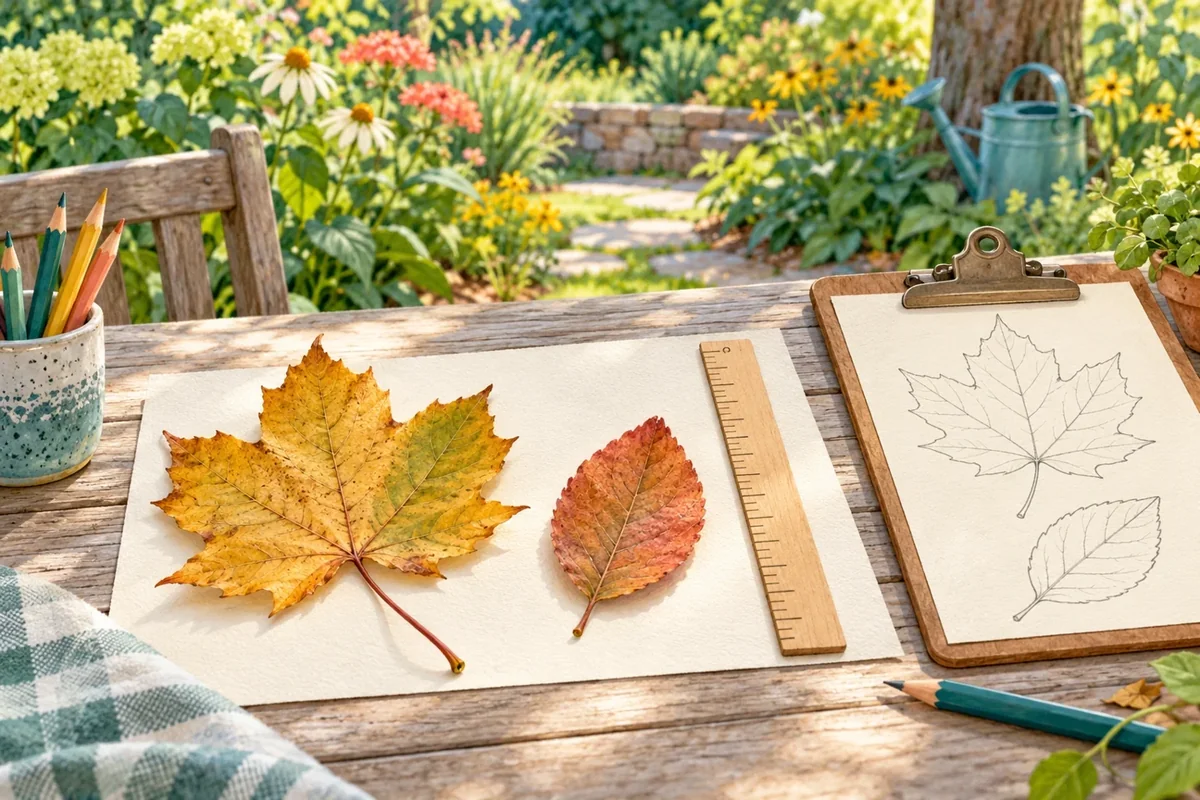
Which of two objects is longer, and how close is your estimate? Children make a prediction before using a ruler, record the actual result, and compare the two. Start with safe objects that can be reached easily, such as permitted fallen leaves or a familiar table edge. The investigation does not require climbing, picking plants, or measuring a whole tree.
At a glance
| Suggested ages | 5–10 |
|---|---|
| Activity time | 20–30 minutes |
| Adult setup | 5–10 minutes |
| Participation | Individual or small group; watching, pointing, and partner assistance are welcome |
What you need
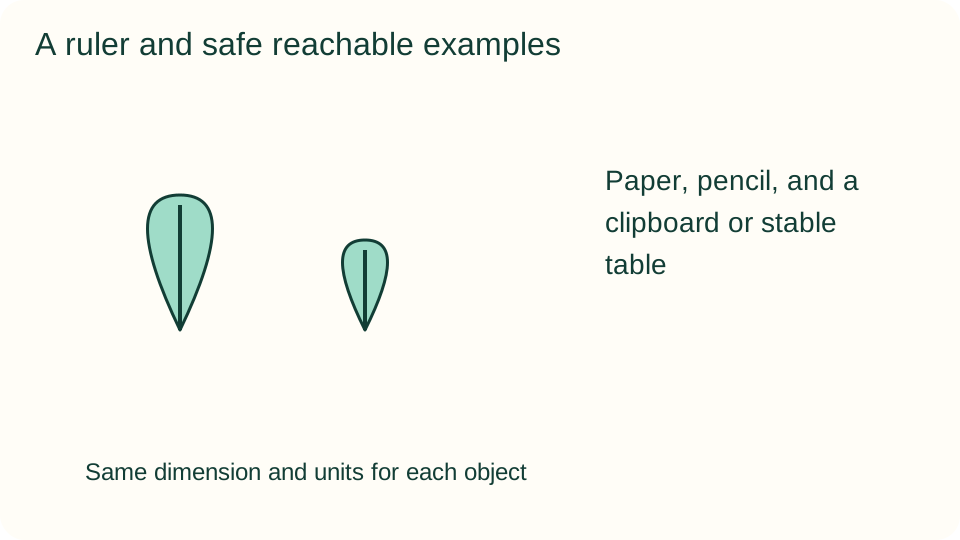
- Paper, pencil, and a clipboard or stable table
- A ruler with a visible zero mark; optional tape measure operated by an adult
- Two or three safe reachable objects approved by an adult
- A simple record with object, estimated length, measured length, and units
Get ready
An adult selects a stable shaded work area and checks permission before using fallen materials. Avoid unknown plants, sharp items, animal waste, and objects small enough to be mouthed. Leave living plants in place. Choose one dimension that can be measured without stretching, climbing, or laying a tape across a path. An adult supervises any tape measure.
Try the activity
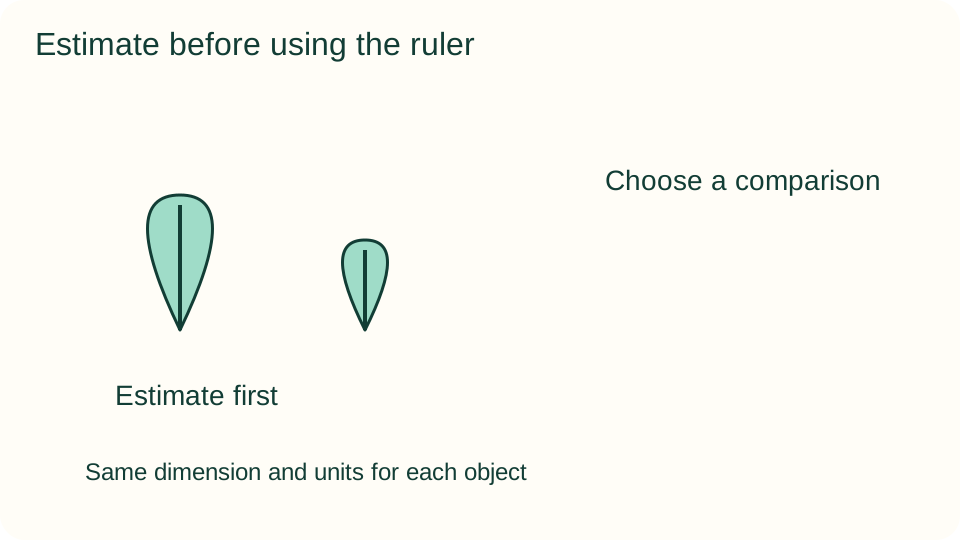
1. Choose a comparison
Select two objects and agree on the dimension to compare, such as each leaf's tip-to-tip length. Place permitted loose objects on a stable surface. If using fixed features, compare only safely reachable parts. State the comparison clearly so you do not switch from length to width halfway through.
2. Predict before measuring
Point to the object you think is longer and explain the choice. Make an approximate estimate in centimeters or another familiar unit, then record it before using the ruler. A younger child can predict longer or shorter without numbers. Treat an estimate as a starting idea, not a test to pass.
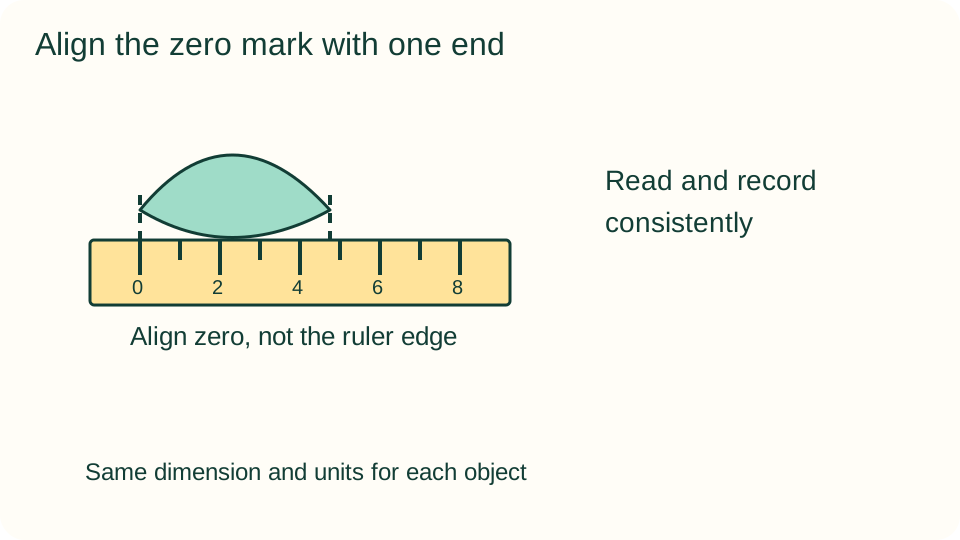
3. Align the ruler's zero
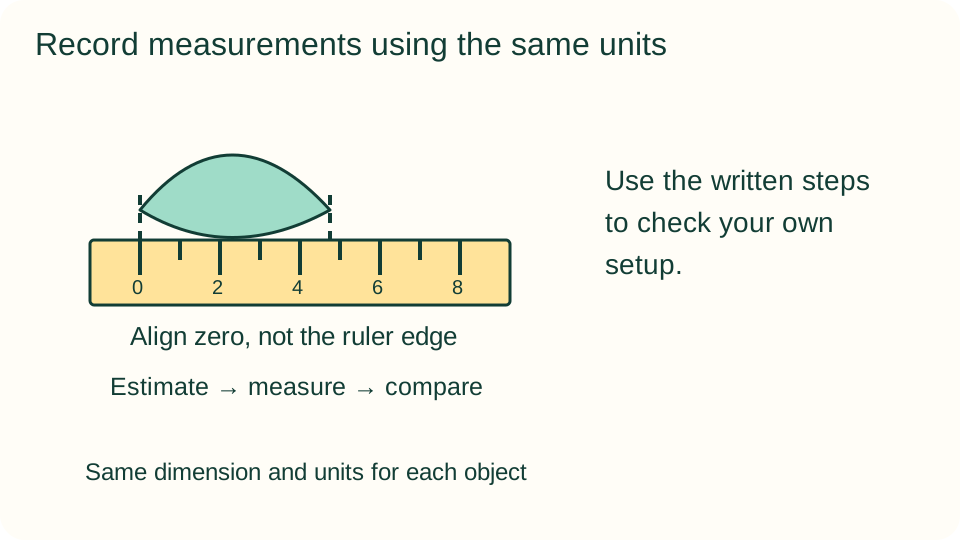
Place the ruler beside the chosen dimension and align its zero mark with one end of the object. Some rulers have an unmarked margin before zero, so check the mark rather than the physical edge. Keep both object and ruler steady. An adult can demonstrate alignment on a spare example.
4. Read and record consistently
Find the mark nearest the other end and record the measurement with its unit. Use the same unit and method for the second object. Rounded whole-unit readings are fine for an introductory comparison; write approximately when appropriate. Do not force a curved object straight or damage it to obtain a number.
5. Compare estimate and measurement
Look at the recorded estimate and result together. Was the estimate close, above, or below the measured value? Compare the two objects using the measurements, not just appearance. If results seem surprising, check the zero alignment and repeat once before deciding that the ruler or the object has changed.
6. Try one new comparison
Choose another safe object and make a fresh estimate using what you noticed. Keep the same unit and measurement method. Record the new result beside the earlier ones. Finish by describing one practical thing that helped, such as aligning zero carefully or choosing the same dimension for every object.
What children can explore
The record distinguishes a prediction from a measurement. Ask why comparing a leaf's width with another leaf's length would answer a different question. Measurement depends on the chosen endpoints and tool alignment, so small differences between repeat readings deserve discussion rather than a claim of perfect precision.
Make it work for your group
Younger participants can arrange two safe objects from shorter to longer and help an adult align the ruler. Older children can record the difference between estimate and measured length or make a simple ordered chart. A seated child can use a table-based collection. Pointing and dictated notes are valid participation options.
At home and in the classroom
At home, use a permitted patio table or familiar outdoor furniture. In a classroom, prepare one small set per supervised pair and agree on the dimension and units before starting. Rotate estimator, ruler aligner, and recorder. Keep tape measures under adult control and never stretch one across a walking route.
Return to the observation
Keep the original record with any later notes so changes remain visible. Before returning outdoors, an adult checks permission, access, and current conditions again. Repeat only the parts that interest the child, and record what actually happens rather than recreating an expected result.
Helpful fixes and cleanup
If an object cannot be reached or measured safely, choose another; the comparison does not justify climbing or entering vegetation. Gather tools and return approved natural materials only where local rules permit. Leave living features undisturbed, wash hands after handling outdoor items, and save the record for an optional later comparison.