Arts & Crafts
Collage Letter Art: Fill a Large Letter With Paper Color and Pattern
 Facebook
 Pinterest
 X
X LinkedIn
 Reddit
 WhatsApp
 Telegram
 Bluesky
 Email
Email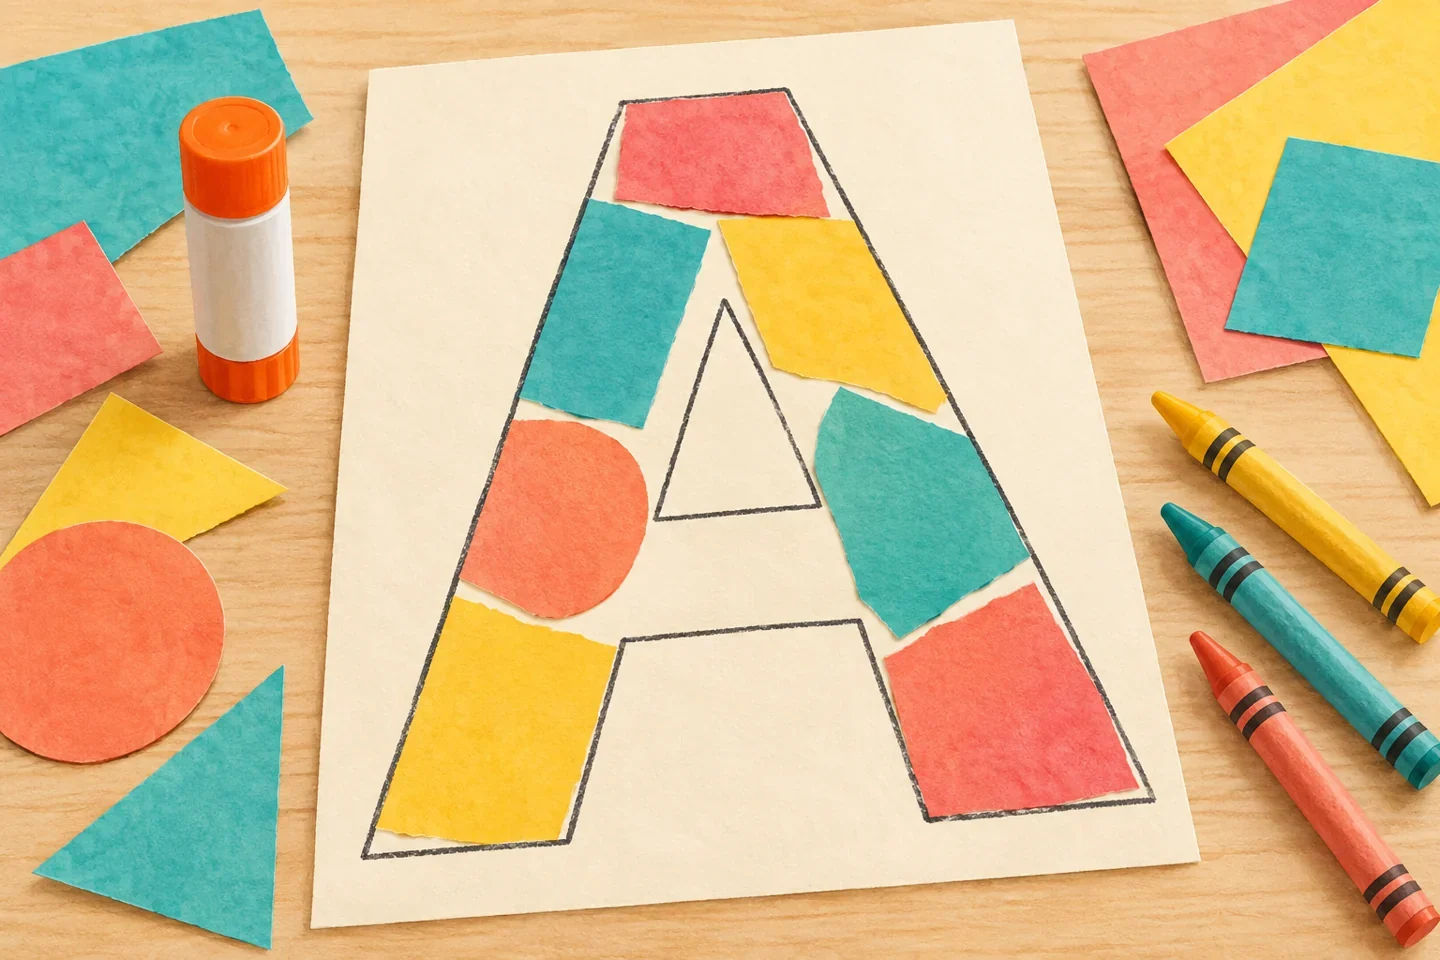
One large letter can provide a clear space for a colorful paper arrangement. Draw broad block strokes on a background and place paper patches inside them, leaving the letter's openings visible. The child chooses the letter, symbol, or invented shape; a personal initial is optional. This is an art project with an optional letter conversation, not a handwriting assessment or a requirement to reveal a child's name.
At a glance
| Suggested ages | 4–10 |
|---|---|
| Activity time | 25–40 minutes |
| Adult setup | 10 minutes |
| Participation | Individual or small group; watching, pointing, and partner assistance are welcome |
What you need
- One A4 or letter-size cardstock background
- Two or three sheets of colored paper
- Pencil or crayon, glue stick, and a firm work surface
- Child-appropriate scissors with adult supervision; adult-precut broad patches or tearing are alternatives
Get ready
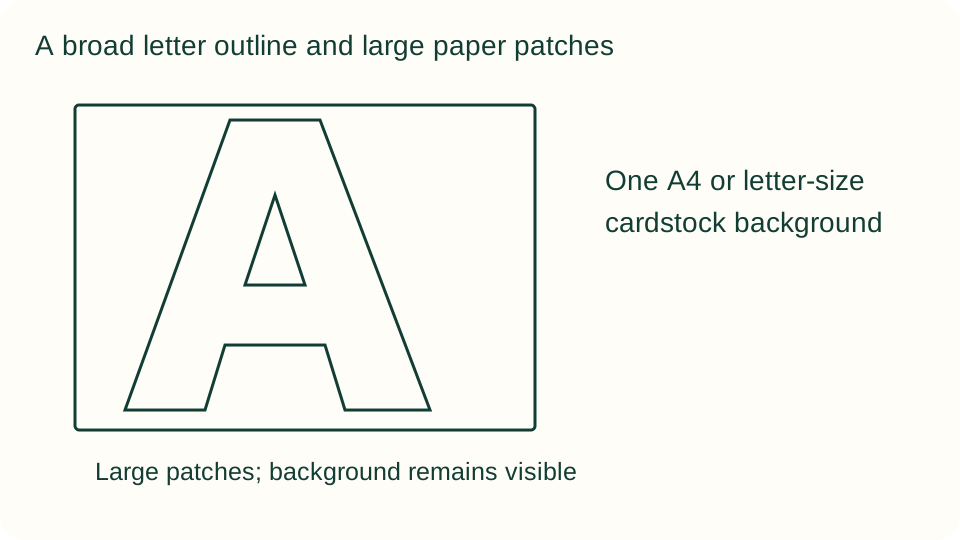
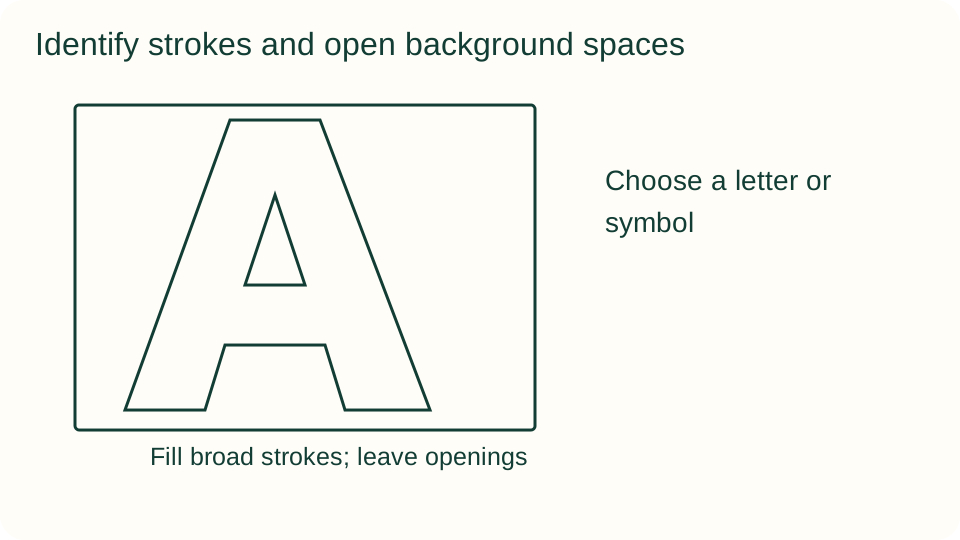
An adult draws a large block-letter outline with strokes about 3–4 cm wide, or helps the child choose an alternative symbol. Keep any interior opening large enough to see clearly. Prepare manageable patches about 2–4 cm across rather than confetti. Do not cut the background letter out or require cutting an enclosed hole; its outline stays on the sheet.
Try the activity
1. Choose a letter or symbol
Select a familiar letter, an initial if wanted, or a simple invented symbol. Talk about its broad outline without asking the child to write it perfectly. An adult can draw the outline on the background. For privacy, use a demonstration letter rather than a full personal name in shared examples.
2. Identify the filling space
Point out the wide strokes that will hold paper and any background spaces that should remain open. A block A, for example, has a triangular space inside its outline. Trace the intended filling area with a finger or broad crayon line. Leave enough room for large patches to fit without tiny cutting.
3. Prepare a small paper selection
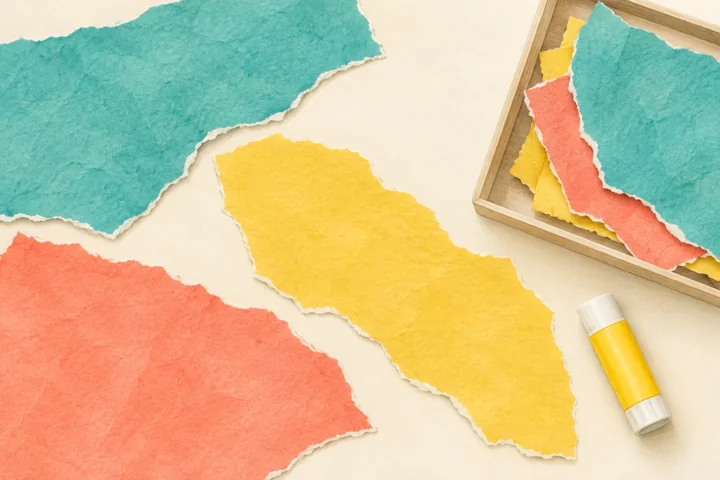
Choose two or three colors and make a modest pile of broad patches. Use supervised scissors, adult-precut shapes, or controlled tearing according to the child's preference. Compare a few patch sizes with the letter strokes before preparing more. Keep spare sheets aside to prevent the table from becoming crowded.
4. Arrange before attaching
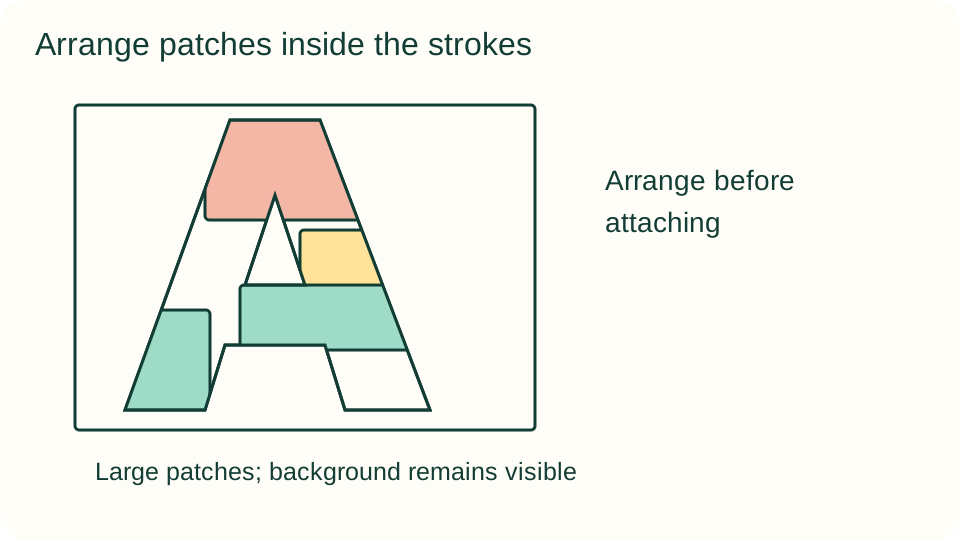
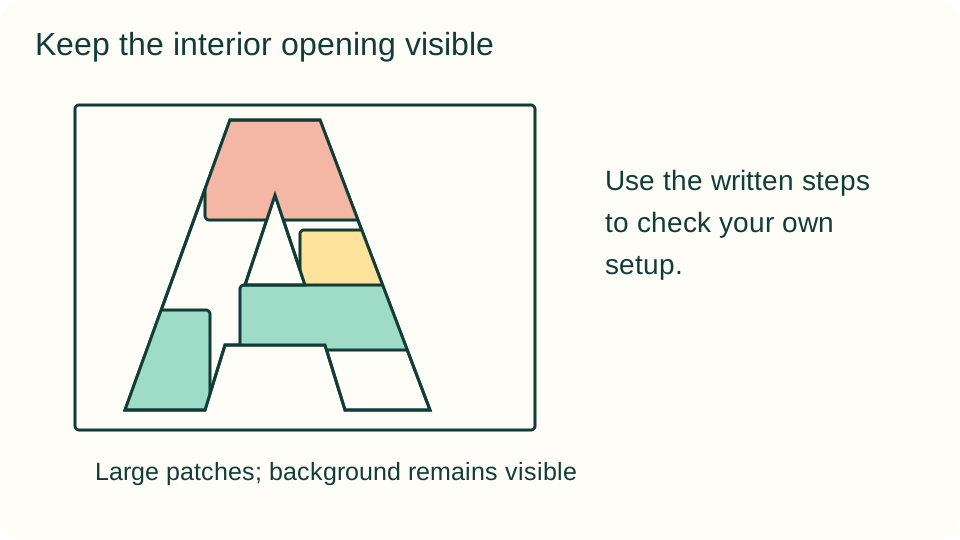
Place several patches inside the broad strokes without glue. Move them to explore a repeating order, a color cluster, or a free arrangement. Leave the letter's interior opening visible. Patches can overlap one another, but check the overall outline so the chosen letter or symbol remains recognizable to its maker.
5. Glue the approved arrangement
Attach a few patches at a time with a thin layer of glue, working across the design. Trim an overhanging patch with adult help only if the child wants a sharper edge. Do not turn neatness into the project's goal. Draw a broad border afterward if it helps separate the letter from the background.
6. Describe the finished design
Let the glue settle and compare the arrangement with the original outline. Invite the maker to explain one color choice, repeated sequence, or open space. If they chose a letter, naming it or discussing its sound can remain a separate optional conversation. Keep a symbol-based version equally welcome in the display.
What children can explore
Ask how the colored patches and the unfilled background work together to define the shape. The interior opening is part of the design rather than a missing piece. Compare a repeated color order with a free arrangement without treating either as more advanced. A child can explain a choice by pointing rather than using letter terminology.
Make it work for your group
Use a large simple symbol with no interior opening for beginners. Older children can sketch two arrangements on spare paper before choosing one or compare contrasting background colors. Adult-precut patches and partner placement support children who do not want to cut. Keep pieces broad and provide an alternative drawing-only design if glue is unsuitable.
At home and in the classroom
At home, make one letter and save leftover broad patches for another project. In a classroom, offer a variety of letters and symbols instead of assigning everyone a personal initial. A collaborative display can mix different choices. Obtain appropriate permission before sharing identifiable names or images of children's work outside the group.
Keep your creative choices
Save a sketch, a small test, or a short dictated note about one choice the maker wants to remember. A later version can use different colors, shapes, or decoration without matching the example. Let the maker decide whether to continue, share the work, or keep it private.
Helpful fixes and cleanup
If the letter becomes hard to see, clear unglued patches from its open spaces or add a broad drawn outline after drying. Avoid removing attached pieces by scraping the background. Close glue, collect scraps, and store the artwork flat until dry. Keep unused large patches in a labeled supply container for future collage invitations.