STEM & Discovery
Build a Cardboard Maze: An Introduction to Coding Directions
 Facebook
 Pinterest
 X
X LinkedIn
 Reddit
 WhatsApp
 Telegram
 Bluesky
 Email
Email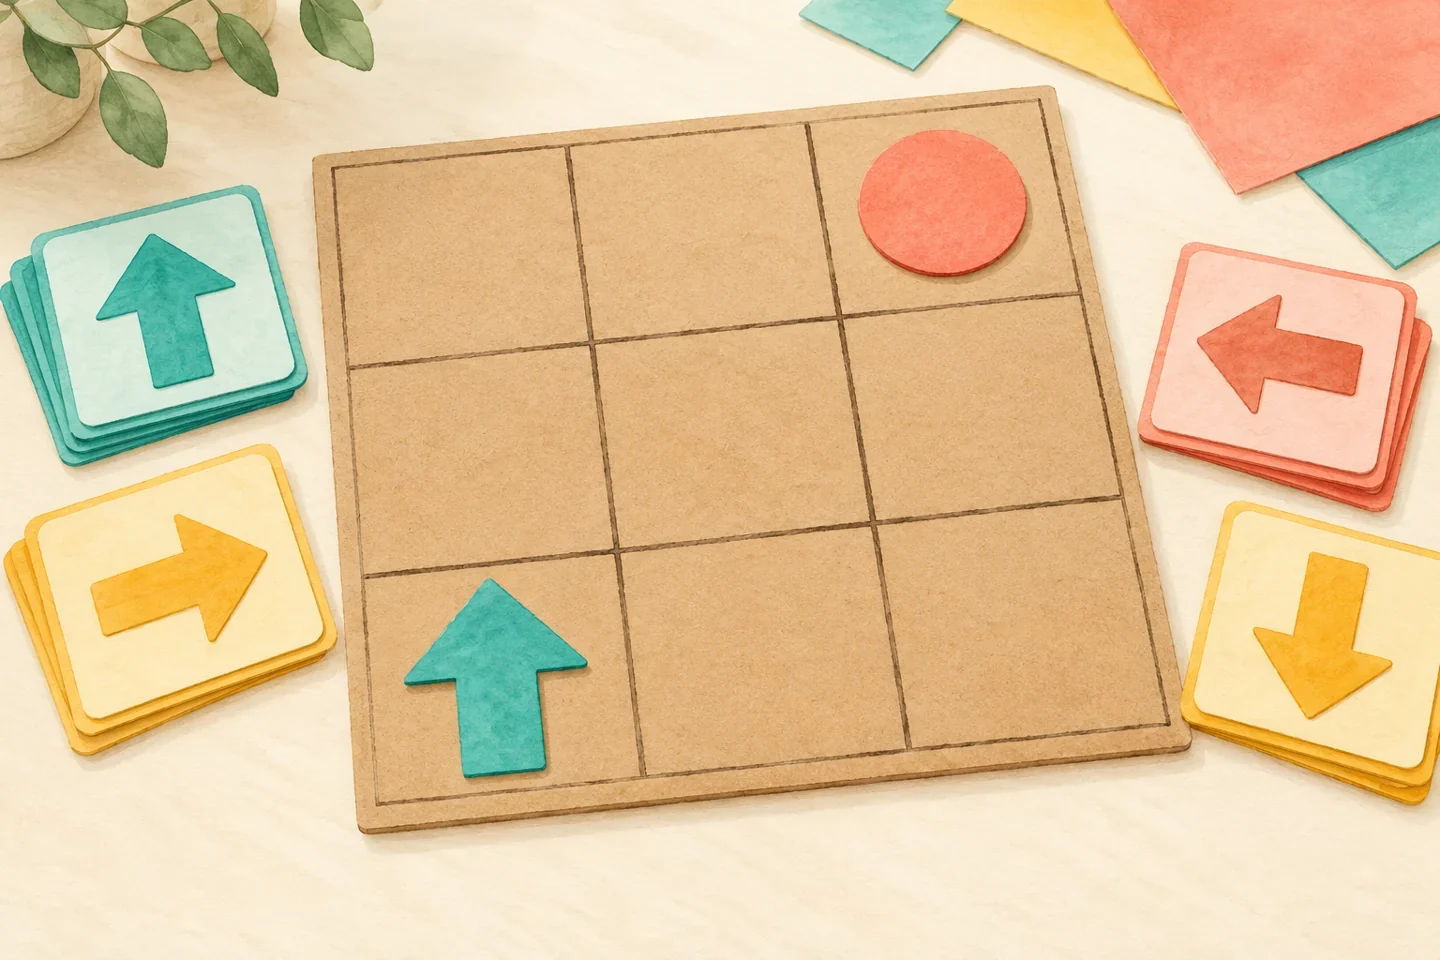
A simple tabletop maze lets children plan a sequence of instructions before trying it. A large paper character moves across a grid according to forward and turn cards. When a route misses its destination, children look for the instruction that needs changing. No screens, apps, or programming account are needed, and turning is treated separately from moving forward.
At a glance
| Suggested ages | 5–9 |
|---|---|
| Activity time | 25–40 minutes |
| Adult setup | 10 minutes |
| Participation | Individual or small group; watching, pointing, and partner assistance are welcome |
What you need
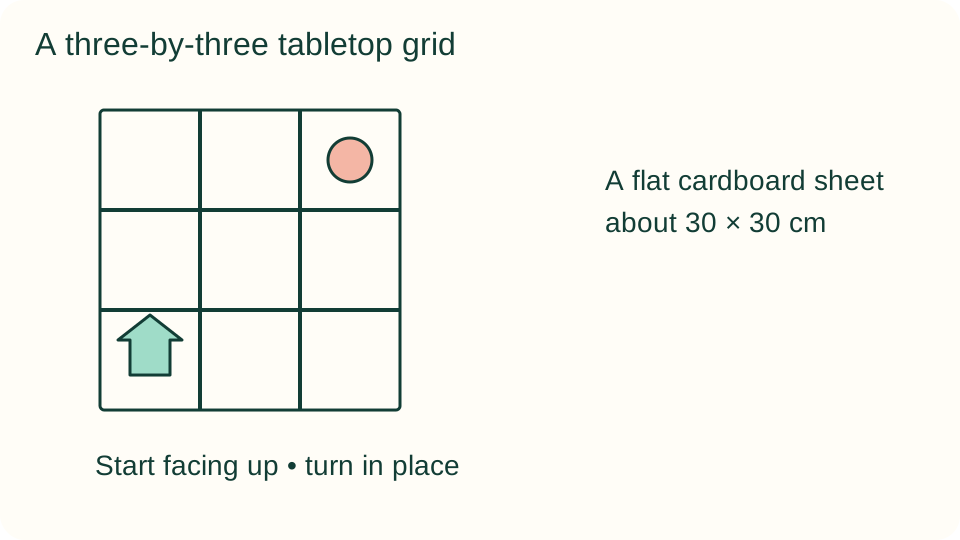
- A flat cardboard sheet about 30 × 30 cm
- Ruler, marker, pencil, and paper for nine large instruction cards
- A large paper arrow character and two large paper obstacle shapes
Get ready
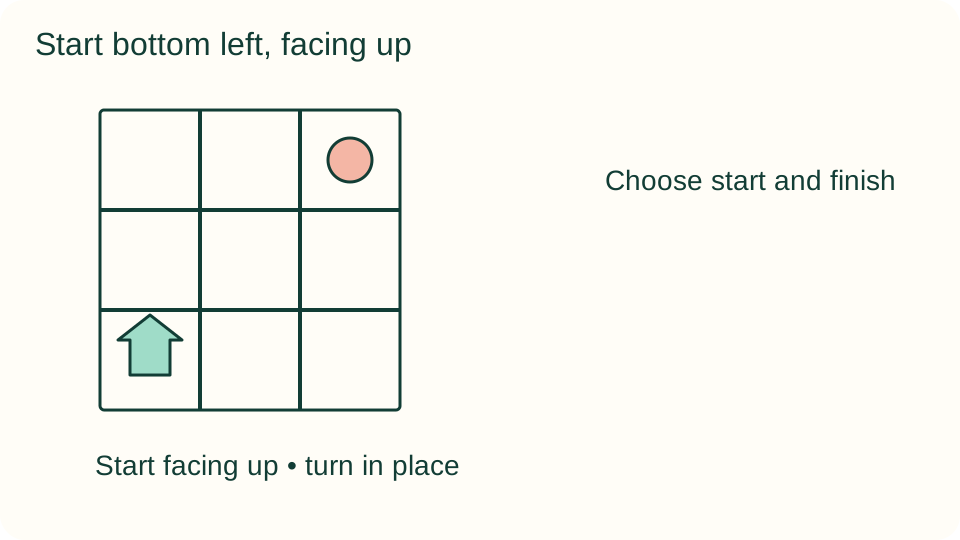
Draw a three-by-three grid with 10 cm squares. An adult prepares a paper arrow about 6 cm long so its pointing direction is obvious. Keep loose pieces large and supervised. Write or draw three forward cards, three turn-left cards, and three turn-right cards.
Try the activity
1. Choose start and finish
Mark the bottom-left square as the start and the top-right square as the finish. Place the arrow in the start pointing toward the top of the grid. Name that direction up the board, while explaining that the character's left and right change when it turns.
2. Practice one instruction
A forward card moves the character one square in its current facing direction. A turn card rotates it a quarter-turn within the same square, without moving it into another square. Practice each action separately before arranging a complete route.
3. Build a short program
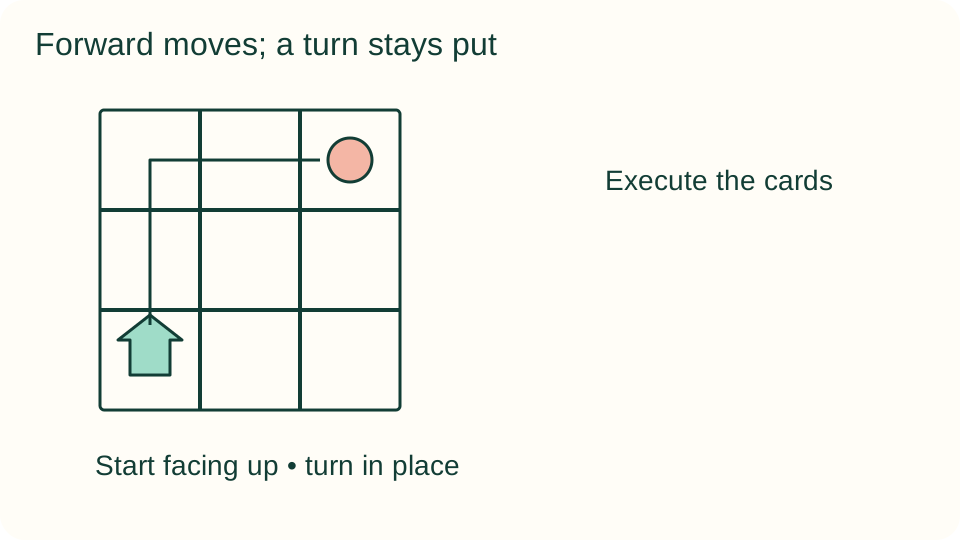
Lay out two forward cards, one turn-right card, and two more forward cards. Starting in the bottom-left corner facing up, this sequence reaches the top-right corner. Read from left to right. Keep the entire sequence visible instead of describing directions from memory.
4. Execute the cards
One child reads or points to a card while another moves the arrow. Leave each card in place after using it so the sequence remains available for checking. If the arrow would leave the board, stop and identify that instruction rather than moving it wherever seems convenient.
5. Add an obstacle
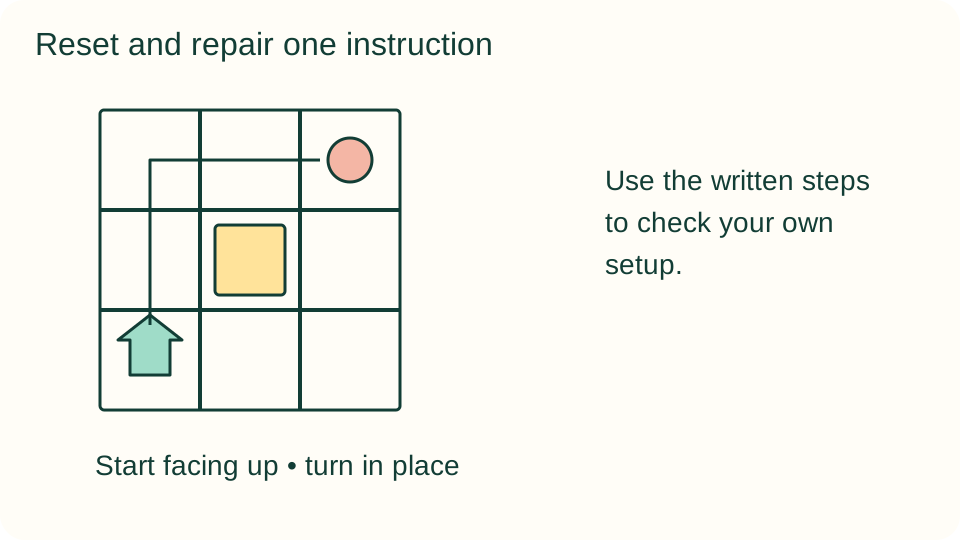
Place a large paper obstacle in the center square and design a route that avoids it. Return the arrow to the same start and facing direction before testing. A route can go around the outer edge; it does not have to pass through every square.
6. Find and repair a bug
Deliberately exchange one turn card in a working route. Test until the first unexpected move, then compare the intended direction with the actual one. Replace just that card, reset the character, and rerun from the beginning to confirm the repair.
What children can explore
A program is an ordered set of instructions, and debugging means finding and correcting problems in that set. These cards model only a few actions, not a full programming language. Ask why the same forward card can move the character toward a different edge after a turn.
Make it work for your group
Start with a one-row track and only forward cards for beginners. Older children can add a fourth row or a repeat-two-times card after the basic rules are secure. Offer large pictorial cards and let children indicate choices through pointing or arranging rather than reading aloud.
At home and in the classroom
At home, alternate planner and mover so both participants use the instructions. In a classroom, use small groups with one shared board and a reset helper. Keep an agreed start arrow drawn beside the grid so different groups do not silently change the initial facing direction.
Save your discoveries
Copy a simple record onto paper: what you changed, what stayed the same, and what happened. Drawings, pointing to a sketch, or notes dictated to an adult work as well as independent writing. Record the actual observations, including trials that did not go as expected.
Helpful fixes and cleanup
If left and right become confusing, physically turn the paper arrow before deciding its next forward move. If a route fails immediately, check the starting direction first. Store cards in three labeled piles or envelopes, flatten the board, and keep a sketch of one successful route.